
This article was updated in June 19, 2026 with new products and information by Mark S. Taylor
You just filled your vehicle’s fuel tank to the absolute brim, but your dashboard needle remains stubbornly locked on empty. Or worse, the gauge confidently reads half a tank, right up until your engine suddenly sputters, starves, and leaves you stranded on the shoulder of a dark highway.
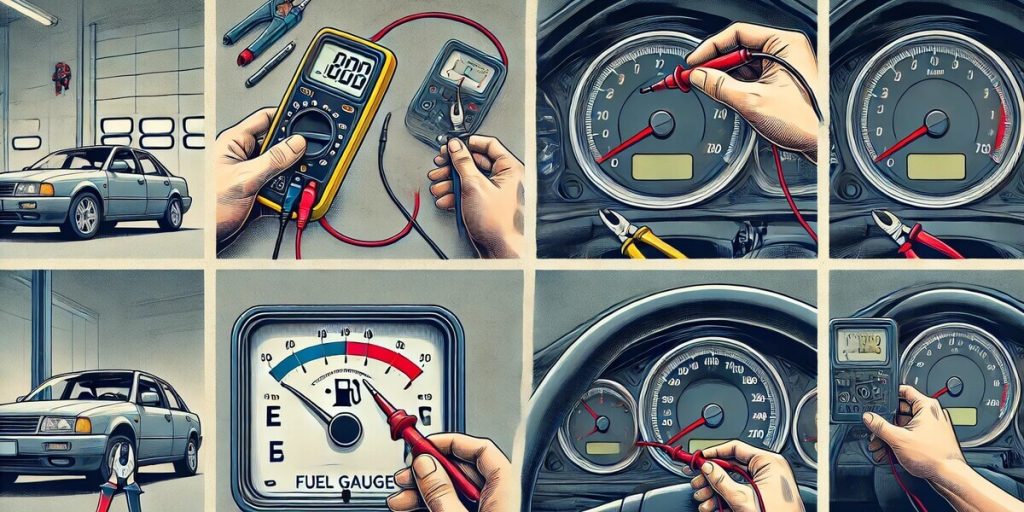
A malfunctioning fuel gauge converts every daily commute into an unpredictable guessing game. The dashboard fuel gauge display is not a standalone component; it operates in a closed loop with an internal fuel level sending unit suspended inside the gas tank and a complex chassis wiring harness. When the gauge fails, you must systematically isolate the electrical fault before blindly replacing expensive assemblies.
As an ASE-Certified Master Technician, I have seen hundreds of drivers waste money replacing their entire instrument cluster when the actual fault was a simple rusted grounding bolt beneath the rear seat. In this comprehensive workshop guide, we will break down the exact mechanical physics of how fuel monitoring loops function, the symptoms of failure, and how to execute a professional instrument and resistance sweep test at home.
Contents
- 1 What is Actually Breaking?
- 2 The Electrical Loop: How a Fuel Gauge Actually Works
- 3 4 Definitive Symptoms of a Malfunctioning Fuel Monitoring Circuit
- 4 Technical Troubleshooting: How to Run the 3 Master Tests
- 5 Troubleshooting Common Fuel Gauge Problems
- 6 Replacement and Repair Cost Matrix (2026 US Pricing)
- 7 FAQs About How to Test a Fuel Gauge Without Guessing
- 8 The Verdict: Stop Guessing Your Fuel Levels
What is Actually Breaking?
A fuel gauge system only has two main parts.
The gauge is the needle in your dash cluster. The sending unit is the float arm sitting inside your gas tank. As the float drops with the fuel level, it changes electrical resistance. The dash gauge reads that resistance and moves the needle.
When the gauge fails, you are looking at a dash cluster issue. When the sending unit fails, you have to drop the gas tank. Testing isolates which side is lying so you don’t buy parts you don’t need.
The Electrical Loop: How a Fuel Gauge Actually Works
Your car’s fuel monitoring system relies on a basic variable resistance circuit operating on a standard 12V DC loop. The system is comprised of three core components:
- The Instrumental Dash Gauge: A thermal or electronic bimetal needle display that reacts directly to incoming electrical current.
- The Fuel Level Sending Unit: A mechanical float arm linked to a variable resistor (rheostat) inside the gas tank. As the physical fuel level shifts, the float rotates a small metal wiper across a printed circuit board containing micro-fine resistive tracks.
- The Ground Source: The circuit must safely return electricity back to the vehicle chassis frame to maintain voltage balance.
Understanding Vehicle-Specific Ohms Standard Specifications
Different automotive manufacturers utilize completely opposite electrical logic to drive their dashboard needles. Before hooking up diagnostic meters, you must identify your vehicle’s factory resistance scale:
| Automotive Manufacturer Group | Ohms Reading When Completely EMPTY | Ohms Reading When Completely FULL |
| Classic General Motors (Pre-1990) | $0\ \Omega$ | $90\ \Omega$ |
| Modern General Motors (Post-1990) | $40\ \Omega$ | $250\ \Omega$ |
| Ford Motor Company (Classic) | $73\ \Omega$ | $10\ \Omega$ |
| Modern Ford & Japanese Imports | $15\ \Omega$ | $160\ \Omega$ |
4 Definitive Symptoms of a Malfunctioning Fuel Monitoring Circuit
Before reaching for your toolbox, analyze your vehicle’s specific needle movement pattern to predict the point of electrical failure:
- The Needle Fails to Move Past Absolute Empty: Even after refueling, the display stays flat. This typically points to a severed 12V power feed wire, a blown ignition circuit fuse, or a float arm that has developed a chemical leak and sunk directly to the bottom of the tank.
- The Gauge Remains Permanently Locked on Full: The needle stays pinned past the maximum line regardless of miles driven. This indicates a complete loss of grounding or a broken signal wire, causing infinite resistance ($\text{Open Loop}$) that forces the needle high.
- The Dashboard Needle Fluctuates Erratically While Driving: The display jumps up and down wildly every time you hit a bump or take a corner. This is a classic sign of worn conductive pads on the variable resistor board or a loose, vibrating ground nut on the frame rail.
- The Low-Fuel Warning Light Illuminates Independently: If your needle reads full but your low-fuel warning lamp stays turned on, your dash display is dead, but the sending unit’s independent low-level ground switch is working perfectly.
Technical Troubleshooting: How to Run the 3 Master Tests
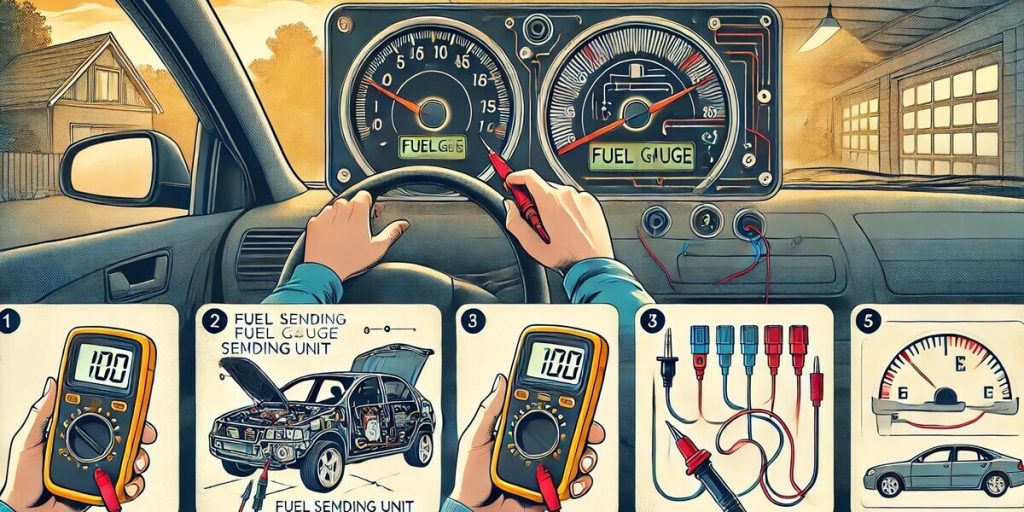
You can accurately diagnose this system in your driveway without paying a shop fee using a standard $15 digital multimeter:
Test 1: The Instrument Cluster Ground Bypass Check
This quick test immediately isolates whether the problem lives inside the dashboard cluster or inside the deep fuel tank.
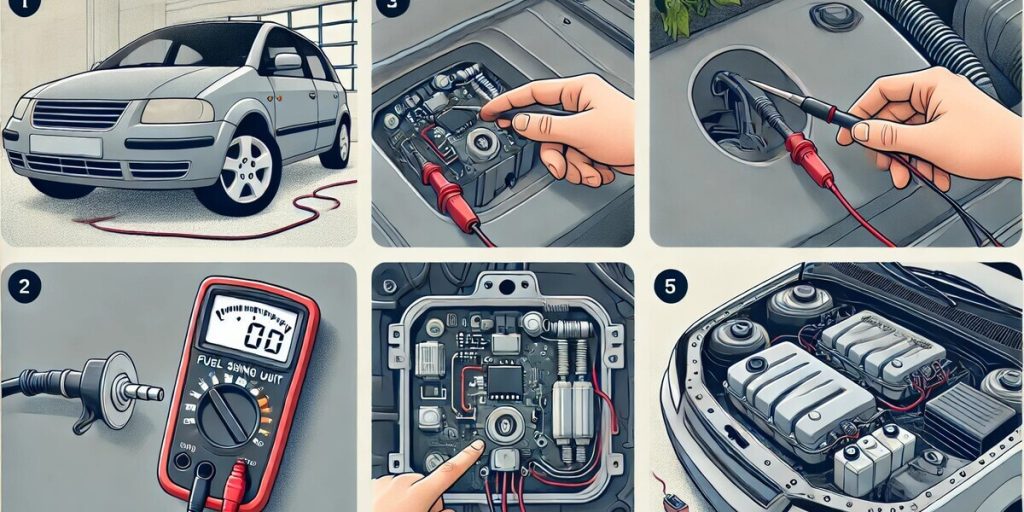
Step 1: Locate the fuel tank wire harness plug (usually accessible beneath the rear passenger seat cushion flap or trunk lining).
Step 2: Unplug the harness. Locate the primary Signal Wire going to the dash gauge.
Step 3: Take a jumper wire, clip it to the signal wire pin, and touch the other end to a bare metal chassis ground screw.
Step 4: Turn the vehicle’s ignition key to the “ON” position.
The Diagnostic Rule: If the dashboard needle instantly sweeps all the way from Empty to maximum Full (or vice versa, depending on manufacturer specs), your dashboard gauge is 100% healthy. The electrical fault is officially confirmed to be inside the tank’s sending unit or its ground line. If the needle remains dead, your dash cluster has suffered an internal component failure.
Test 2: Checking Sending Unit Resistance ($\Omega$ scale)
If Test 1 confirms your dashboard is healthy, you must analyze the structural health of the variable resistor inside the tank using a digital multimeter.
Step 1: Turn the vehicle ignition completely OFF.
Step 2: Set your digital multimeter dial to the Resistance (Ohms) setting on the 200 or 2,000-ohm scale.
Step 3: Touch the positive red meter probe to the sending unit’s signal pin and the black probe to the sending unit’s ground pin.
Evaluating the Sweep: If you have the sending unit removed from the tank, slowly lift the mechanical float arm up and down with your hand while watching the multimeter screen. The digits must rise and fall smoothly and linearly (e.g., smoothly climbing from $15\ \Omega$ up to $160\ \Omega$). If the screen suddenly flashes “OL” (Open Loop) or jumps erratically, the internal graphite tracks are completely worn out, and the sending unit must be replaced.
Test 3: The 12V Power Supply Verification
If your sending unit checks out but the dash stays dead, you must verify that raw current is reaching the circuit loop.
- Set your multimeter to DC Volts (20V scale). Touch the black probe to a bare frame ground and backprobe the power wire feed on the vehicle-side harness with the key turned to “ON”. The meter must display a steady 12.2V to 12.6V. If the screen reads zero, your circuit has a broken wire or a blown fuse upstream in the main fuse panel.
Troubleshooting Common Fuel Gauge Problems
| Observed Electrical Failure | Potential Root Cause | Recommended DIY Solution |
| Gauge reads empty constantly | Blown fuse or punctured float | Replace fuel gauge circuit fuse / swap float |
| Gauge reads full constantly | Corroded or broken ground wire | Clean chassis grounding point with a wire brush |
| Erratic needle bouncing | Worn component tracks on rheostat | Replace the internal fuel level sending unit |
Replacement and Repair Cost Matrix (2026 US Pricing)
On many modern domestic and imported vehicles, the fuel sending unit is physically clipped onto the side of the main fuel pump assembly container.
| Damaged Component | Average DIY Parts Cost | Average Professional Shop Cost |
| Fuel Gauge Circuit Fuse | $5 | $0 (5-Minute DIY task) |
| Standalone Fuel Sending Unit | $40 – $90 | $200 – $450 (Requires dropping the fuel tank) |
| Complete Fuel Pump Module Assembly | $150 – $350 | $450 – $850 (If parts are non-serviceable) |
| Instrument Gauge Cluster Assembly | $200 – $500 | $600 – $1,100 (Requires odometer flashing) |
FAQs About How to Test a Fuel Gauge Without Guessing
Can a bad fuel gauge cause a check engine light?
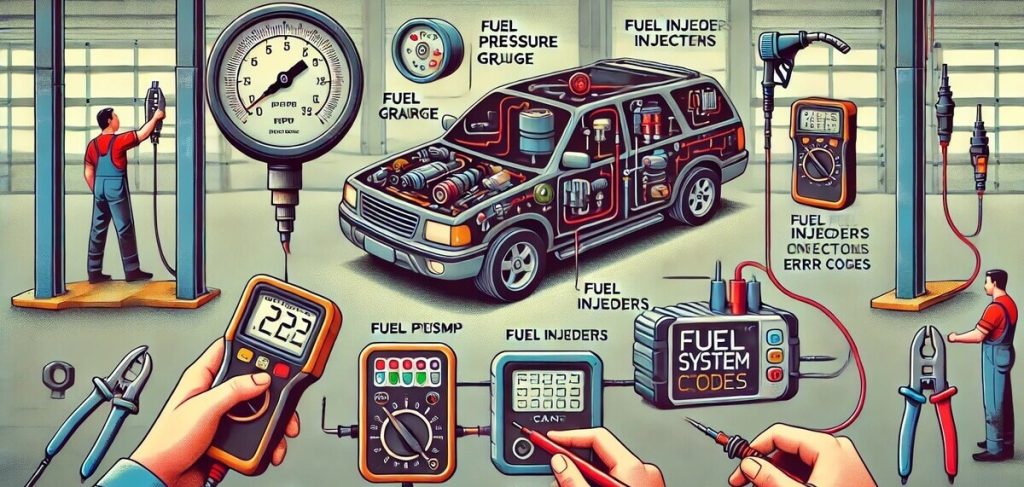
Rarely. The engine computer only cares about fuel pressure from the pump, not the fuel level for the gauge. If your check engine light is on, pull the codes. It is likely a separate issue, like an O2 sensor.
Why does my GM truck gauge only work sometimes?
If you own a 2003–2007 GM Silverado or Sierra, your instrument cluster has a well-documented factory defect. The tiny stepper motors that move the needles fail internally. You can buy a set of replacement stepper motors for $20 online and solder them to the cluster board.
Do I have to drop the tank to replace the sender?
On 90% of cars, yes. The sender sits on top of the fuel pump module inside the tank. A few vehicles (like older Ford Rangers) have an access panel under the rear seat that lets you pull the module without dropping the tank.
What if my multimeter reads zero ohms constantly?
Zero ohms means a dead short to ground. The float arm is likely touching the metal tube inside the tank, or the internal wire is pinched. The sender needs to be replaced.
Can I drive with the sending unit unplugged?
Yes. If you unplug the connector at the tank, most gauges will default to “Empty.” As long as you use your trip odometer to track miles, the car will run perfectly fine.
The Verdict: Stop Guessing Your Fuel Levels
Driving with a broken fuel gauge is a high-stress gamble that will eventually leave you stranded in active traffic. Running the 10-minute ground bypass test allows you to instantly pinpoint whether your dashboard cluster is broken or whether the tank’s inner sending unit tracks have failed. Fix the circuit early to protect your fuel pump from running dry and overheating.
(Want to ensure your vehicle’s alternative electrical components, engine sensors, and computer networks are operating with absolute mechanical precision? Read our master workshop guide on How to Read Check Engine Light Codes Without a Scanner or check out The Car Buzz Official Testing and Editorial Integrity Guidelines Page).