
This article was updated in April 17, 2026 with new products and information by Mark S. Taylor
That orange glow on your dash can cause panic. But learning how to reset a check engine light is easy once you know the right steps. I have fixed thousands of cars in my shop, and I always tell drivers not to fear this warning. This guide shows you three proven ways to clear the light for good. We cover using a scanner, battery tricks, and natural drive cycles. Read our guide on common check engine light codes to find the root cause fast.
Contents
- 1 What Does the Check Engine Light Actually Mean?
- 2 Before You Reset — Read the Code First
- 3 3 Ways to Reset a Check Engine Light
- 4 Method Comparison at a Glance
- 5 Why Does the Check Engine Light Come Back After Resetting?
- 6 OBD2 Scanner Buying Guide — What to Get
- 7 Will Resetting the Check Engine Light Fail My Emissions Test?
- 8 When to Stop DIY and See a Mechanic
- 9 FAQs About How to Reset a Check Engine Light
- 10 Bottom Line — Verdict
What Does the Check Engine Light Actually Mean?
A check engine light means your car’s computer found a problem with the engine or emissions parts. A solid light is a warning, but it is not an emergency. You can still drive to the store or work. A flashing light is very serious. It means the engine is misfiring and could ruin your catalytic converter. You should pull over and stop driving right away if it flashes.
🔶 Solid vs. Flashing Check Engine Light
- Solid → Diagnose soon, okay to drive short distances.
- Flashing → Possible engine misfire, catalytic converter at risk — get it checked immediately.
Before You Reset — Read the Code First
You must read the error code before you reset the light, or the problem will just come back. An OBD2 scanner reads Diagnostic Trouble Codes (DTCs) saved in your car’s computer. It also saves freeze frame data from the exact second the error happened. You can get a free scan at auto parts stores like AutoZone or O’Reilly. Common codes include P0420 (catalytic converter), P0171 (lean fuel mix), P0300 (random misfire), and P0455 (gas cap leak). If your code points to an O2 sensor, check our guide to symptoms of a bad O2 sensor to confirm the part failed.
3 Ways to Reset a Check Engine Light
You can reset the light using an OBD2 scanner, disconnecting the battery, or simply driving through complete cycles. Each method works well, but they have different pros and cons. Here is how to do each one.
Method 1 — OBD2 Scanner (Best Method)
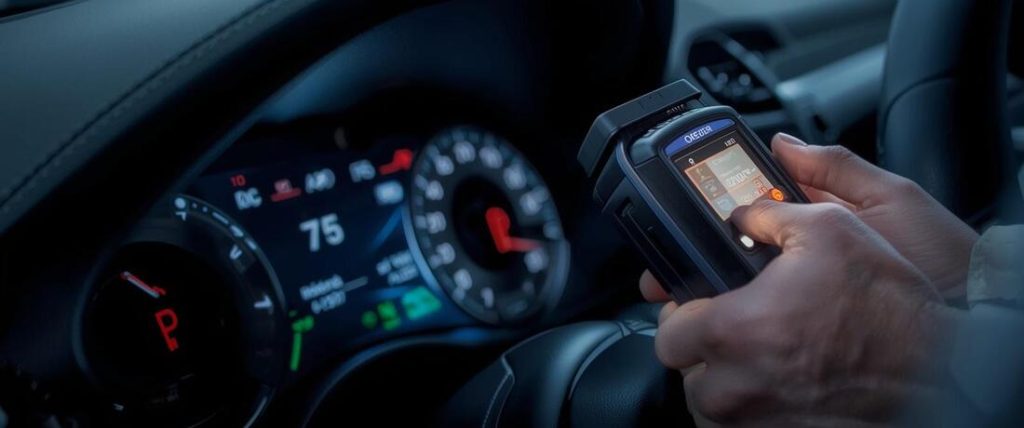
An OBD2 scanner clears the light safely without losing your car’s radio or computer memory. This is the method all professional mechanics use. It takes about five minutes.
- Step 1: Locate the OBD2 port under the dashboard on the driver’s side.
- Step 2: Plug in the scanner. Turn your key to the ON position, but keep the engine off.
- Step 3: Read the DTCs on the screen and write them down on paper.
- Step 4: Fix the underlying issue that caused the code.
- Step 5: Select “Clear Codes” or “Erase DTCs” on the scanner screen.
- Step 6: Start the car and confirm the light is off.
✅ Best for: All 1996 and newer vehicles | Most accurate | Preserves ECU data
Method 2 — Disconnect the Negative Battery Cable
Disconnecting the black battery cable drains the computer’s power and forces the light to turn off. This is an old-school trick that works when you do not have a scanner.
- Step 1: Turn off the ignition and put on work gloves.
- Step 2: Pop the hood and locate the negative battery terminal. It has a black cable and a “-” symbol.
- Step 3: Loosen the nut with a wrench and remove the cable from the battery post.
- Step 4: Wait 15 minutes so the computer fully loses power.
- Step 5: Reconnect the cable and tighten the nut.
- Step 6: Start the car. The light should be off.
⚠️ Downside: This clears your radio presets, clock, and ECU memory. It will not fix the root cause of the code.
Method 3 — Let It Reset Through Drive Cycles
A drive cycle is a specific sequence of driving that lets the car test itself and clear the light if the issue is gone. Your car runs internal self-tests during each cycle. A cycle means a cold start, idle, acceleration, cruising, and deceleration. It typically takes 3 to 5 drive cycles to clear the light. Sometimes it takes up to 10 cycles. This is good for after a confirmed fix, like when you replace a loose gas cap or fix symptoms of a bad mass airflow sensor.

Method Comparison at a Glance
The best reset method depends on the tools you have and how much data you want to keep. Use this table to pick your path.
| Method | Tools Needed | Preserves ECU Data | Best For |
|---|---|---|---|
| OBD2 Scanner | Scanner ($20–$150) | ✅ Yes | All situations |
| Battery Disconnect | Wrench | ❌ No | No scanner available |
| Drive Cycles | None | ✅ Yes | After confirmed repair |
Why Does the Check Engine Light Come Back After Resetting?
The check engine light comes back because you did not actually fix the root problem. A pending code can also become a confirmed code after another drive cycle. Sometimes a wrong part is installed, like a cheap aftermarket sensor. Your readiness monitors might not be done yet either. If you had multiple codes, you might have only cleared one of them. If the code points to the exhaust system, a failing part could be the cause. Read our guide on symptoms of a bad catalytic converter to rule out major exhaust damage before you reset the light again.
OBD2 Scanner Buying Guide — What to Get
You should buy an OBD2 scanner that fits your budget and reads basic codes easily. A free scan at a local auto parts store is best for a one-time check. A basic $30 scanner like the ANCEL AD310 is great for simple DIY work at home. Mid-level $80 scanners like the FOXWELL NT301 offer more live data. A Bluetooth unit like BlueDriver is perfect for smartphone users. For advanced diagnostics, spend $120 or more on FIXD or Innova. You can check out consumer reviews on car diagnostic tools to pick the right brand for your needs.
| Budget | Scanner | Best For |
|---|---|---|
| Free | AutoZone / O’Reilly in-store scan | One-time check |
| Under $30 | ANCEL AD310 | Basic DIY |
| $50–$80 | FOXWELL NT301 | Mid-level DIY |
| $100–$120 | BlueDriver (Bluetooth + app) | Smartphone users |
| $120+ | FIXD or Innova 5610 | Advanced diagnostics |
Will Resetting the Check Engine Light Fail My Emissions Test?
Yes, resetting the light right before an emissions test will make you fail instantly. Clearing the codes resets your car’s internal readiness monitors. The testing machine needs to see these monitors show “Complete” or “Ready” before it tests your exhaust. You must drive 50 to 100 miles after a reset to let the computer run its self-checks. If you go straight to the test line after clearing the code, they will reject your car.

When to Stop DIY and See a Mechanic
You need to see a mechanic if the light is flashing or the car runs very poorly. Stop doing it yourself if the car is misfiring, stalling, or losing power. Multiple warning lights on at once mean a major electrical issue. If the light returns within one or two drive cycles after a reset, you missed the real problem. If you cannot figure out the code, pay a pro. A professional diagnostic test usually costs about $100 to $200. This small fee saves you from buying expensive parts you do not need.
FAQs About How to Reset a Check Engine Light
Can I reset the check engine light myself?
Yes, you can reset it yourself using a cheap OBD2 scanner or by disconnecting the car battery.
How do I delete check engine light codes?
You delete codes by plugging an OBD2 scanner into the port under your dash and hitting the clear button.
How long will it take for a check engine light to reset?
It takes about 3 to 5 drive cycles, or 50 to 100 miles of driving, for the light to reset itself.
How do you clear engine codes without a scanner?
You can clear codes without a scanner by disconnecting the negative black battery cable for 15 minutes.
Does resetting the check engine light erase diagnostic codes?
Yes, resetting the light erases the stored codes, but the computer will log them again if the problem is still there.
Bottom Line — Verdict
The OBD2 scanner is the best tool for this job. It reads the code, clears it cleanly, and keeps your radio presets safe. A battery disconnect works in a pinch, but it is not precise. Drive cycles work well, but only after you fix the real problem. Do not just clear the light and forget about it. Fix the cause first, reset it second, and you are good to go.
Quick Summary
- Always read the error code with a scanner before you reset the light.
- An OBD2 scanner is the safest and best way to clear codes.
- Disconnecting the battery works but erases your radio presets.
- Drive cycles take 50 to 100 miles to clear a fixed issue.
- The light will come back if you do not fix the broken part.
- Do not get an emissions test right after clearing a code.
- See a mechanic if the light flashes or the car runs bad.