
This article was updated in June 24, 2026 with new products and information by Mark S. Taylor
Sweating through an agonizingly hot summer commute because your vehicle’s climate control loops are failing is a miserable experience. You turn the dashboard climate dial to its maximum cooling setting, and the blower fan kicks on perfectly—but instead of an icy blast, the vents emit a weak stream of stale, lukewarm air.
Most vehicle owners immediately panic and assume their mechanical AC compressor has suffered a catastrophic structural failure, bricking them into a $1,500 repair bill. In reality, over 70% of automotive cooling failures are triggered by simple, budget-friendly issues—such as a dirty cabin filter restricting airflow matrix blocks, a blown electrical relay, or a minor drop in system pressure that can be safely resolved in your driveway.
As an ASE-Certified Master Technician, I have repaired thousands of automotive HVAC systems. In this comprehensive workshop guide, we will break down the precise thermodynamic cycles of car AC loops, the 5-step diagnostic sequence to isolate faults, and actual 2026 workshop service repair parameters.
Contents
- 1 The Thermodynamics of Automotive Cooling
- 2 4 Common Signs Your Car AC System Needs Service
- 3 The Safe 5-Step Car AC Troubleshooting Sequence
- 4 HVAC Component Service & Repair Cost Matrix (2026 US Estimates)
- 5 Retail DIY Recharge Kits: An Honest Technician Assessment
- 6 DIY vs. Professional Mechanic Service Boundaries
- 7 FAQs About How to Diagnose and Fix Your Car AC
- 7.1 Can I recharge my AC myself with a DIY kit from the auto parts store?
- 7.2 How do I know if my AC compressor is bad or if it’s just low on refrigerant?
- 7.3 How much does it cost to fix a car AC that’s not blowing cold?
- 7.4 Is it safe to use DIY AC recharge kits or do they damage the system?
- 7.5 How do I find an AC refrigerant leak in my car?
- 8 The Verdict: Start with the Free Checks Before Replacing Parts
The Thermodynamics of Automotive Cooling
An automotive air conditioning network does not actually “create” cold air. Instead, it operates on basic laws of physics to extract thermal heat energy out of the passenger cabin and dump it into the outside atmosphere.
Here’s what you must understand: Refrigerant never gets “used up.” It is not like engine oil that burns off or degrades over time. An AC system is a perfectly sealed ecosystem. If your system is low on refrigerant, you have a physical leak. Period. Anyone who tells you your system “just needs a quick recharge” without identifying the leak location is selling you a temporary band-aid that will escape back into the atmosphere within weeks.
This loop relies on a specialized chemical agent known as R-134a (or R-1234yf in vehicles built after 2021) moving through a continuous closed loop:
The Evaporator: Tucked deep inside the dashboard HVAC box, the cold low-pressure liquid passes through copper coils. The cabin blower fan pushes warm interior air across these frozen coils; the refrigerant absorbs the cabin’s heat, and icy air blows out your dashboard vents.
The Compressor: Driven by the engine accessory belt, the compressor pressurizes the low-pressure refrigerant gas, transforming it into a high-temperature, high-pressure vapor.
The Condenser: Mounted directly in front of the vehicle radiator, the condenser forces incoming road air to cool the high-pressure gas down, condensing it into a high-pressure liquid state.
The Expansion Valve / Orifice Tube: This metered restriction point drops the fluid pressure instantly. As the pressure plummets, the liquid refrigerant experiences a massive temperature drop, turning ice-cold.
4 Common Signs Your Car AC System Needs Service
Before opening service valves, verify which failure mode matches your current cabin behavior:
- Weak Airflow from Vents (But Air is Cold): The blower motor runs, but very little air escapes the louvers. This is almost always caused by a heavily clogged cabin air filter or a plastic duct leaf blockage.
- AC Blows Ice-Cold at Speed, But Warm at a Stoplight: This confirms that the AC condenser cooling fan has failed or the condenser fins are heavily packed with mud and road debris, preventing thermal transfer unless highway air hits the grill.
- Intermittent Cooling Channels: The system blows cold for 10 minutes, then suddenly turns warm and humid. This indicates the system moisture boundaries are compromised, causing the expansion valve to physically freeze shut into a ice block.
- Loud Screeching or Grinding Noises Under the Hood: Turning on the AC triggers an immediate metallic mechanical grinding sound. This confirms that the internal compressor clutch bearing is fully seized or the drive belt has stretched loose.
The Safe 5-Step Car AC Troubleshooting Sequence
Follow this rigorous technical sequence to isolate the fault safely without over-pressurizing your HVAC lines:
1. Execute an Initial Electrical and Relay Check: 3 min.
Pop your vehicle’s hood, open the main black fuse block, and locate the fuse marked “AC COMP” or “HVAC.” If the metal alloy bridge inside the fuse is snapped, your compressor cannot engage. If the fuse is healthy, swap the mechanical AC compressor clutch relay with an identical non-critical relay (like the horn relay) to rule out an electrical switch failure.
2. Inspect the Compressor Clutch Engagement: 5 min.
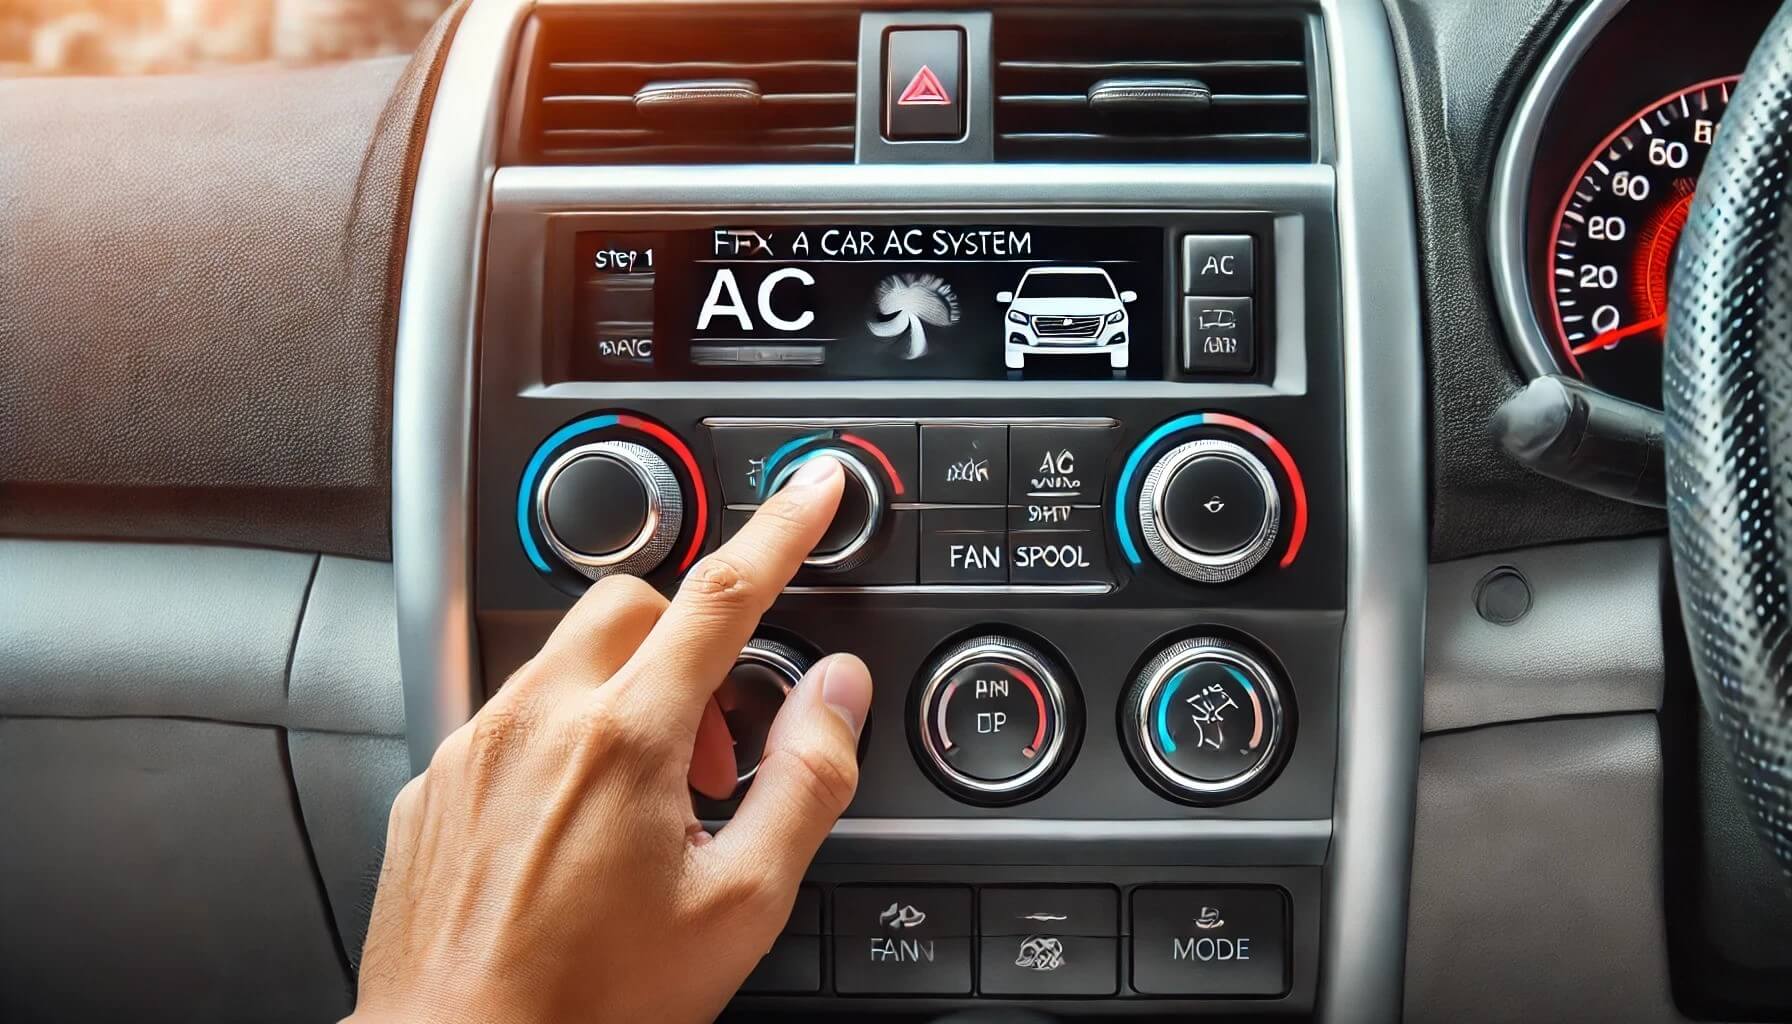
Start the engine and press the dashboard AC button inside the cabin. Watch the front face of the AC compressor pulley. The outer belt pulley spins continuously with the engine, but the inner hub center should click and lock flat when the AC is turned on. If the center hub stays completely stationary, your system is either completely out of refrigerant or suffers from a dead pressure switch.
3. Examine the Condenser Face for Debris: 5 min.
Shine a flashlight through your vehicle’s front bumper grill to inspect the aluminum AC condenser fins. If the tiny tracking windows are caked with packed mud, dried leaves, or dead insects, the system cannot drop heat. Spray the condenser down thoroughly using a low-pressure garden hose and a soft nylon brush to clear the matrix tracks.
4. Replace the Saturated Cabin Air Filter: 5 min.
Open your vehicle’s glovebox compartment, drop the retention tabs, and slide out the old plastic cabin air filter. If the paper element is choked with black dust, pollen, and leaves, it completely restricts the blower motor’s air path. Slide a brand-new carbon-activated filter into the slot to instantly restore maximum airflow velocity.
5. Execute a Low-Side Pressure Leak Diagnostic: 10 min.
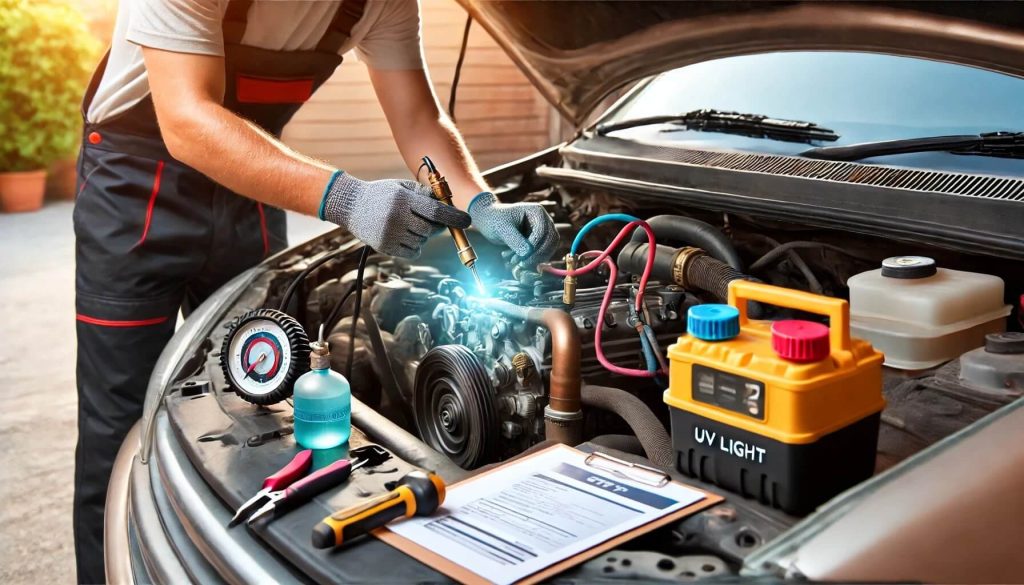
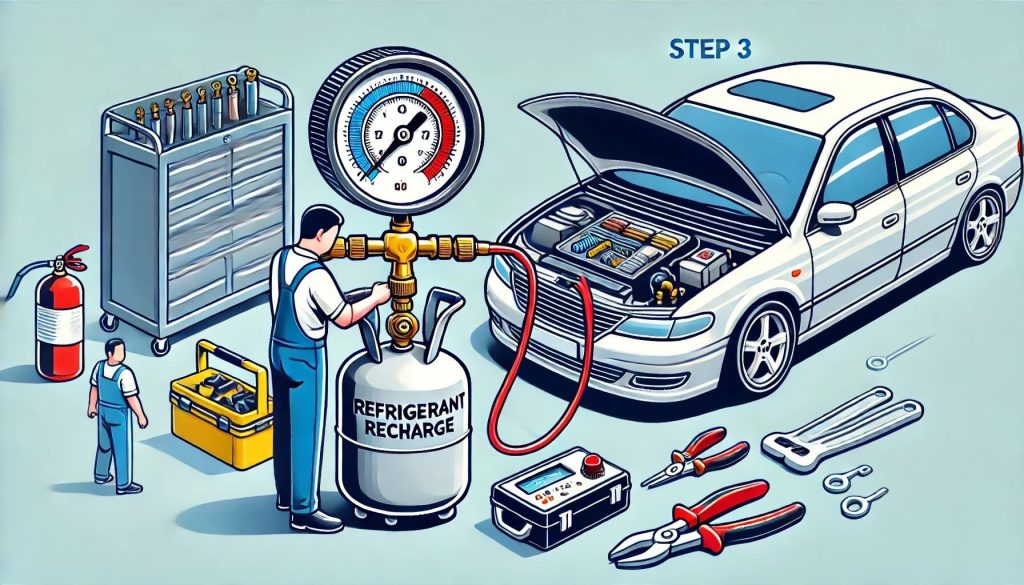
If the compressor hub is clicking on and off rapidly (short-cycling), your refrigerant level is low due to a leak. Connect a DIY recharge gauge exclusively to the Low-Side Service Port (the thick metal line featuring the larger plastic cap). Never connect anything to the thin High-Side line. If the gauge rests in the red zone, spray a UV leak detection dye across the hose crimps to locate the structural puncture before adding extra chemical Freon.
HVAC Component Service & Repair Cost Matrix (2026 US Estimates)
| Isolated Component Failure | Average DIY Material Cost | Professional Shop Cost (Labor Included) | Technical Service Profile |
| Premium Cabin Air Filter | $15 – $35 | $65 – $95 | Fast 5-minute tool-free glovebox swap |
| Low-Side Refrigerant Recharge | $30 – $60 | $120 – $220 | Requires accurate manifold pressure reading |
| AC Pressure Switch Replacement | $20 – $45 | $150 – $250 | Simple thread-on sensor switch fix |
| Condenser Cooling Fan Assembly | $45 – $110 | $250 – $450 | Requires unbolting the radiator shroud |
| Complete AC Compressor Assembly | $200 – $450 | $650 – $1,400+ | Requires a full commercial machine vacuum evacuation |
Retail DIY Recharge Kits: An Honest Technician Assessment
Those $40 DIY recharge cans sitting on retail auto parts shelves look incredibly tempting when your cabin is warm, but they come with extreme mechanical risks:
- Inaccurate Pressure Readings: The single-line plastic gauges attached to retail cans are highly sensitive to ambient under-hood heat and frequently read off by up to 20 to 30 PSI. Overcharging an automotive AC loop forces the compressor to pump fluid against excessive liquid resistance, blowing out structural shaft seals and destroying internal pistons.
- The Danger of Chemical “Stop-Leak” Additives: Many retail kits contain internal polymer glues marketed to seal leaks from the inside out. Once exposed to oxygen or internal moisture, these chemicals crystallize instantly. They will completely plug your microscopic orifice tube and expansion valve screen, transforming a minor $150 O-ring leak into a catastrophic $1,500 total HVAC system contamination failure.
- Complete Incompatibility with R-1234yf Systems: If your car is a 2017 model or newer, it likely utilizes modern R-1234yf refrigerant. The service couplers and internal system pressures are fundamentally different. Attempting to force an older R-134a retail can onto an R-1234yf loop will permanently damage internal electronics and instantly void your factory vehicle warranty.
- Federal EPA Section 609 Rules: Under federal environmental laws, commercial technicians must hold an EPA 609 certification to recover and handle open refrigerant lines for compensation. While DIYers are legally permitted to top off their personal R-134a systems in most states, it is strictly illegal to vent any chemical refrigerant into the open atmosphere. If a component requires replacement, the gas must be evacuated using a commercial shop recovery machine.
DIY vs. Professional Mechanic Service Boundaries
| Automotive Task | DIY Approved? | Equipment Required | Total Target Cost |
| Cabin Filter & Relay Swap | ✅ Yes | Standard hand tools | $15 – $35 |
| Condenser Fins Cleaning | ✅ Yes | Low-pressure hose / Nylon brush | $0 |
| UV Leak Identification | ✅ Yes | UV Dye syringe / Blacklight light | $15 – $30 |
| Refrigerant Top-Off (No Leaks) | ⚠️ Conditional | Dedicated R-134a manifold gauges | $30 – $60 |
| Full Compressor Overhaul | ❌ No | Commercial vacuum pump & recovery tank | $650 – $1,400+ |
FAQs About How to Diagnose and Fix Your Car AC
Can I recharge my AC myself with a DIY kit from the auto parts store?
You can, but only if your car uses R-134a (pre-2017), the system is slightly low, and you have no leaks. The kit’s pressure gauge is often inaccurate, so don’t trust it blindly. Never use a kit with “stop leak” additives — they can clog your system. If your car uses R-1234yf (2017+), DIY kits are incompatible and will damage components.
How do I know if my AC compressor is bad or if it’s just low on refrigerant?
Check the compressor clutch first. If the hub spins with the pulley when AC is on, the clutch works. If it doesn’t engage, check static pressure with a gauge. At 80°F, static pressure should be about 80 PSI. If it’s under 50 PSI, the low-pressure safety switch is preventing engagement to protect the compressor. If pressure is good but the clutch won’t engage, the problem is electrical — relay, fuse, clutch coil, or wiring. A bad compressor makes grinding or rattling noises, leaks oil from the shaft seal, or seizes completely.
How much does it cost to fix a car AC that’s not blowing cold?
Free to $25 for a cabin filter or condenser cleaning. $150–$350 for a professional recharge with leak check. $200–$500 for a leak repair. $800–$1,500 for compressor replacement. $1,000–$2,000 for evaporator replacement (requires dashboard removal). The most common mistake is paying for a compressor replacement when the real problem was a $15 relay or a clogged filter.
Is it safe to use DIY AC recharge kits or do they damage the system?
They’re safe if used correctly on the right system. The dangers are: overcharging with an inaccurate gauge, using stop-leak additives that clog components, and using R-134a kits on R-1234yf systems. Overcharging forces the compressor to work against excessive pressure, which damages seals and bearings. Stop-leak additives crystallize in orifice tubes and expansion valves. Always check your refrigerant type before buying any kit.
How do I find an AC refrigerant leak in my car?
Start with a visual inspection for oily residue on hoses, connections, and the compressor shaft seal. Refrigerant carries oil, so leaks leave a greasy film. For smaller leaks, add UV dye to the system and check with a blacklight after a few days. Electronic leak detectors find the smallest seepage but cost $50–$300. A soap bubble test works on large leaks — spray soapy water on connections and look for bubbles.
The Verdict: Start with the Free Checks Before Replacing Parts
Never authorize an expensive mechanical compressor replacement based solely on a warm blast of vent air. An automotive HVAC system is a sensitive thermodynamic loop—if your airflow is choked by a $20 blocked cabin filter or a single blown electrical relay, a $1,200 brand-new compressor will completely fail to lower your interior temperatures. Take 10 minutes to clean your condenser tracks, check your low-side manifold gauge metrics accurately, and hand large structural recovery leaks to a certified HVAC specialist to preserve your vehicle’s long-term comfort and resale metrics.
(Want to ensure the rest of your vehicle’s electronic modules, engine diagnostics, and dashboard path networks are operating with absolute factory precision? Read our master workshop guide on How to Read Check Engine Light Codes Without a Scanner or check out The Car Buzz Official Testing and Editorial Integrity Guidelines Page).