
This article was updated in September 7, 2026 with new products and information by Mark S. Taylor
A dirty vinyl car interior usually needs more than a quick wipe with a wet rag. Dust, body oils, sunscreen, food residue and road grime can build up on dashboards, door panels, consoles and vinyl seats.
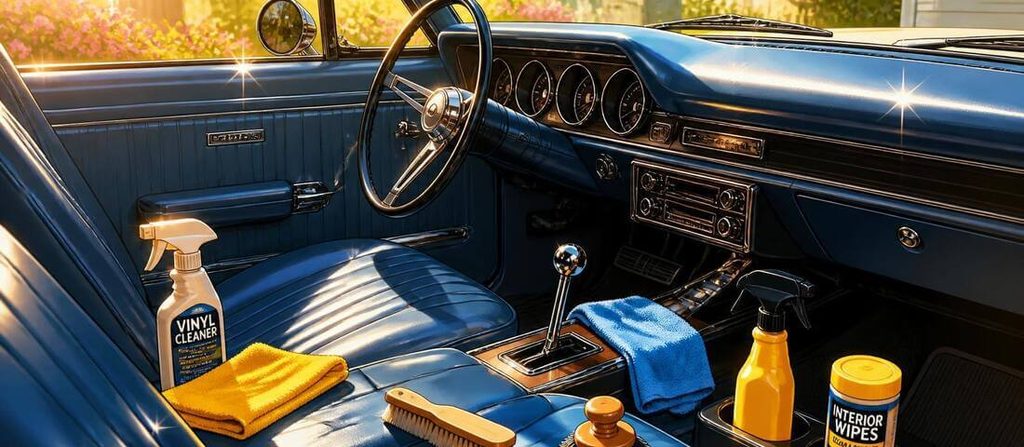
The good news is that most automotive vinyl can be cleaned safely with the right interior cleaner, microfiber towels and a soft brush.
The important part is not to attack heavy grime with an aggressive chemical or abrasive scrubber. Clean the surface in stages, use the least aggressive method that works, and avoid leaving slippery residue behind.
Contents
- 1 What You Need to Clean Dirty Car Vinyl
- 2 How to Clean a Dirty Vinyl Car Interior
- 3 How to Clean a Dirty Vinyl Dashboard
- 4 How to Clean Vinyl Car Seats
- 5 How to Remove Grease and Sticky Grime From Car Vinyl
- 6 How to Remove Stains From Vinyl
- 7 What Not to Use on Car Vinyl
- 8 Should You Use Vinyl Protectant?
- 9 When Dirty Vinyl Is Actually Damaged
- 10 How Often Should You Clean Vinyl?
- 11 Common Mistakes When Cleaning Vinyl Interiors
- 12 FAQs About How to Clean Dirty Vinyl Car Interior
- 13 Final Verdict
Quick Answer
To clean a dirty vinyl car interior, first remove loose dust and debris with a vacuum or dry microfiber towel. Spray a vinyl-safe interior cleaner onto a microfiber towel or soft detailing brush rather than soaking the vinyl. Work a small section at a time, gently agitate stubborn grime, then wipe the area with a clean damp microfiber towel and dry it.
For heavy buildup, repeat the process instead of immediately using a stronger chemical or harder scrubbing.
After the vinyl is clean and completely dry, you can apply a compatible interior protectant if desired. Avoid glossy or slippery products on steering wheels, pedals and other controls.
What You Need to Clean Dirty Car Vinyl
You do not need an expensive detailing setup.
For most dirty vinyl interiors, gather:
- A vacuum cleaner
- 2–3 clean microfiber towels
- A soft interior detailing brush
- A vinyl-safe or automotive interior cleaner
- A small amount of clean water
- A separate dry microfiber towel
- Optional: a vinyl/interior protectant
A dedicated automotive interior cleaner is usually the safest starting point because these products are formulated for surfaces such as vinyl, plastic and rubber. Some current interior cleaners are specifically designed to remove dirt, oils, grease and sunscreen while leaving little or no greasy residue.
How to Clean a Dirty Vinyl Car Interior
1. Park in a cool, shaded area
Do not start by cleaning a hot dashboard in direct sunlight.
Give the interior time to cool down. A hot surface can make a cleaner dry too quickly and make it harder to control how the product works.
2. Remove loose dirt first
Vacuum the floor, seats, seams and crevices.
For the dashboard and other hard surfaces, use a dry microfiber towel to remove loose dust.
This step is easy to overlook, but it matters. If you immediately rub a wet towel across a dusty surface, you can drag abrasive dirt across the vinyl instead of removing it.
3. Test the cleaner
Before cleaning a large visible area, test the product in a small inconspicuous location.
This is especially important with older vinyl, aftermarket materials, colored surfaces or areas that may have previously been treated with another chemical.
4. Apply the cleaner to the towel
For routine cleaning, spray a small amount of automotive interior cleaner onto a microfiber towel.
Do not flood the dashboard, door panel or seat with liquid.
Applying the cleaner to the towel gives you better control and reduces the chance of liquid running into switches, vents, seams or electronics.
5. Clean a small section at a time
Work in sections rather than trying to clean the entire interior at once.
Wipe the vinyl using moderate pressure. If the dirt comes off easily, there is no reason to scrub harder.
For textured vinyl, use a soft detailing brush to work cleaner into the grain.
The goal is to loosen the dirt—not grind it deeper into the texture.
6. Agitate stubborn grime gently
Heavy grime may need more than one pass.
Apply cleaner to the towel or brush and gently work the contaminated area. For textured surfaces, a soft brush can reach the recessed portions of the vinyl better than a flat towel.
If the grime does not come off, let the cleaner work according to its label directions and try another pass.
Do not automatically reach for an abrasive pad.
7. Wipe away the loosened dirt
Use a separate clean microfiber towel to remove the dirty cleaner residue.
If necessary, slightly dampen the towel with clean water and make another pass.
You want the surface to feel clean rather than oily or coated.
8. Dry the vinyl
Use a clean, dry microfiber towel to remove remaining moisture.
Pay particular attention to seams, switches, buttons and areas where liquid could collect.
How to Clean a Dirty Vinyl Dashboard
Dashboards deserve extra care because they contain vents, switches, screens and electronic components.
Start with a vacuum or dry microfiber towel.
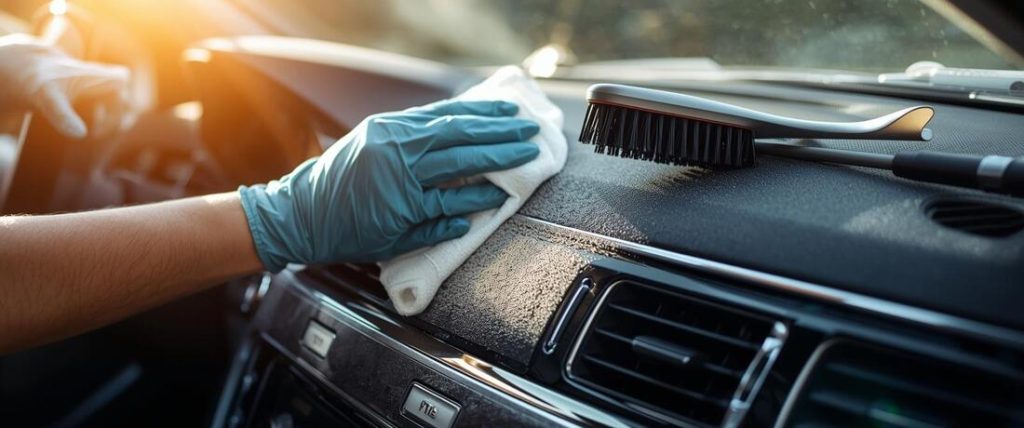
Then use a small amount of vinyl-safe interior cleaner on a microfiber towel. Wipe the dashboard instead of spraying large amounts of liquid directly onto it.
For textured areas, use a soft detailing brush.
Be especially careful around:
- Instrument clusters
- Infotainment screens
- Air vents
- Switches
- Steering-wheel controls
- Seams
- Electronic components
Never assume that a product safe for vinyl is automatically safe for every material surrounding the vinyl.
Screens and clear plastic surfaces can have different cleaning requirements.
How to Clean Vinyl Car Seats
Vinyl seats often collect body oils, sweat, sunscreen and spilled drinks.
Start by vacuuming the seams and gaps.
Then clean one section at a time with an appropriate interior cleaner and microfiber towel.
For textured or perforated vinyl, use a soft brush rather than aggressively scrubbing with a towel.
If the seat has perforations, avoid flooding it with cleaner. Excess liquid can travel through the holes and create problems underneath the surface.
After cleaning, wipe away residue and allow the seat to dry completely.
What if the vinyl seat is sticky?
Sticky vinyl usually means there is some type of residue on the surface.
Possible sources include:
- Sunscreen
- Body oils
- Food or drink
- Old protectant
- Adhesive residue
- Chemical contamination
Start with a mild automotive interior cleaner.
Do not immediately use a harsh solvent simply because the surface feels sticky. The wrong chemical can damage the finish or alter the appearance of the vinyl.

How to Remove Grease and Sticky Grime From Car Vinyl
Greasy buildup is common around door handles, armrests, center consoles and steering-wheel areas.
Use a cleaner designed for automotive interiors and work in small sections.
Spray the cleaner onto the microfiber towel rather than soaking the surface.
Wipe the contaminated area, then turn to a clean section of the towel.
For heavier buildup, repeat the process.
The towel will eventually stop picking up as much contamination. That is your sign to switch to a clean towel rather than continuing to spread the same dirt around.
For stubborn textured areas, a soft detailing brush can help lift contamination from the grain.
How to Remove Stains From Vinyl
First identify what caused the stain if possible.
A fresh drink spill, grease mark and old dye transfer should not necessarily be treated the same way.
Start with the least aggressive cleaning method.
- Remove loose contamination.
- Apply a vinyl-safe interior cleaner.
- Gently agitate the stain.
- Wipe away the cleaner.
- Repeat if necessary.
- Dry the surface.
Do not assume that more chemical or more pressure equals better cleaning.
Some discoloration is not sitting on top of the vinyl. It may have penetrated, chemically altered the material or come from another surface.
If repeated gentle cleaning does not change the stain, stop escalating blindly.
What Not to Use on Car Vinyl
This is where many DIY interior-cleaning jobs go wrong.
Avoid experimenting with harsh household chemicals simply because they remove grease quickly.
Also be careful with:
- Abrasive scrub pads
- Aggressive solvents
- Strong degreasers not approved for automotive interiors
- Excessive water
- Hard-bristle brushes
- Excessive scrubbing
- Products that leave a slippery film
A cleaner that works well on a kitchen counter is not automatically appropriate for automotive vinyl.
The goal is to remove contamination while preserving the original texture, color and finish.
Should You Use Vinyl Protectant?
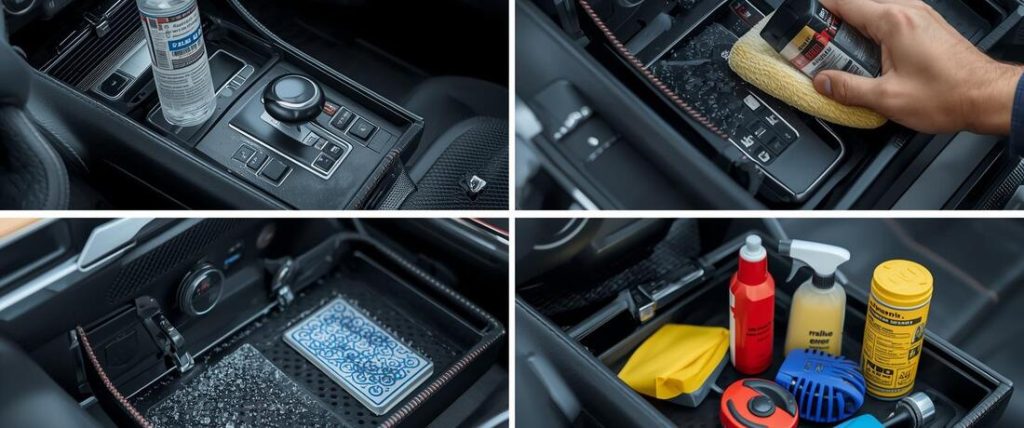
A protectant is optional after cleaning.
Think of the process this way:
Cleaner removes contamination. Protectant provides a finishing treatment.
Do not use a protectant to hide a dirty surface.
If you apply a shiny product over grime, you can end up with a greasy-looking interior that attracts even more dust.
There are also different finish preferences. Some products intentionally leave a high-gloss appearance, while others are designed to leave a natural or matte finish.
For most modern interiors, a clean OEM-style finish is usually preferable to an extremely glossy dashboard.
Important safety warning
Do not apply a slippery protectant to the steering wheel, pedal surfaces or other controls where reduced grip could create a safety problem.
Always check the product label for approved and prohibited surfaces.
When Dirty Vinyl Is Actually Damaged
Not every ugly vinyl surface is simply dirty.
If you have cleaned the material properly and the discoloration remains, the vinyl may be:
- Faded from UV exposure
- Permanently stained
- Cracked
- Chemically damaged
- Worn through
- Discolored by another material
- Developing surface deterioration
This distinction matters because cleaning cannot reverse physical damage.
If the original texture or color has been permanently altered, additional scrubbing can make the situation worse.
How Often Should You Clean Vinyl?
There is no single schedule that works for every vehicle.
A car used every day, parked outside and frequently exposed to dust, sunscreen and food will need more frequent cleaning than a weekend vehicle stored indoors.
A practical approach is:
- Light dust: wipe as needed
- Normal grime: clean every few weeks
- Heavy-use vehicle: inspect high-touch areas weekly
- Spills: clean as soon as practical
- Deep interior cleaning: several times per year or as needed
Regular light cleaning is usually easier on the material than allowing months of grime to accumulate and then trying to remove everything in one aggressive session.
Common Mistakes When Cleaning Vinyl Interiors
Spraying everything directly
More cleaner does not mean better cleaning.
Overspray can reach screens, switches, glass and other surfaces that require different cleaning methods.
Using one dirty towel for the entire interior
A towel that has already collected dirt can simply redistribute it.
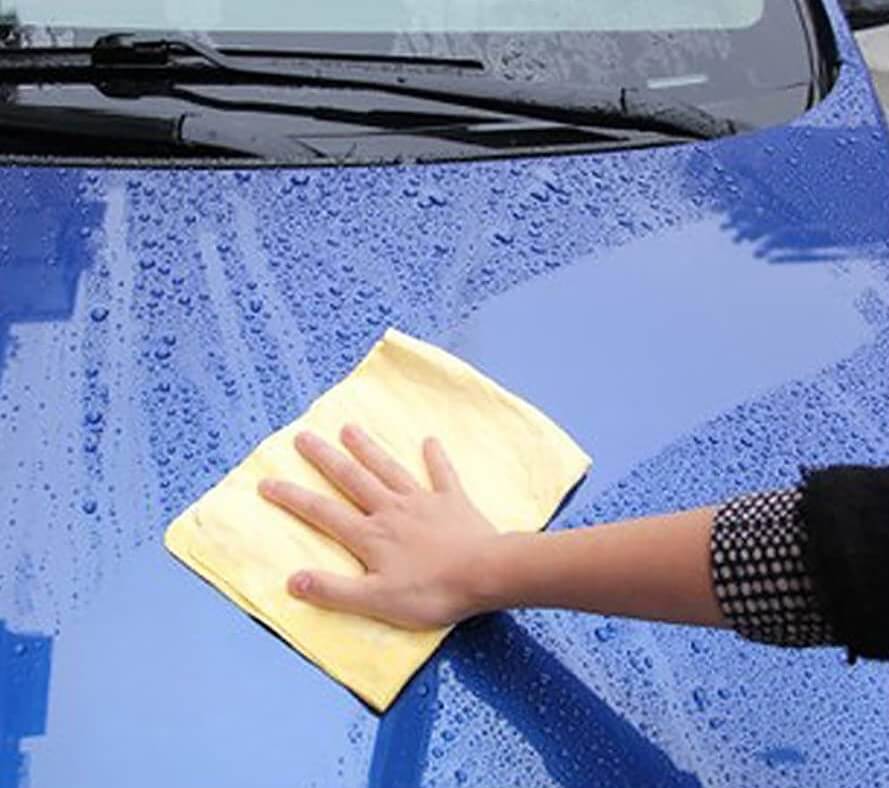
Use multiple clean microfiber towels and change to a clean section frequently.
Scrubbing too hard
If gentle cleaning is not removing the contamination, identify what you are dealing with before increasing pressure.
Making the dashboard extremely shiny
A glossy dashboard may look impressive in photos, but excessive product can leave a greasy feel and may create unwanted reflections.
Cleaning the steering wheel with a slippery protectant
This is a safety mistake.
The steering wheel is a high-contact control surface, so maintaining predictable grip is more important than creating a glossy finish.
Ignoring the cause of the dirt
If sunscreen, food, drinks or oily residue are repeatedly getting onto the same areas, changing the cleaning routine will help more than simply using stronger chemicals.
FAQs About How to Clean Dirty Vinyl Car Interior
What is the best way to clean dirty vinyl in a car?
Start by removing loose dirt, then use a vinyl-safe automotive interior cleaner with a microfiber towel. For textured surfaces, use a soft detailing brush. Wipe away residue and dry the surface afterward.
Can I use dish soap to clean car vinyl?
It is better to use a product specifically formulated for automotive interiors unless the vehicle or material manufacturer says otherwise. Automotive vinyl can have different textures, coatings and finishes, and interior cleaners are designed with those surfaces in mind.
How do I clean really dirty vinyl car seats?
Vacuum first, then work in small sections with a suitable automotive interior cleaner and microfiber towel. Use a soft brush for textured areas and repeat the cleaning process rather than immediately using an aggressive chemical.
How do I remove grease from vinyl?
Use an automotive interior cleaner designed to remove oils and grime. Apply a controlled amount to a microfiber towel, work the area gently and wipe away the loosened contamination with a clean towel.
Can I use an interior protectant after cleaning?
Yes, if the product is compatible with the surface. Apply it only after cleaning and drying the vinyl. Avoid protectants that create a slippery surface on steering wheels, pedals or other controls.
Why does my vinyl still look dirty after cleaning?
The discoloration may not be removable dirt. UV fading, permanent staining, chemical damage or wear can change the appearance of vinyl. If repeated gentle cleaning does not improve it, additional aggressive scrubbing may cause more damage.
Final Verdict
The safest way to clean a dirty vinyl car interior is to start mild and work progressively.
Remove loose dirt first. Use an automotive interior cleaner and microfiber towel. Use a soft brush for textured vinyl. Clean small sections, wipe away residue and dry the surface.
Most importantly, do not confuse cleaning with restoration. If the vinyl is faded, cracked or permanently discolored, stronger chemicals will not necessarily bring it back—and may make the damage worse.
A clean vinyl interior should look and feel like the material itself, not like it has been covered in a thick layer of dressing.