
This article was updated in May 18, 2026 with new products and information by Mark S. Taylor
Stop right now if you’re about to buy a replacement control box. In twenty years of turning wrenches, I’ve watched hundreds of people spend $500 to $2,000 on control modules they didn’t need. The first thing I check when a customer brings in a car with suspected control box failure is whether there’s a Technical Service Bulletin for their exact symptoms—about 30% of the time, there’s a known fix that doesn’t involve replacing the module at all. This guide covers when cleaning actually works, what replacement really costs including programming, and the diagnostic steps most people skip.

Contents
- 1 What Is a Car Control Box? (ECU, TCM, BCM Explained)
- 2 Symptoms of a Failing Control Box
- 3 When Cleaning Makes Sense (And When It Doesn’t)
- 4 How to Clean a Car Control Box Safely
- 5 When Replacement Is Your Only Option
- 6 Control Box Replacement Cost Breakdown
- 7 The Programming Nightmare: What Nobody Warns You About
- 8 DIY vs. Professional: The Honest Breakdown
- 9 FAQ: Control Box Questions Drivers Actually Ask
- 10 The Bottom Line
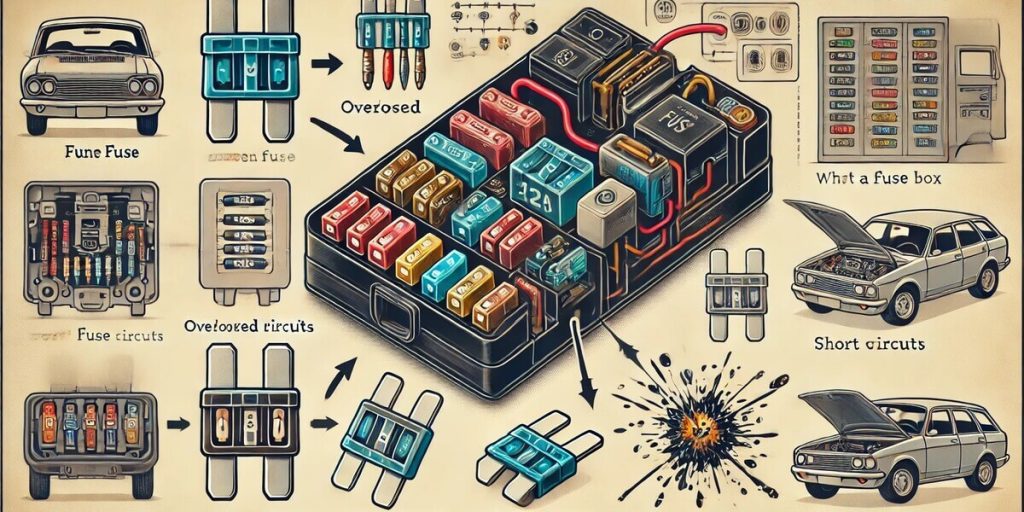
What Is a Car Control Box? (ECU, TCM, BCM Explained)
“Control box” is a vague term that could mean several different things under your hood or dash. Here’s what you’re actually dealing with:
ECU (Engine Control Unit) — Also called ECM or PCM when combined with transmission controls. This box manages your engine’s fuel, ignition, and emissions systems. It’s the most expensive and most complicated to replace.
TCM (Transmission Control Module) — Controls automatic transmission shifting. Sometimes separate, sometimes built into the ECU depending on your vehicle.
BCM (Body Control Module) — Manages electrical functions like power windows, locks, lighting, and sometimes security systems. Usually located under the dash.
Different control boxes have different replacement complications. The ECU often requires immobilizer programming, while a BCM typically needs configuration for your specific options package. Know which box you’re dealing with before you start.
Symptoms of a Failing Control Box
Control box failure doesn’t always look like a dead computer. Watch for these patterns:
- Intermittent problems that come and go — The car runs fine Monday, won’t start Tuesday, perfect Wednesday
- Multiple unrelated systems acting up — Window stops working, check engine light appears, and radio resets all in the same week
- No communication with scan tool — Your OBD-II scanner can’t connect to that specific module
- Codes that don’t make sense together — Oxygen sensor, misfire, and transmission codes appearing simultaneously with no common cause
- Problems that clear when you disconnect the battery — Only to return days or weeks later
If you’re driving down the highway and suddenly your dashboard lights up like a Christmas tree with random warnings, then everything returns to normal after you restart—that’s classic control box behavior. The hallmark of control box failure is intermittent problems that don’t follow logical patterns.
When Cleaning Makes Sense (And When It Doesn’t)
Cleaning a control box isn’t a magic fix. It works in specific situations and wastes time in others.
Cleaning might help if:
- The vehicle suffered water intrusion (flood damage, cowl leak, windshield seal failure)
- You see corrosion on the connector pins when you unplug it
- The problems started after the car sat in high humidity or was exposed to moisture
- A shop confirmed the module has “communication issues” but no internal damage
Cleaning won’t help if:
- A component on the circuit board is visibly burned or cracked
- The problems started after a voltage spike (jump-started incorrectly, alternator failure)
- The module has physical damage from impact or heat
- You’re getting codes that indicate specific sensor failures, not module communication faults
If you open the control box and see darkened or bubbled areas on the circuit board, a component has failed internally. No amount of cleaning will fix that. Cleaning only addresses corrosion-related failures where moisture has caused poor electrical connections.
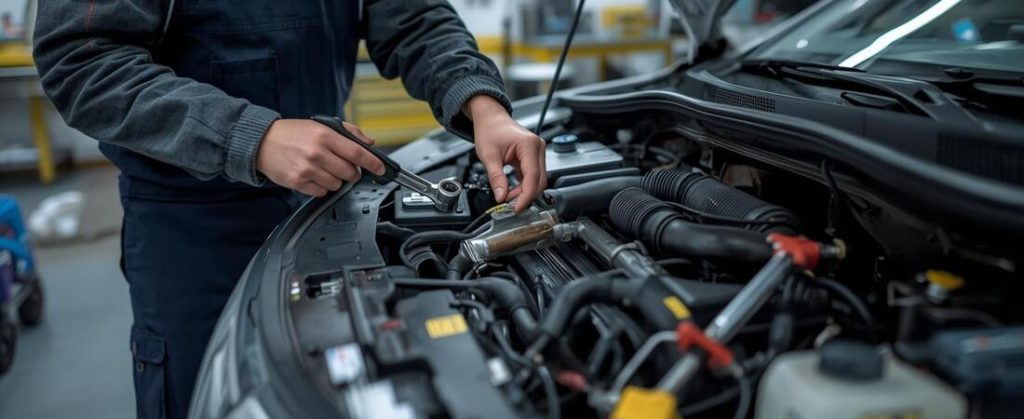
How to Clean a Car Control Box Safely
If you’ve determined cleaning is worth attempting, follow these steps precisely. This isn’t a job to rush.
What you’ll need:
- Electronics-grade contact cleaner (not WD-40, not brake cleaner)
- Small soft brush (anti-static if possible)
- Dielectric grease
- Torx bits or security Torx bits (many modules use tamper-proof screws)
- Clean workspace with good lighting
- Digital camera or phone for documentation
Step 1: Document everything Before touching anything, photograph the control box from multiple angles. Document where each connector goes and how the box is positioned. You’ll thank yourself later.
Step 2: Disconnect the battery Wait at least 10 minutes after disconnecting before touching the control box. This allows residual charge to drain and protects sensitive components.
Step 3: Remove the control box Note the mounting position and any ground wires attached. Some modules ground through their case to the vehicle body—lose that connection and nothing works right.
Step 4: Clean the external connectors Spray contact cleaner into each connector while working it on and off the module several times. This removes corrosion from the pin contacts where most problems actually live. Let it dry completely—contact cleaner evaporates quickly.
Step 5: Inspect before opening Look at the connector pins on the module itself. Are they bent, corroded, or pushed back? Pin problems in the connector cause more “control box failures” than actual box failures.
Step 6: Opening the box (proceed with caution) If external cleaning didn’t help and you’re going to open the case, understand the risks. Many modules are sealed with silicone or glued seams. Opening them can cause damage, and some manufacturers consider this tampering that voids any warranty on replacement cores.
Step 7: Internal cleaning (if you’ve opened it) If you see corrosion on the circuit board, lightly brush with contact cleaner. Never scrub the conformal coating—that clear or green coating protects the board. Removing it exposes bare copper to future corrosion. If corrosion has gotten under the coating, the board is likely damaged beyond what cleaning can fix.
Step 8: Reassembly and reconnection Apply a thin film of dielectric grease to the connector pins—this prevents future corrosion. Reconnect everything in reverse order, reconnect the battery, and test.
If the problem returns after cleaning, the control box has internal damage that requires replacement or professional repair.

When Replacement Is Your Only Option
Some control boxes can’t be saved. Here’s when replacement is the answer:
- Visible internal damage — Burned components, cracked solder joints, or physical board damage mean the box is done
- Repeated failure after cleaning — If corrosion returns quickly, moisture is still getting in or the damage was too extensive
- Professional diagnosis confirms internal failure — A proper electronics shop can test the board and confirm the failure is internal
- Software corruption that can’t be reflashed — Sometimes the hardware works but the software is corrupt, and reflashing fails
If you’re comparing your options and the control box has physical damage inside, don’t waste time on cleaning. Move straight to replacement.
Control Box Replacement Cost Breakdown
Control box replacement isn’t just the price of the part. Here’s what you’re actually paying:
| Component | Typical Cost Range | Notes |
|---|---|---|
| ECU/PCM (new OEM) | $500-$2,500 | Dealer part, highest price |
| ECU/PCM (remanufactured) | $200-$800 | Most common choice, comes with core return |
| TCM (remanufactured) | $150-$600 | Less expensive than ECU |
| BCM (remanufactured) | $100-$400 | Usually least expensive |
| Dealer programming | $100-$300 | Required for most modern vehicles |
| Independent shop programming | $75-$200 | If they have the equipment |
| Labor for replacement | $50-$200 | Usually 0.5-2 hours depending on location |
| Diagnostic confirmation | $75-$150 | Should be done before buying parts |
Total realistic replacement cost: $400-$1,500+ depending on the module and where you have the work done.
The part itself is often less than half the total cost. Programming and labor can double your bill, and that’s assuming you got the diagnosis right in the first place.
The Programming Nightmare: What Nobody Warns You About
This is where most DIY control box replacements go sideways. You cannot simply unplug your old box and plug in a new one on most vehicles built after 2000.
Immobilizer system complications If your car has an immobilizer (most do now), the ECU is married to your key’s transponder chip. A replacement ECU won’t recognize your key, and the car won’t start. This requires either dealer-level programming or specialized aftermarket tools to synchronize the new module with your keys.
VIN and configuration programming Modern control boxes need to be programmed with your vehicle’s VIN, options, and sometimes calibration data. A “blank” module won’t work—it needs to be configured for your specific car.
Online programming requirements Many newer vehicles (especially 2015+) require online programming that connects to the manufacturer’s servers. This is dealer-only territory for most brands. Independent shops pay thousands for the equipment and subscriptions to do this.
Learning and adaptation periods Even after programming, some modules need a “learn” period where the car adapts to the new box. Your transmission might shift oddly for 50 miles, or the engine might run rough until it relearns fuel trims.
Before you buy a control box online, find out exactly what programming it will need. Call a local shop or dealer and ask: “If I bring in a replacement [specific module] for my [year/make/model], can you program it, and what will it cost?” That answer might change whether buying online makes sense.
DIY vs. Professional: The Honest Breakdown
| Aspect | DIY Approach | Professional Service |
|---|---|---|
| Physical replacement | Doable for most DIYers | Included in service |
| Programming | Usually NOT possible at home | Required equipment available |
| Diagnostic confirmation | Often skipped, leads to misdiagnosis | Should be performed first |
| Risk of mistakes | High—wrong part, damaged connectors | Lower—done correctly the first time |
| Total cost if successful | Part cost only ($200-$800) | Part + labor + programming ($400-$1,500) |
| Total cost if wrong diagnosis | Wasted money on unneeded part | Still spent on diagnosis, but no wasted part |
You can physically swap the box yourself in most cases—the mechanical part isn’t difficult. But unless you have access to the programming equipment, you’ll still need to pay a shop for the software side. And if you misdiagnosed the problem, you’ve now bought a module you can’t return (most electrical parts are non-refundable once installed).
My recommendation: Pay for proper diagnostic confirmation first. If the control box is actually bad, decide whether you want to handle the physical swap yourself (saving $50-$200 in labor) while paying the shop for programming. This splits the job intelligently.
FAQ: Control Box Questions Drivers Actually Ask
Q: Can a water-damaged car computer be saved by cleaning?
A: Sometimes, but it depends on the extent of damage. If water caused corrosion on connector pins or external surfaces, cleaning often works. If water penetrated the sealed circuit board and caused corrosion under the conformal coating or shorted components, replacement is usually necessary. The sooner you address water damage, the better your chances—corrosion gets worse over time.
Q: How do I know if my control box is bad or if it’s a wiring problem?
A: This requires systematic testing. A good technician will check power and ground at the module connector, verify communication circuits, and inspect for corrosion before condemning the box. If the module has proper power, ground, and communication but still doesn’t function correctly, it’s likely the box. If power or ground is missing, the problem is wiring.
Q: Can I use a junkyard control box?
A: It’s possible but complicated. You need an identical part number and usually the same software version. Even then, it will need programming to work with your vehicle’s immobilizer and configuration. Some modules can be reprogrammed from a donor; others cannot. Call a programming specialist before buying a used module—they’ll tell you if it’s even possible for your application.
Q: Why does the dealer charge so much more for control box replacement?
A: Dealers use new OEM parts (not remanufactured), have higher labor rates, and often include more comprehensive programming and verification. Their warranty coverage is also typically better. Independent shops can often do the same job for 30-50% less by using quality remanufactured parts and lower labor rates.
Q: How long should a control box last?
A: Most original control boxes last 15-20 years or 150,000+ miles under normal conditions. Premature failure is usually caused by water intrusion, voltage spikes (from bad alternators or incorrect jump-starts), or excessive heat. Remanufactured units should have similar lifespan if the underlying cause of the original failure was addressed.
The Bottom Line
Most control box “failures” aren’t actually the control box. Before spending $500-$1,500 on replacement:
- Confirm the diagnosis — Pay for professional verification before buying parts
- Check for TSBs — Your exact problem might have a known fix
- Inspect connectors first — Corroded pins cause more problems than dead boxes
- Try cleaning if water damage is suspected — It’s cheap and might work
- Know the programming requirements before buying — Some vehicles make DIY replacement impossible
If replacement is necessary, remanufactured modules from reputable suppliers offer the best value. Factor programming costs into your budget, and don’t assume the cheapest online module is a bargain—it might be unusable without expensive dealer programming that wasn’t disclosed.
The control box is your car’s brain. Treat diagnosis with the same caution you’d use before brain surgery—confirm the problem before cutting.