
This article was updated in June 18, 2026 with new products and information by Mark S. Taylor
Your car’s internal combustion engine is essentially a massive air pump. To operate at peak efficiency, it requires a highly precise, chemically balanced mixture of fuel and oxygen. However, for every single gallon of gasoline your vehicle burns, it sucks in over 10,000 gallons of ambient air.
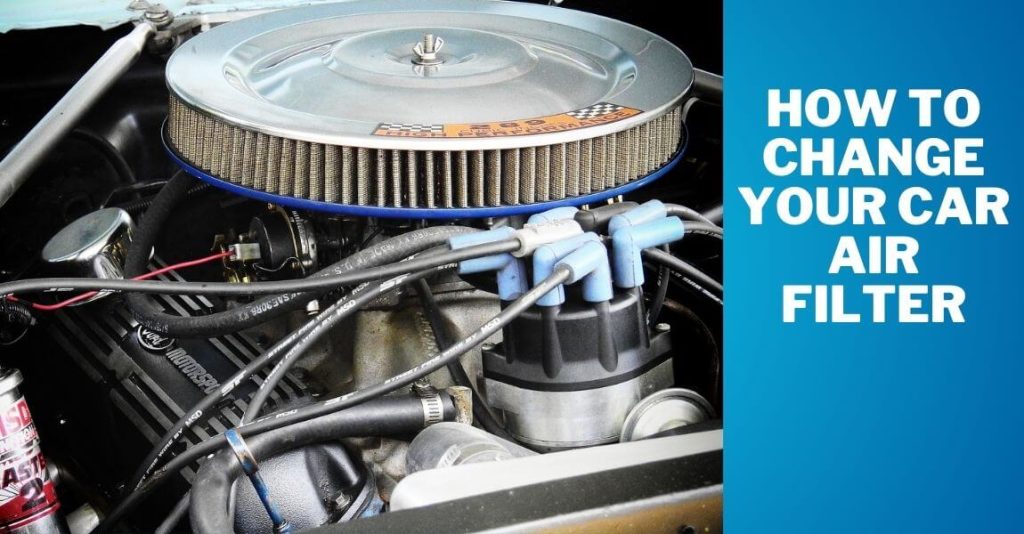
The engine air filter stands as your vehicle’s first line of defense, trapping road dust, sand, bugs, and abrasive soot before they can enter the cylinders. Over a 12,000 to 15,000-mile driving span, this filter becomes choked with debris, starving the engine of vital oxygen and forcing it to pull fuel-heavy mixtures.
Important Mechanic Note: Do not confuse your vehicle’s Engine Air Filter (located under the hood to protect the motor) with the Cabin Air Filter (located behind the glove box to clean the air you breathe). This diagnostic guide focuses exclusively on replacing the engine air filter to restore raw fuel economy and performance.
Contents
- 1 The Economic Impact of a Clogged Air Filter
- 2 Engine vs. Cabin: Don’t Buy the Wrong One
- 3 What You’ll Need (The DIY Tools Checklist)
- 4 5 Symptoms That Your Engine Air Filter Needs Immediate Replacement
- 5 The Safe 7-Step Engine Air Filter Replacement Sequence
- 6 Engine Air Filter Type Comparison (2026 Metrics)
- 7 DIY vs. Mechanic Cost Breakdown
- 8 When to Actually Replace It
- 9 FAQs About How to Change Your Car Air Filter
- 10 The Bottom Line from the Shop Garage
The Economic Impact of a Clogged Air Filter
When an engine is starved of oxygen due to a restricted filter, the Engine Control Module (ECM) attempts to compensate. On older carbureted or early fuel-injected cars, this burns raw excess fuel, dropping your fuel economy by up to 10%. On modern smart vehicles, the ECM trims the fuel to match the low air supply, which prevents fuel waste but causes a severe drop in horsepower and structural acceleration response.
Engine vs. Cabin: Don’t Buy the Wrong One
Before you go to the auto parts store, you need to know which filter you are actually replacing.
The engine air filter sits in a black plastic box under the hood, usually near the top right or left corner. It prevents dirt from getting sucked into your engine’s cylinders. The cabin air filter sits behind your glovebox and filters the air blowing through your A/C vents. They look completely different. We are doing the engine filter today.
What You’ll Need (The DIY Tools Checklist)
- A vehicle-specific replacement OEM paper or high-flow synthetic air filter
- A standard Phillips-head or flathead screwdriver (Depending on your factory housing clips)
- A clean micro-fiber shop rag
- A handheld vacuum or compressed air canister (To clean the filter box housing)
5 Symptoms That Your Engine Air Filter Needs Immediate Replacement
Before pulling screws, look out for these five critical shop symptoms:
- A Noticeable Drop in Fuel Efficiency: If you find yourself making more frequent stops at the local gas station during standard commuting, a choked filter is likely running your system fuel-rich.
- Sluggish or Delayed Acceleration: Pressing the gas pedal results in a lazy, bogged-down engine response rather than immediate forward torque.
- Rough Idling and Engine Misfires: Restricted airflow creates an unbalanced combustion loop, leading to spark plug fouling that makes the engine shake or vibrate violently at a complete standstill.
- Black Smoke or Fuel Odors from the Exhaust: Unburnt fuel escaping the combustion chamber due to a lack of oxygen will exit through the tailpipe as a dark haze or a heavy smell of raw gasoline.
- The Dashboard Check Engine Light (CEL): Modern mass airflow (MAF) sensors will instantly detect restricted intake volume and trigger diagnostic trouble codes like P0101 (MAF Sensor Circuit Range/Performance).
The Safe 7-Step Engine Air Filter Replacement Sequence
Changing a standard air filter is a straightforward 10-minute garage task. Follow this procedural sequence carefully:
1. Locate the Engine Air Filter Housing Box: 2 min.
Park on a flat surface, engage the parking brake, and pop the hood. Locate the large black plastic air box sitting near the front or side of the engine block. It connects directly to a wide, corrugated rubber air intake duct routing into the throttle body.
2. Unfasten the Housing Cover Latches: 2 min.
Inspect the perimeter of the plastic box lid. Most modern vehicles utilize 2 to 4 metal spring clips that snap open by hand. Older domestic trucks or European vehicles may require unfastening 3 or 4 Phillips-head screws. Loosen them completely and lift the plastic cover open.
3. Remove the Old Dirty Filter Element: 1 min.
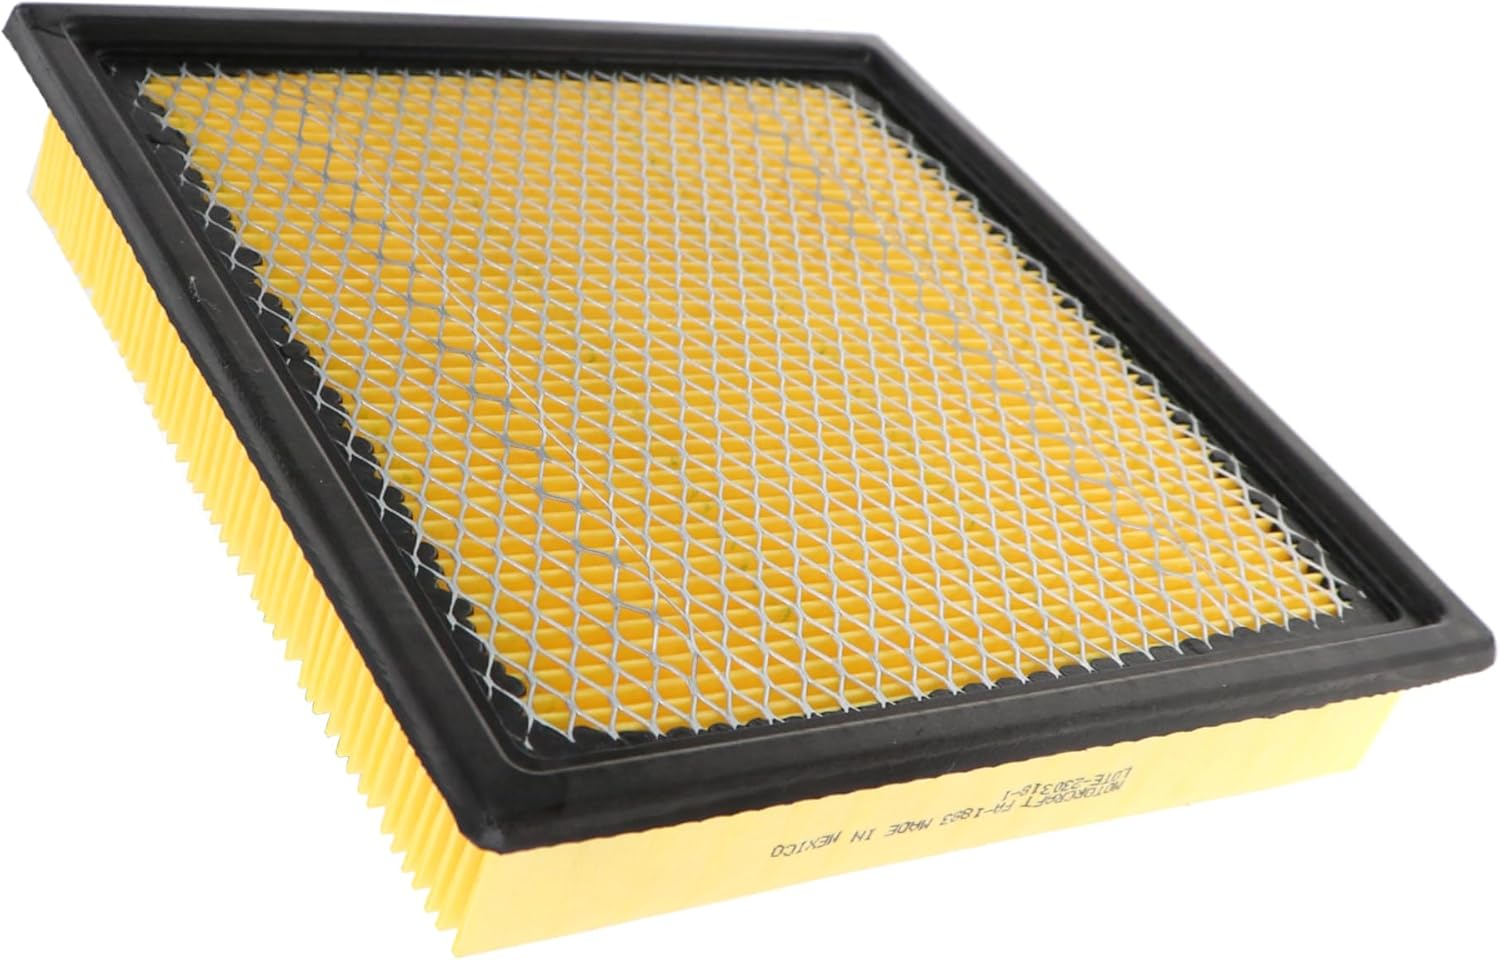
Lift the old filter element straight up out of its nesting track. Hold it up directly against the sunlight or a flashlight. If the white or yellow paper pleats look dark grey, caked in black grease, or filled with trapped leaves and sand, its service life has officially concluded.
4. Vacuum the Bottom of the Air Box Housing: 2 min.
Before sliding the new filter in, look inside the empty lower air box shell. You will find trapped sand, dead bugs, and salt grit. Use a shop vacuum or a damp micro-fiber rag to entirely wipe this chamber clean. Never use compressed air to blow dirt out while the intake pipe is exposed, or you will push abrasive grit directly into the engine’s internal cylinders.
5. Seat the Brand-New Replacement Filter: 1 min.
Remove your new filter from its retail packaging. Verify it matches the shape of the old element exactly. Slide it into the housing box. Ensure the soft rubber or foam perimeter gasket sits completely flush inside the tracking groove—an unaligned gasket allows raw, unfiltered air to bypass the filter elements entirely.
6. Seal and Relatch the Air Box Cover: 2 min.
Lower the plastic lid back down over the filter. Align the rear plastic hinge tabs first, then press down and re-engage the metal spring clips or tighten the screws firmly. Give the lid a physical tug to verify there are zero gaps along the edges.
Engine Air Filter Type Comparison (2026 Metrics)
| Air Filter Material | Average Service Lifespan | Primary Benefit | Key Structural Limitation |
| Conventional Paper (OEM) | 12,000 – 15,000 Miles | Highly affordable; excellent micro-particle trapping | Disposable; must be replaced entirely when clogged |
| High-Flow Cotton Gauze | Up to 50,000 Miles (Washable) | Reusable lifetime construction; increases air velocity | Requires manual cleaning and precise re-oiling every year |
| Synthetic Dry Media | 20,000 – 30,000 Miles | Enhanced flow rates without requiring sticky oils | Higher initial parts cost than basic paper elements |
DIY vs. Mechanic Cost Breakdown
Doing this yourself keeps money in your wallet. Here is the real-world math.
| Service Type | Part Cost | Labor Cost | Total |
|---|---|---|---|
| DIY (Auto Parts Store) | $15 – $25 | $0 | $15 – $25 |
| Independent Mechanic | $20 – $35 | $30 – $50 | $50 – $85 |
| Dealership | $25 – $45 | $50 – $100 | $75 – $145 |
Dealerships and shops often push “air filter services” that include spraying cleaner into the box. You do not need that. A dry wipe with a rag is all the box needs.
When to Actually Replace It
Ignore the old myth that you need a new air filter every 3,000 miles. That hasn’t been true since the 1980s. Modern engines draw air much more efficiently.
Check your filter at 15,000 miles. To know if it actually needs replacing, hold it up to a bright light bulb. If you can clearly see light shining through the paper pleats, it still has life left. If the paper looks dark, heavily sooty, or no light passes through, replace it. In dusty environments or if you drive on a lot of gravel roads, check it every 10,000 miles.
FAQs About How to Change Your Car Air Filter
What happens if I put the air filter in backward?
The filter will still technically fit in the box, but the airflow arrow will point the wrong way. The paper pleats will collapse under the suction of the engine, drastically restricting airflow and causing your car to run rough.
Can a dirty air filter cause a check engine light?
Yes. If the filter is so clogged that airflow drops significantly, it can mess up the air-to-fuel ratio. This triggers a lean fuel mixture code, which turns on the check engine light.
Are oiled aftermarket filters (like K&N) better?
They flow more air, but they are not better for a daily driver. If you over-oil the cotton gauze during cleaning, that oil gets sucked into the intake and coats the Mass Air Flow (MAF) sensor wire. A dirty MAF sensor causes rough idling and check engine lights. Stick to dry paper for street cars.
How do I know if I accidentally bought the cabin filter?
The cabin filter is usually thinner, longer, and sometimes folded like an accordion. The engine air filter is round, oval, or rectangular, and sits in a heavy black box connected directly to the engine intake.
Do I need to disconnect my car battery to do this?
No. You are not touching any electrical components or the engine itself. Just keep the keys out of the ignition so nobody tries to start the car while the box is open.
The Bottom Line from the Shop Garage
Replacing a choked engine air filter is one of the easiest, most cost-effective DIY skills you can master. Taking 10 minutes to clear the air path improves throttle response, lowers unburnt emissions, and protects your expensive internal valve train from premature wear. Check your filter visually during every routine oil change interval to ensure your engine never runs suffocated.
(Want to ensure the rest of your vehicle’s electronic sensors, engine diagnostics, and dashboard computer systems are running with absolute mechanical precision? Read our master workshop guide on How to Read Check Engine Light Codes Without a Scanner or check out The Car Buzz Official Testing and Editorial Integrity Guidelines).