
This article was updated in June 23, 2026 with new products and information by Mark S. Taylor
When you turn your vehicle’s ignition key, the high-pressure fuel delivery network demands absolute mathematical precision. Modern internal combustion engines rely on electronic fuel injectors engineered to atomize highly volatile gasoline into a micro-fine mist at pressures often exceeding 40 to 60 PSI in multi-port systems, and over 2,000 PSI in Direct Injection (GDI) platforms.
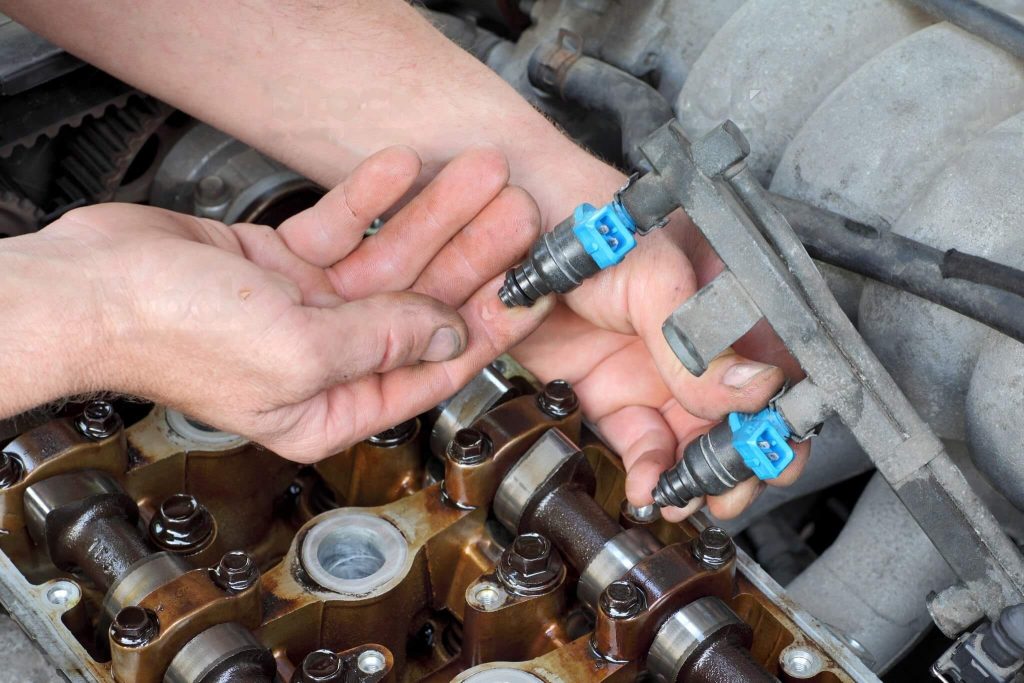
Over thousands of driving miles, the intense thermal heat radiating from the combustion chamber after engine shutdown bakes residual fuel drops right onto the injector tips. This chemical process creates hard, crusty carbon rings and lacquer deposits that distort the fine fuel spray pattern. Instead of a uniform, easily ignitable mist, the injector begins to dribble raw liquid droplets, causing severe fuel starvation, uneven combustion cycles, and high fuel bills.
As an ASE-Certified Master Technician, I know that you don’t always need to pay a professional shop $300 to pull your intake rails apart. In this comprehensive workshop guide, we will break down the precise symptoms of injector clogging, how to run a pressurized on-car canister cleaning loop safely, and review actual 2026 industry service costs.
Contents
- 1 What Dirty Fuel Injectors Actually Do to Your Engine
- 2 5 Definitive Signs Your Fuel Injectors are Clogged
- 3 The Chemical Matrix: Choosing the Right Cleansing Agents
- 4 Active Fuel Injector Cleaning Substrate Comparison
- 5 Step-by-Step Pressurized Fuel Injector Canister Loop
- 6 Industry Cost Matrix for Injector Service (2026 US Pricing)
- 7 DIY vs. Professional Mechanic Decision Guide
- 8 FAQs About How to Clean Fuel Injectors
- 9 The Verdict: Target the Carbon Before Buying Components
What Dirty Fuel Injectors Actually Do to Your Engine
Fuel injectors don’t just dump liquid gas into the cylinder. They are ultra-precise hydraulic valves designed to atomize fuel into a microscopic mist. Think of a heavy-duty spray bottle set to a “micro-fine mist” position versus a harsh “solid stream” setting.
When the injector tip is clean, fuel enters the combustion chamber as a perfectly balanced fine cone of vapor that mixes instantly with incoming oxygen and burns completely flat. When the tip is partially fouled with varnish, oil blow-by, or hard carbon, the spray pattern distorts into a ragged stream.
Streaming fuel cannot mix properly with air, causing incomplete combustion. This unburned liquid fuel washes the protective lubricating oil film straight off the cylinder walls, accelerating piston ring wear and destroying your engine’s internal compression balance over time.
5 Definitive Signs Your Fuel Injectors are Clogged
Before opening your vehicle’s hood, monitor your engine’s idle behavior for these five classic symptoms of a restricted fuel matrix:
- A Hunting, Shaking, or Rough Idle: If one or more injectors suffer from carbon clogs, the cylinder fuel-to-air balance drops below the $14.7:1$ stoichiometric ratio. This lean imbalance causes the engine block to shake, vibrate, or fluctuate erratically in RPM while idling at a stoplight.
- Abrupt Engine Misfires (DTC P0300-P0304): When an injector is heavily blocked, it fails to deliver enough fuel to trigger a clean combustion arc. The spark plug fires, but the cylinder misses entirely, logging trouble codes like P0301 (Cylinder 1 Misfire Present). A single clogged injector usually flags one specific cylinder, whereas random misfires (P0300) point to a weak fuel pump or failing inline filter.
- Sluggish Acceleration and Throttle Hesitation: When you step on the gas pedal to merge onto the highway, the engine stumbles, bogs down, or hesitates momentarily because the clogged injector nozzles cannot scale their fuel volume flow to match the wide-open air intake.
- Significant Drop in Fuel Economy: To compensate for the underperforming, lean-misfiring cylinder, the Engine Control Module (ECM) forces the healthy injectors to stay open significantly longer, dumping excess unmetered fuel into the remaining tracks and destroying your MPG metrics.
- Pungent Unburned Fuel Smell at the Tailpipe: When an injector’s internal pintle valve is fouled with lacquer, it cannot seal completely flat. Fuel drips continuously into the cylinder instead of atomizing, allowing raw, unburned gasoline vapors to escape directly into your hot exhaust loop.
The Chemical Matrix: Choosing the Right Cleansing Agents
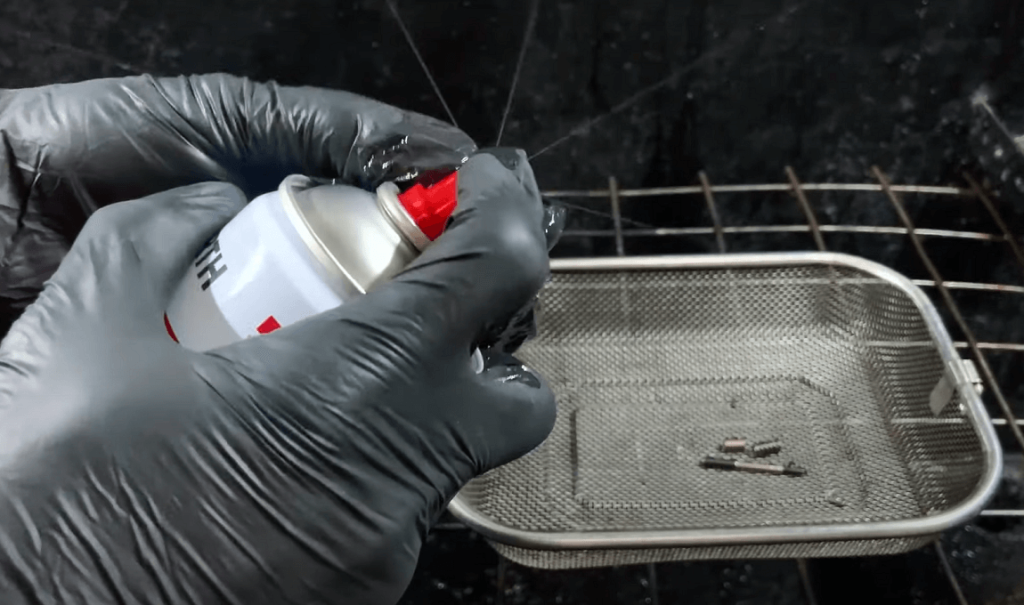
There are two primary ways to chemically clean your fuel injection loops without physically dropping the fuel tank or pulling the structural rails:
1. In-Tank Pour-In Cleaners (Preventative Maintenance)
These are concentrated liquid additives poured directly into a near-empty gas tank before a full fill-up.
- The Chemistry: Look exclusively for cleaners formulated with PEA (Polyetheramine). PEA is the only automotive detergent stable enough to survive the extreme $400^\circ\text{F}+$ thermal heat inside the combustion chamber, allowing it to chemically strip carbon crust off the injector nozzle head. Avoid cheap, alcohol-based additives which dry out internal fuel pump seals.
2. Pressurized Canister Loops (Corrective Repair)
This method utilizes a professional tool canister hooked directly to the engine’s mechanical fuel rail service port (Schrader valve). The car’s internal electric fuel pump is fully disabled, and the engine runs 100% exclusively on the pure, undiluted chemical solvent under compressed shop air. This is the absolute gold standard for severely clogged systems.
⚠️ CRITICAL HOMEMADE EXTERMINATION WARNING: Never, under any circumstances, pour white vinegar, household acetone, or mineral spirits into your vehicle’s fuel system. Vinegar contains highly corrosive acetic acid that instantly attacks internal copper windings, strips protective aluminum coatings off the fuel rails, and permanently dissolves delicate internal nitrile rubber o-ring seals, resulting in catastrophic under-hood fuel fires.
Active Fuel Injector Cleaning Substrate Comparison
| Cleansing Agent Category | Primary Active Chemical | Application Delivery System | Target Carbon Removal | Recommended Usage Frequency |
| Premium Fuel Additive | Polyetheramine (PEA) | Poured straight into fuel filler neck | Light varnish and surface glaze | Every 3,000 to 5,000 Miles |
| Pressurized Solvent Canister | Professional Grade Solvents | Direct connection to fuel rail barb | Heavy baked carbon rings | Every 30,000 to 50,000 Miles |
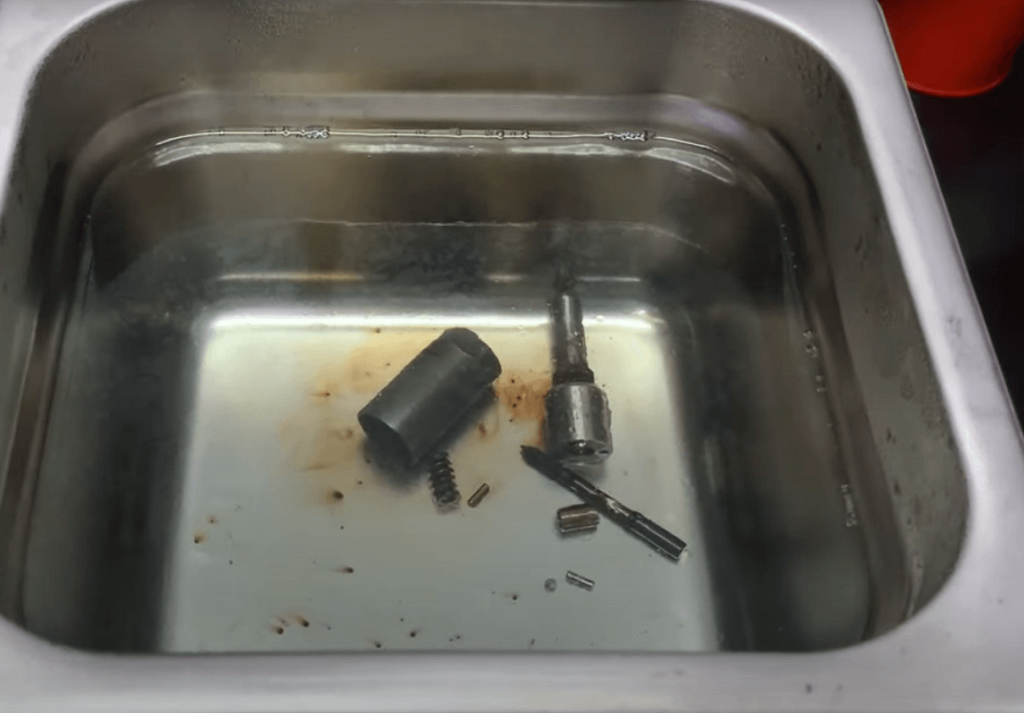
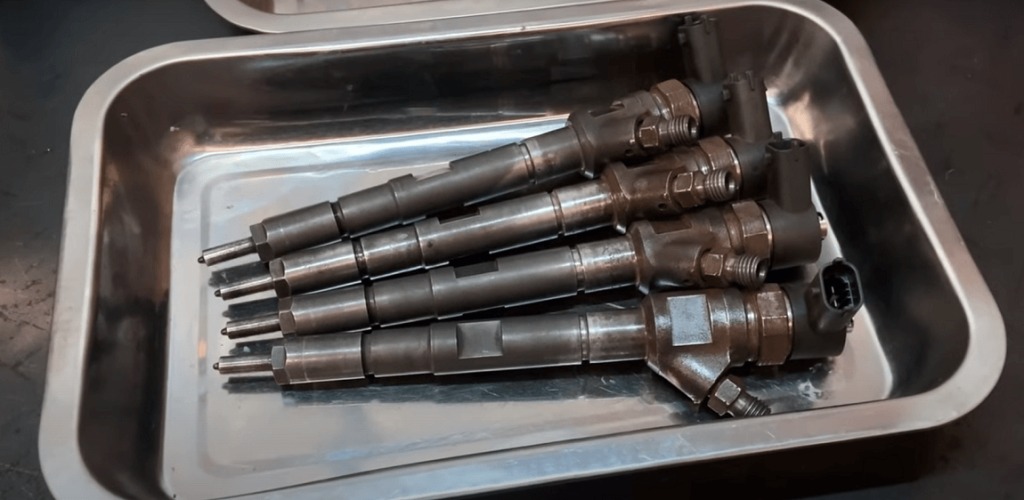
| Ultrasonic Bench Cleaning | Commercial Alkaline Solutions | Removed from car; soundwave tank | Ultimate structural clogs | Only when internal solenoids seize |
Step-by-Step Pressurized Fuel Injector Canister Loop
Follow this precise technician sequence to run a professional-grade on-car injector flush without triggering high-pressure fuel spills:
1. Isolate and Fully Disable the Vehicle Fuel Pump: 2 min.
Open the main under-hood fuse panel and locate the diagram pin for the Fuel Pump Relay or Fuse. Pull the fuse straight out. Start the engine and let it run until it sputters and stalls out on its own—this fully relieves the dangerous 50 PSI of residual fuel line pressure trapped inside the system tracks.
2. Connect the Tool Canister to the Fuel Rail Valve: 3 min.
Locate the test port Schrader valve on your engine’s aluminum fuel rail loop. Thread the high-pressure adapter hose from your professional injector cleaning canister straight onto this service port. If your vehicle features a fuel return line running back to the tank, clamp it closed using specialized line pinch pliers to prevent the chemical cleaner from escaping.
3. Pressurize the Canister with Shop Compressed Air: 2 min.
Fill the tool canister with a dedicated bottle of professional fuel injector solvent. Connect your shop compressed air line to the canister regulator. Adjust the regulator dial to match your vehicle’s exact factory fuel system running specification—typically between 40 and 45 PSI. Turn the canister valve to the open position to fill the rail.
4. Run the Engine Exclusively on the Cleaner System: 15 min.
Start the vehicle engine. It will idle smoothly, running 100% on the undiluted chemical solvent inside the pressurized canister. Let the motor run until the canister empties completely and the engine stalls on its own. Turn the vehicle ignition key to the off position.
5. Depressurize and Restore the Factory Loop Network: 3 min.
Close the canister air valve and disconnect the hose line from the Schrader valve. Unclamp the fuel return line. Reinsert the vehicle’s factory fuel pump relay back into the fuse block. Start the engine and drive the vehicle at highway speeds for 10 minutes to safely flush remaining residue out of the exhaust valves.
Industry Cost Matrix for Injector Service (2026 US Pricing)
| Selected Service Method | Average DIY Product Cost | Professional Shop Labor Cost | Total Estimated Bill |
| Premium PEA Pour-In Additive | $15 – $30 | $0 (5-Minute Driveway Task) | $15 – $30 |
| Pressurized Canister Tool Kit | $60 – $120 (One-time buy) | N/A | $60 – $120 |
| On-Car Pressurized Shop Flush | N/A | $120 – $180 | $120 – $180 |
| Ultrasonic Bench Cleaning Sweep | N/A | $250 – $450 | $250 – $450 (Requires rail removal) |
DIY vs. Professional Mechanic Decision Guide
- DIY Approved Operations: If you are using an in-tank PEA cleaner as a preventative measure, it is 100% DIY friendly. Furthermore, if you own a standard port-injected engine layout, have basic hand tools, and feel comfortable isolating fuel pressures, running the on-car pressurized canister flush is an entry-level task that saves significant workshop fees.
- Professional Mechanic Operations: If your vehicle features a modern Gasoline Direct Injection (GDI) or common-rail diesel infrastructure, never attempt to unbolt the fuel rail at home. Direct injection fuel loops operate at lethal pressures exceeding 2,000 to 3,500 PSI. Servicing these components requires advanced diagnostic tools, digital cylinder balance calibration, and off-car Ultrasonic Bench Flow Testing to clean safely.
FAQs About How to Clean Fuel Injectors
Can you clean fuel injectors without removing them?
Only partially. In-tank additives and pressurized rail cleaners (on port-injected cars) can clean light to moderate deposits without removing the injectors. But if the injector is mechanically clogged, has a stuck pintle valve, or has heavy carbon buildup, it must be removed for ultrasonic cleaning. No solvent you can safely run through the engine is strong enough to fix a physically blocked injector.
How often should you use fuel injector cleaner?
If you buy quality gasoline from Top Tier stations (which already contain detergent additives), every 5,000 to 10,000 miles is sufficient. If you buy budget gas from no-name stations, use a PEA-based cleaner like Techron every 3,000 to 5,000 miles. More often than that is a waste of money — the solvent can’t clean what isn’t dirty yet.
What is the best fuel injector cleaner?
Any cleaner that contains polyetheramine (PEA) as the primary active ingredient. Chevron Techron Concentrate Plus, BG 44K, and Gumout Regane High Mileage all use PEA. Avoid cheap cleaners that use cheaper solvents like polyisobutylene amine (PIBA) — they’re less effective at handling high-temperature deposits. Check the back of the bottle for the active ingredient list.
Can a clogged fuel injector cause a misfire?
Yes, it’s one of the most common causes of a single-cylinder misfire. If the injector can’t deliver the correct amount of fuel — or delivers it in a poor spray pattern — the cylinder fails to ignite the mixture properly, triggering a misfire code (P0301, P0302, etc.) for that specific cylinder. If you have a misfire, check spark plugs and coils first, then swap the injector to a different cylinder to see if the misfire follows.
How long does ultrasonic injector cleaning take?
The actual ultrasonic bath takes 30 to 60 minutes. But the total turnaround time is usually 1 to 3 days because the injectors have to be removed from the car, shipped to or driven to a specialized shop, cleaned, flow-tested, and reinstalled. Some shops have the equipment in-house and can do it same-day, but many smaller shops send them out.
The Verdict: Target the Carbon Before Buying Components
Never blindly replace electronic fuel injectors before identifying a physical flow restriction. Over 85% of fuel injection errors are caused by simple carbon varnish buildup, which can be fully dissolved for under $30 using a high-quality PEA pour-in cleaner or a pressurized rail canister loop. Take your time, disable your fuel pump relay properly before opening service lines, and protect your internal piston rings from lean thermal stress.
(Want to ensure your vehicle’s alternative mechanical components, engine sensors, and computer networks are operating with absolute factory precision? Read our master workshop guide on How to Read Check Engine Light Codes Without a Scanner or check out The Car Buzz Official Testing and Editorial Integrity Guidelines Page).