
This article was updated in October 19, 2026 with new products and information by Mark S. Taylor
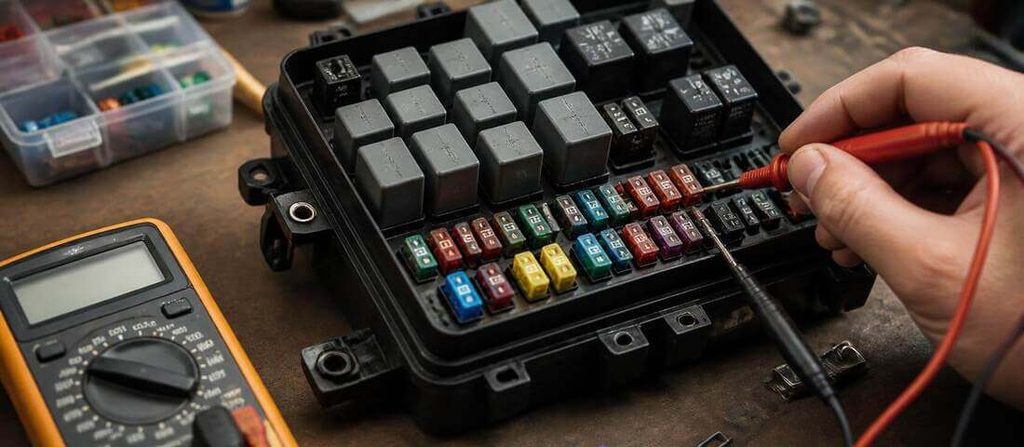
Pull the fuse and set a multimeter to continuity mode. Touch one probe to each metal end. A beep or a reading near zero ohms means the fuse is good. Silence, or “OL” on the screen, means it’s blown. A relay takes one more step: check resistance across the coil pins (looking for roughly 50 to 120 ohms), then check whether the switch pins connect only while the coil is powered. If you don’t have a multimeter handy, swapping the suspect relay with an identical one elsewhere in the fuse box is a fast first check for either part.
Fuses and relays are the two cheapest, most overlooked parts in your car’s electrical system. A fuse is a sacrificial wire, built to break on purpose before something more expensive does. A relay is a small remote switch, letting a thin, low-power wire control a thick, high-power circuit, like a headlight or a fuel pump, without routing all that current through your dashboard. When a circuit goes dead, these are the first two places to look, before you start replacing bigger parts. If a parasitic drain is what brought you here instead, see our guide on what causes parasitic drain on your car battery; that uses a related fuse-pulling technique for a different purpose.
Contents
What You’ll Need
- A digital multimeter with a continuity setting (the icon that looks like a sound wave) and an ohms (Ω) setting
- A fuse puller, or needle-nose pliers if you don’t have one
- Your vehicle’s fuse box diagram, usually printed on the inside of the fuse box cover or in the owner’s manual
- Optional: a 12-volt test light, and a known-good relay of the exact same part number for the swap test
Part 1: How to Test a Car Fuse
Step 1: Find the right fuse
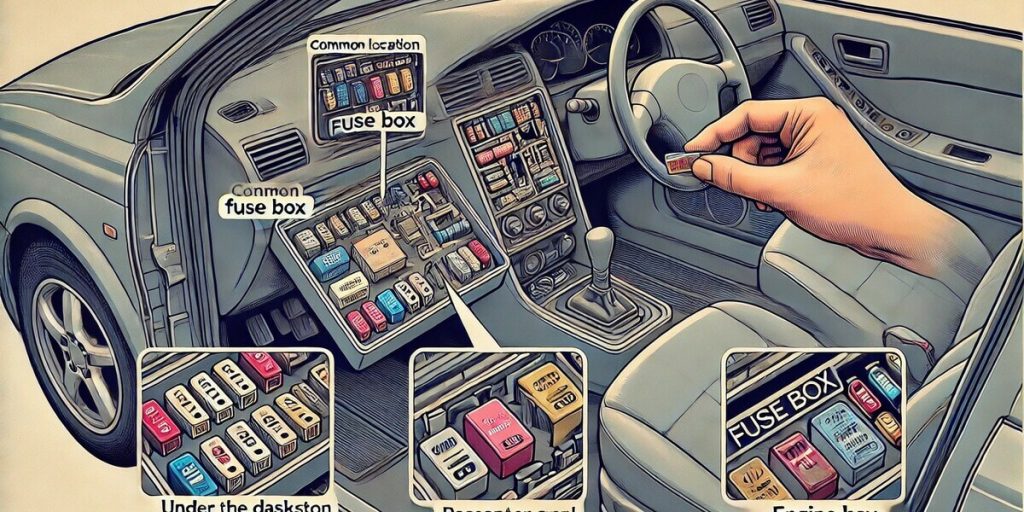
Check your fuse box diagram for the circuit you suspect, then locate that fuse in either the interior fuse box (often under the dash) or the underhood box. Most cars have both.
Step 2: Look at it first
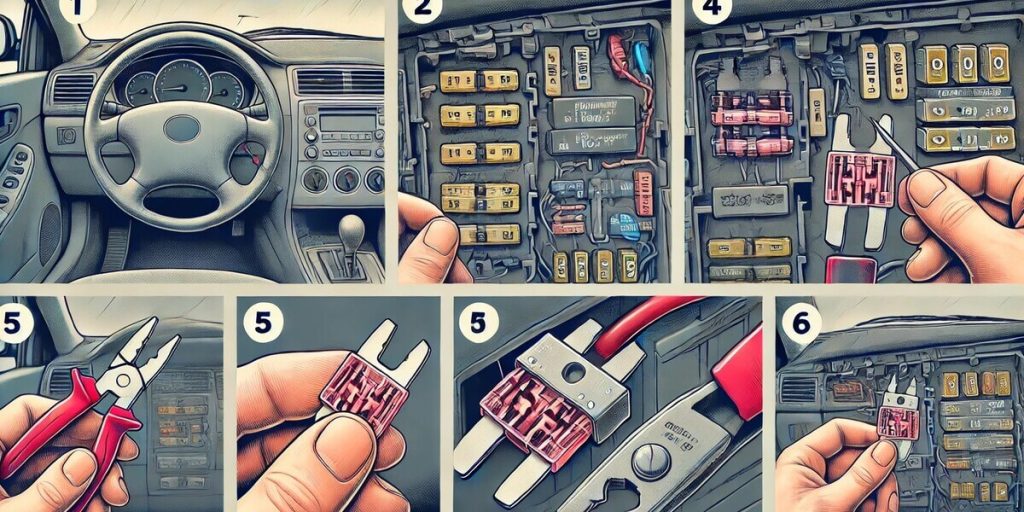
Pull the fuse and hold it up to the light. On a standard blade fuse, you can see a thin metal strip inside running between the two legs. If that strip is visibly broken, melted, or blackened, the fuse is blown. You can often stop here and skip the meter.
Step 3: Set up the multimeter
Turn the dial to continuity mode. Touch the two probes together to confirm the meter beeps, that’s your proof the meter itself is working before you trust its reading on the fuse.
Step 4: Test the fuse
With the fuse out of the car, touch one probe to each of the two metal legs or end caps.
| What you see or hear | What it means |
|---|---|
| A beep, or a reading close to 0 ohms | The fuse is good |
| No beep, and “OL” or “1” on the screen | The fuse is blown; replace it |
Step 5: Replace it with the exact same amperage
Fuses are color-coded and stamped with their amp rating. Always replace with the same rating. A higher-amp fuse won’t protect the circuit the way it’s designed to, which defeats the entire purpose of having one.
Step 6: Test the circuit, not just the fuse
Turn the affected system back on. If the new fuse blows again almost immediately, stop. That’s not a bad fuse anymore, that’s a short or an overloaded circuit downstream, and swapping in another fuse without finding the real problem just burns through fuses one at a time.
A faster option if the fuse is hard to reach: many fuses can be probed without removing them, using the multimeter’s DC voltage setting instead of continuity, with the key on and the circuit live. Touch the black probe to a known ground and the red probe to each of the two test points on top of the fuse. Roughly 12 volts on both sides means the fuse is good; voltage on only one side means it’s blown. This method needs the circuit powered, so it’s a different setup than the continuity test above, don’t mix the two.
Part 2: How to Test a Car Relay
A relay looks like a small black cube plugged into the fuse box, usually with four or five pins. Two pins control a small internal coil. The other two or three are the actual switch, the part that opens or closes to let power through to your headlights, fuel pump, horn, or cooling fan.
The fastest test: swap it
Before you touch a meter, check your fuse box diagram for another relay of the exact same part number, often something like the horn relay matching the AC compressor relay. Pull both, swap them, and see if the problem follows the relay. If the symptom moves to the other circuit, you’ve found your bad relay without a single tool.
This only works when you have a matching spare relay in the box. If you don’t, move to the multimeter test below.
The thorough test: multimeter, in two parts
Part A: Test the coil. With the relay out of the car, set the multimeter to ohms and touch the probes to the two coil pins, commonly labeled 85 and 86 on a standard relay (check the diagram printed on the relay body or your wiring diagram, since labeling varies). A healthy coil commonly reads somewhere around 50 to 120 ohms. A reading of “OL” or open means the coil has failed internally.
Part B: Test the switch. This is the part that actually passes power through to your headlights, fuel pump, or whatever the relay controls.
- With the relay unpowered, set the multimeter to continuity and touch the probes to the two switch pins, commonly labeled 30 and 87. On a standard relay that’s normally open, you should hear nothing, no continuity, since the switch hasn’t been triggered yet.
- Now apply 12 volts across the coil pins (85/86), either from a bench power supply or carefully from your car’s battery with jumper wires. You should hear or feel a distinct click as the relay energizes.
- With the coil still powered, test the switch pins (30/87) again. You should now get continuity, a beep or a reading near 0 ohms, confirming the switch closed when it should have.
| Test | Expected result on a healthy relay | What a bad result means |
|---|---|---|
| Coil resistance (85/86) | Roughly 50–120 ohms | OL or open: failed coil |
| Switch pins (30/87), unpowered | No continuity | Continuity here means the switch is stuck closed, a bad relay |
| Switch pins (30/87), powered | Continuity, with an audible click | No click or no continuity: the relay isn’t switching |
A safety note on bench power: if you’re using your car’s battery to power the coil for this test, keep the jumper wires clear of anything spinning or hot, and don’t let the bare wire ends touch each other or the car’s body, that’s a direct short.
When It’s Not the Fuse or the Relay
If a new fuse holds and a known-good relay doesn’t fix it, the problem has moved past this guide. That usually means a wiring fault, a failed sensor or motor on that circuit, or a module-level issue. At that point, a scan tool and a wiring diagram for your specific vehicle do more good than another round of fuse-pulling.
Is It Safe to Keep Driving With a Blown Fuse or a Bad Relay?
It depends entirely on what circuit it controls. A blown radio fuse is an inconvenience. A blown fuse or failed relay on something safety-related is not.
Don’t drive, or drive very carefully to get it fixed, if the affected circuit controls:
- Headlights, taillights, or turn signals
- The fuel pump (the car may not start or may stall without warning)
- The cooling fan (risk of overheating)
- ABS or other safety systems
Fine to keep driving while you sort it out if:
- The affected circuit is something like a power outlet, a seat heater, or an infotainment feature with no safety role
What It Costs
This is one of the cheapest repairs a car can need, which is exactly why it’s worth checking first before assuming something expensive is wrong.
| Item | Typical U.S. range | Notes |
|---|---|---|
| Automotive fuses | Often $1 to $5 each, commonly sold in multi-packs for less per fuse | Keep a spare fuse kit in the glovebox |
| Basic digital multimeter | Roughly $15 to $40 for an entry-level model with continuity mode | A worthwhile one-time tool purchase |
| Automotive relay | Commonly $5 to $25 per relay for a standard part | Specialty or module-integrated relays can cost more |
| Shop diagnostic, if you’d rather not DIY | Often billed as part of a standard diagnostic fee | Ask whether the fee is credited toward the fix |
Common Mistakes
- Replacing a fuse with a higher amp rating because the correct one “keeps blowing.” That removes the protection the fuse is there to provide.
- Testing a fuse while it’s still in the box with continuity mode. Continuity testing needs the circuit unpowered; test a live circuit this way and you risk a wrong reading or a damaged meter. Pull the fuse first, or switch to the voltage method described above.
- Assuming a relay that clicks is automatically good. A click only confirms the coil pulled the switch arm. It doesn’t confirm the switch contacts are actually passing power cleanly, that’s what the continuity test on pins 30/87 is for.
- Swapping in a relay that looks the same but isn’t the same part number. Relay pinouts and ratings vary; a mismatched swap can cause a different problem.
- Chasing a short by replacing fuse after fuse. If a new fuse blows again right away, the fault is downstream. Stop and find it instead of burning through the pack.
Pro Tips
- Keep a small assorted fuse kit and a spare of your most commonly used relays in the glovebox. It turns a roadside problem into a two-minute fix.
- Snap a photo of your fuse box diagram with your phone. It saves you from hunting for the owner’s manual at the worst possible time.
- If you’re testing a relay off the car, label which pin is which with tape before you start. Relay pin layouts aren’t universal, and it’s easy to second-guess yourself mid-test.
FAQs About How to Test Car Fuses and Relays
How do I know if it’s a fuse or a relay?
Start with the fuse, since it’s quicker to check. Pull it, look for a visibly broken strip, and confirm with a continuity test. If the fuse is good but the circuit still doesn’t work, move to the relay for that circuit, if one is involved. Not every circuit uses a relay; check your fuse box diagram.
What does it mean if my multimeter shows “OL” when testing a fuse?
OL stands for “open loop” or overload, and it means there’s no continuous path for current, the fuse is blown. Replace it with one of the same amp rating.
Can I test a relay without a multimeter?
Yes, with the swap test. Find an identical relay elsewhere in the fuse box, swap it with the suspect one, and see if the problem follows. It’s the fastest check when you don’t have a meter handy, though a multimeter test is more conclusive for a definitive answer.
Why does my new fuse keep blowing?
A fuse that blows again almost immediately after replacement usually means a short circuit or an overloaded component downstream, not a bad batch of fuses. Don’t keep replacing it with the same or a higher rating; find the underlying fault first.
What’s a normal resistance reading for a car relay coil?
Most standard automotive relay coils read somewhere around 50 to 120 ohms. A reading of “OL” or open means the coil itself has failed and the relay needs to be replaced.
Bottom Line
- Fuses and relays are the cheapest parts in the car’s electrical system, and the first place to check before anything else.
- A fuse test takes under a minute: pull it, look at it, confirm with continuity mode.
- A relay test has two parts: coil resistance, then switch continuity while the coil is powered. No meter handy? Swap it with an identical relay first.
- A fuse that blows again right away means a short downstream, not a bad fuse. Stop replacing it and find the fault.