
This article was updated in June 15, 2026 with new products and information by Mark S. Taylor
It is a stomach-dropping moment for any car owner. You come back to your vehicle in a shopping mall parking lot and notice a nasty streak of white, yellow, or red paint smeared across your car’s bumper or door panel. Whether you scraped a parking pillar, a garage door frame, or another vehicle gently grazed your car, this is known as paint transfer.
The good news is that in 90% of cases, the other object’s softer paint has simply bonded on top of your vehicle’s tough outer clear coat. Your factory paint underneath is likely completely undamaged.
As an auto-detailing specialist, I see drivers ruin their car’s finish by using dangerous hacks like harsh metal scrapers or kitchen scouring pads. In this step-by-step workshop guide, I will show you how to accurately diagnose paint transfer and remove it at home safely using proper, non-abrasive techniques.

Contents
- 1 Understanding Your Car’s Paint Layers
- 2 The 5-Second Diagnostic (Rub Test + Fingernail Test)
- 3 What You’ll Need (The DIY Checklist)
- 4 The Safe 5-Step Paint Transfer Removal Process
- 5 Alternative Method: The Emergency WD-40 Solution
- 6 Can You Make It Worse? (Common DIY Mistakes)
- 7 Cost Breakdown: DIY vs. Professional (2026 US Pricing)
- 8 FAQs How to Remove Paint Transfer from Your Car
- 8.1 Can I use a Magic Eraser to remove paint transfer?
- 8.2 Does toothpaste actually work on paint transfer?
- 8.3 How much does professional paint transfer removal cost?
- 8.4 Will paint transfer come back after I remove it?
- 8.5 Can I remove paint transfer from plastic bumpers and trim?
- 8.6 What’s the difference between paint transfer and a clear coat scratch?
- 9 The Bottom Line from the Detailing Bay
Understanding Your Car’s Paint Layers
Modern factory paint consists of a protective primer, a color base coat, and a transparent, glossy top layer called the clear coat. Paint transfer sits strictly on top of that outer clear coat—it does not replace it. A scratch, by contrast, cuts through the clear coat into the base coat or primer.
Note: Single-stage paint (found on older vintage cars and certain imports) doesn’t have a separate clear coat; the color and gloss are in one layer. Harsh solvents can eat single-stage paint quickly, so always test a small spot first.
The 5-Second Diagnostic (Rub Test + Fingernail Test)
Before touching any chemical product, perform this quick physical diagnostic sequence to prevent turning a $15 fix into a $400 professional paint correction bill.
- The Soap Rub Test: Dampen a clean microfiber towel with pH-neutral soapy water and rub a one-inch section of the mark. If the foreign color transfers onto your cloth, it is fresh, superficial paint transfer that can be removed with zero friction.
- The Fingernail Test: Run your fingernail gently across the mark. If your nail slides smoothly without stopping, it is a pure paint transfer. However, if your nail catches or sinks into a distinct groove, you have underlying clear coat damage beneath the transfer. If you see bare metal or gray primer peeking through, stop immediately—that is body shop territory.
What You’ll Need (The DIY Checklist)
For most paint transfer jobs, you don’t need a garage full of specialized tools. Here is the short list:
- pH-neutral car wash soap and a clean microfiber wash mitt
- Automotive clay bar with dedicated clay lubricant (fine grade)
- Isopropyl alcohol (70% or higher)
- Clear-coat-safe polishing compound (e.g., Meguiar’s Ultimate Compound)
- Foam applicator pad and clean microfiber drying towels
- High-quality car paint sealant or wax
The Safe 5-Step Paint Transfer Removal Process
For a permanent, scratch-free fix, follow this professional multi-step detailing sequence:
Step 1: The Prep Wash
Never attempt to buff or wipe a dirty vehicle panel. Wash the entire area using pH-neutral car wash soap and a microfiber mitt, then dry it completely with a clean drying towel. Skipping this step traps surface road grit, turning your rubbing motion into makeshift sandpaper that will introduce thousands of micro-swirl scratches to your clear coat.
Step 2: The Automotive Clay Bar Treatment
An automotive detailing clay bar is the safest tool to pull foreign contaminants out of paint. Flatten a fine-grade clay bar into a small patty, spray the affected panel generously with a dedicated clay lubricant, and glide the clay back and forth over the paint transfer using light pressure. The sticky clay will safely lift the foreign paint molecules without altering your factory gloss.
Step 3: Isopropyl Alcohol (IPA) Wipe
If the paint transfer has aged, baked under the sun, or left a stubborn smudge after claying, dampen a microfiber towel with a 70% Isopropyl Alcohol (IPA) solution and gently wipe the spot. The solvent properties of alcohol will break down the remaining binding agents of the transfer paint without melting your cured factory clear coat.
Step 4: Clear-Coat-Safe Polishing Compound
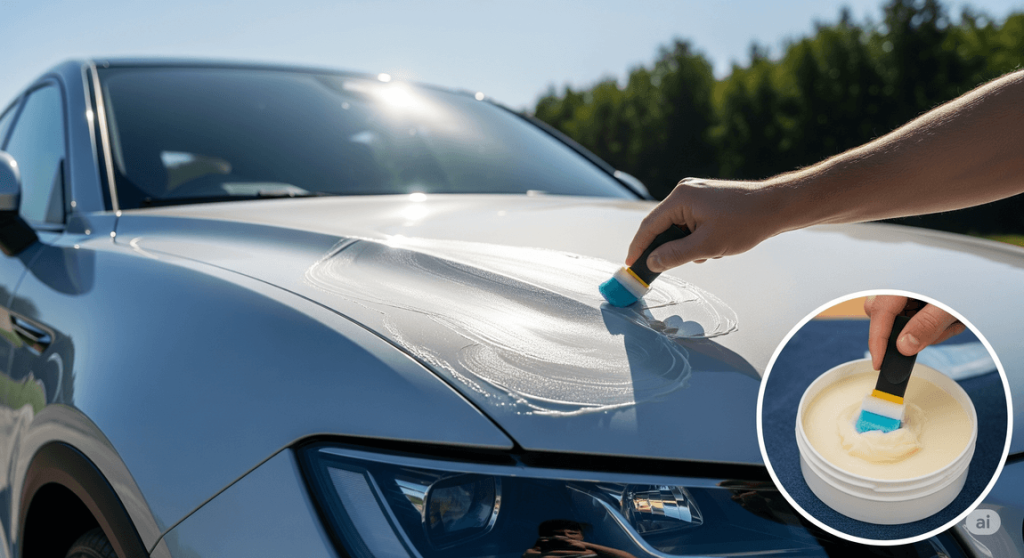
The removal process can sometimes leave behind a slightly dull or matte finish on the clear coat surface. Place 3 to 4 pea-sized drops of a clear-coat-safe polishing compound onto a soft foam applicator pad. Buff the area using firm, back-and-forth linear pressure parallel to the scratch line. Avoid wide, aggressive circular rubbing, as this can create hazy holograms. Wipe away the residue with a dry microfiber cloth.
Step 5: Restoring the Protective Sealant / Wax Layer
Compounds, clay bars, and IPA are engineered to strip surfaces completely clean. This means you have successfully removed the paint transfer, but you have also erased the protective carnauba wax or polymer sealants guarding your paint. Apply a fresh layer of car wax or ceramic spray sealant to the treated area in a gentle circular motion, allow it to haze over for 5 minutes, and buff it out to restore your vehicle’s vital UV barrier.
Alternative Method: The Emergency WD-40 Solution
If you do not have an automotive clay bar or compound at home and need to act quickly on fresh transfer marks, you can use a common household lubricant:
- Clean and dry the scratched body panel extensively to ensure no dirt is present.
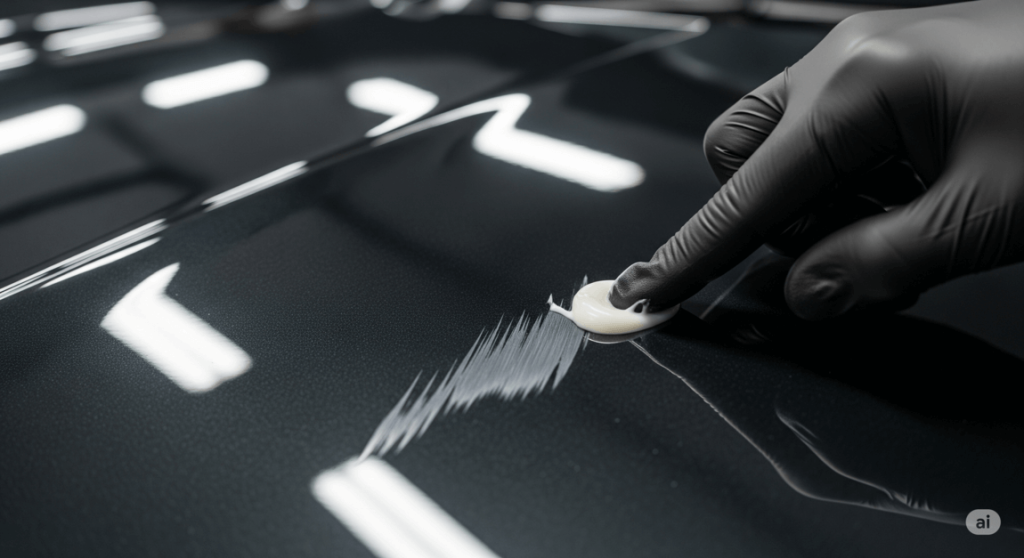
- Spray a generous layer of original WD-40 directly onto the transferred paint scuff. The petroleum-based lubricants in WD-40 will quickly break down and soften the binding agents of the fresh foreign paint coat. Let it sit for 60 seconds.
- Take a clean, damp microfiber towel and rub the area with moderate pressure in a linear motion until the scuff lifts off.
- Immediately wash the panel with car soap to remove the oily WD-40 residue, and apply a fresh coat of protective wax.
Can You Make It Worse? (Common DIY Mistakes)
- The Magic Eraser Trap: While a household Magic Eraser (melamine foam) feels soft, it is actually a structural micro-abrasive equivalent to 3,000-grit sandpaper. Scrubbing your car body with a Magic Eraser will instantly destroy your clear coat, leaving a massive, ugly dull patch that requires an expensive machine paint correction to fix.
- Dry Rubbing with Paper Towels: Never use paper towels or household rags to dry-scrub a scratch. Paper towels are manufactured from wood pulp, making them highly abrasive to delicate automotive finishes.
Cost Breakdown: DIY vs. Professional (2026 US Pricing)
| Repair Approach | Average Cost Range | Best Suited For | What You Get |
| DIY Basics Kit | $40 – $80 | Fresh transfer, zero structural damage | Reusable detailing clay, IPA, and premium polish |
| WD-40 Quick Fix | $8 – $12 | Extremely fresh, light surface scuffs | A quick solvent wipe using a clean microfiber cloth |
| Professional Paint Correction | $200 – $500 | Aged transfer, large panels, or fixing botched DIY haze | Multi-stage machine polishing and full panel refinement |
| Body Shop Touch-Up | $150 – $400 | Deep scratches that cut into the metal or primer | Sanding, priming, factory color matching, and reclear |
FAQs How to Remove Paint Transfer from Your Car
Can I use a Magic Eraser to remove paint transfer?
No. Melamine foam is abrasive and will haze your clear coat. The transfer will come off, but you’ll pay $200–$500 for paint correction to fix the dull patch you created. Use clay and IPA instead.
Does toothpaste actually work on paint transfer?
Sometimes, on very light, fresh marks. Non-gel toothpaste acts like a mild polish. But it’s inconsistent and can mar the finish. If you have nothing else, use it gently and follow with a real polish. It’s a last resort, not a solution.
How much does professional paint transfer removal cost?
A detailer charges $200–$500 for paint correction on one or two panels. That includes machine polishing to remove transfer and restore gloss. If there’s underlying scratch damage, a body shop touch-up runs $150–$400 per panel.
Will paint transfer come back after I remove it?
No. Paint transfer is a one-time deposit. Once it’s gone, it’s gone. But if there was underlying clear coat damage beneath the transfer, that scratch will still be visible after the foreign paint is removed. That’s not the transfer returning — it’s damage you couldn’t see before.
Can I remove paint transfer from plastic bumpers and trim?
Yes, but plastic is softer than metal panels and more prone to marring. Use less pressure with clay, and skip machine polishing on textured plastic. IPA is usually safe, but test on an inconspicuous spot first — some plastic trim react poorly to solvents.
What’s the difference between paint transfer and a clear coat scratch?
Paint transfer is foreign paint sitting on top of your clear coat. A clear coat scratch is your own clear coat that’s been gouged. The fingernail test tells you which one you’ve got. If your nail catches, it’s a scratch. If it’s smooth, it’s transfer.
The Bottom Line from the Detailing Bay
Do not panic when you see another car’s paint smeared across your bumper. Grab a $10 bottle of automotive rubbing compound and a clean microfiber towel. With a little bit of physical elbow grease and 5 minutes of your time, you can completely erase the blemish at home and save yourself a massive $400 bumper repair bill at a local collision center.
(Want to make sure the rest of your vehicle’s body panels, sensors, and electrical components are functioning perfectly? Read our complete technical diagnostic guide on How to Safely Check Tire Pressure Without a Gauge or explore The Car Buzz Official Testing and Editorial Policy to see how we verify mechanical repair steps).