
This article was updated in June 25, 2026 with new products and information by Mark S. Taylor
Discovering a fresh, jagged rock chip or a deep scratch slicing across your vehicle’s pristine hood is a deeply frustrating experience. Beyond destroying the aesthetic value of your car, an open paint fracture behaves exactly like a mechanical wound. Modern factory body panels are wrapped in an incredibly thin layer of protective clear coat, base coat color, and protective e-coat primer. The moment an airborne stone strikes through these layers to expose raw steel, atmospheric moisture triggers oxidation, initiating structural rust rot beneath the surrounding paint boundaries.
Most car owners attempt to resolve this by grabbing a cheap, generic retail touch-up pen and aggressively coloring over the scratch. Without proper decontamination and leveling, this creates a raised, unblended blob of paint that acts as a visual eyesore under direct sunlight. Restoring a seamless, factory-level reflection requires understanding the exact chemical and mechanical phases of paint leveling and clear coat jeweling.
As an ASE-Certified Master Technician and professional vehicle detailer, I have executed hundreds of paint restorations. In this comprehensive workshop guide, we will break down the structural micro-anatomy of automotive paint, detail a safe zero-scratch leveling sequence, and outline verified 2026 application parameters.
Contents
- 1 The Ugly Truth About Factory Touch-Up Paint
- 2 The Micro-Anatomy of Automotive Paint Finishes
- 3 Finding the Exact Factory Paint Color Code
- 4 The Professional DIY Touch-Up Toolkit
- 5 Step-by-Step Micro-Paint Restoration Sequence
- 6 Automotive Paint Repair Product Comparison Matrix
- 7 Professional Spot Repair vs. DIY Parameters
- 8 Paint Restoration Cost Breakdown (US Estimates)
- 9 FAQs About How to Touch Up Car Paint Safely
- 10 The Verdict: Optical Depth is Created Through Leveling
The Ugly Truth About Factory Touch-Up Paint
The liquid touch-up paint you purchase directly from the dealership parts counter or authorized online distributors is typically the exact chemical formulation utilized on the factory assembly line. The functional failure mode of a DIY paint fix is almost never driven by the paint substrate itself—it is driven entirely by the flawed application methods commonly recommended on retail store counters.
The blunt nylon brush attached to the underside of standard retail paint bottle caps is far too thick and holds an unmanaged volume of fluid. When you dab it into a small stone chip, it instantly overfills the area, creating an unblended, bulging dome of wet paint. Furthermore, if your vehicle was engineered after 1990, it utilizes a two-stage finish: a completely flat, matte base coat color layer wrapped in a high-gloss protective clear coat. If you simply apply the liquid color and skip the clear coat cap, the raw pigment will oxidize from intense UV solar radiation and strip off entirely during subsequent high-pressure car washes.

The Micro-Anatomy of Automotive Paint Finishes
Before applying any liquid color matrices, you must understand the microscopic profile of modern factory paint layers. Factory automotive finishes typically measure between 4.0 to 5.5 mils thick ($0.004\text{ to }0.0055\text{ inches}$). This microscopic thickness is split into three tightly bonded strata:
- The Primer / E-Coat: The baseline electro-deposited anti-corrosion barrier applied directly to the bare stamped steel or aluminum body panels.
- The Base Coat (Color Layer): A highly specialized, pigment-loaded matrix that provides the exact visual shade and metallic flake reflection of the vehicle.
- The Clear Coat: A critical, high-gloss polyurethane shield that blocks UV radiation, resists acid rain etchings, and provides the optical depth required for a mirror reflection.
When diagnosing damage, execute the classic Fingernail Test. Glide your fingernail lightly perpendicular across the scratch. If your nail catches on the edge of the line but you still see base color inside the groove, the scratch is locked within the clear coat and can be safely buffed out with a dual-action polisher. However, if you see dark gray steel or white primer at the bottom of the trench, you have breached the base coat and must execute a multi-layer touch-up repair.
Finding the Exact Factory Paint Color Code
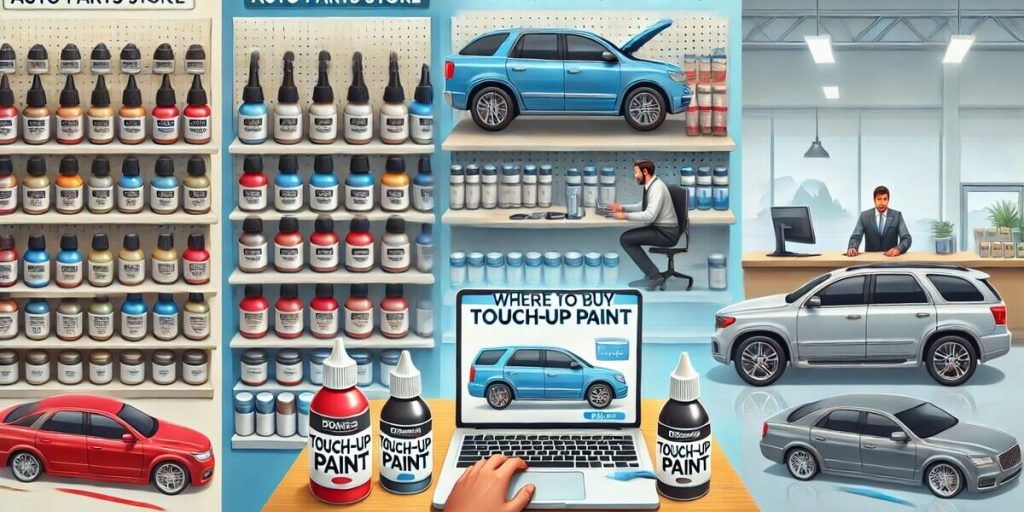
Never guess your car’s color based on consumer terms like “Metallic Gray” or “Midnight Blue.” Manufacturers mix thousands of subtle paint variations containing specific ratios of aluminum flakes, pearls, and mica. To achieve a seamless optical blend, you must locate the alphanumeric Factory Paint Code stamped directly onto your vehicle’s structural compliance placard:
- Common Locations: Tucked inside the driver’s side door jamb pillar, riveted near the top radiator core shroud beneath the hood, or printed inside the spare tire well floor pan.
- Procurement Rule: Take this exact alphanumeric code (e.g., Toyota 1D6 or GM WA8555) straight to a dealership parts counter or a premium custom paint mixer (like PaintScratch). Avoid universal auto parts store touch-up paint strips, which lack the precise pearl matching required for factory integration.
The Professional DIY Touch-Up Toolkit
- Isopropyl Alcohol (IPA) / Wax & Grease Remover: Crucial for chemical surface decontamination.
- Micro-Applicator Swabs: Disposable, ultra-fine detailing micro-brushes with heads smaller than a match head. Never use the massive nylon brushes attached to the underside of retail paint bottle caps—they dump far too much liquid paint into a tiny scratch.
- Dual-Action Polisher & 3,000-Grit Wet Sanding Blocks: For leveling the paint blob flat.
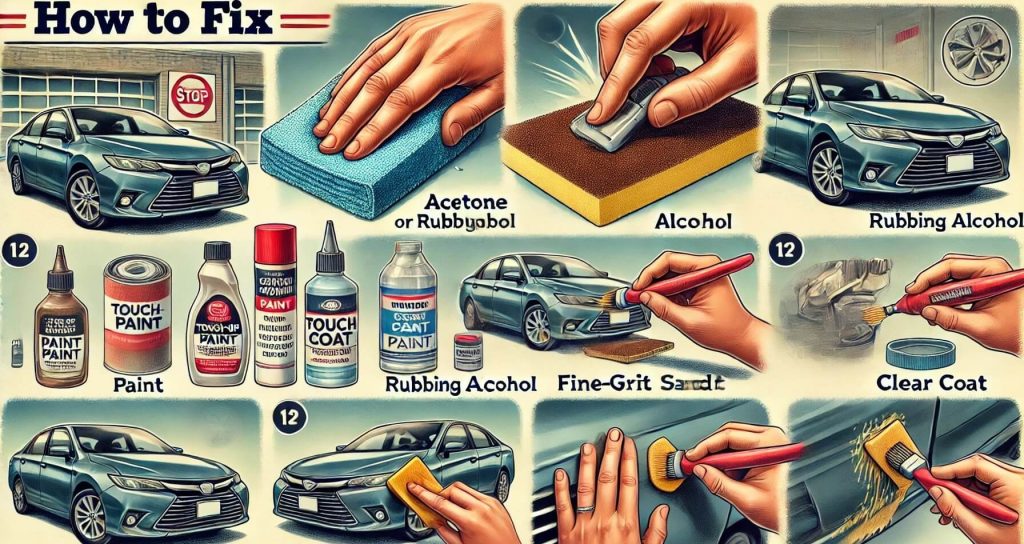
⚠️ CRITICAL ACETONE DESTRUCTION WARNING: Never, under any circumstances, pour hardware-store acetone or standard nail polish remover onto your vehicle’s painted surfaces to clean dirt or wipe away excess touch-up paint. Acetone is a highly aggressive chemical solvent that instantly breaks down and dissolves modern polyurethane clear coats. Using it will cause your factory paint finish to wrinkle, cloud up, or strip clean off the panel, forcing an immediate $500 body shop re-spray.
Step-by-Step Micro-Paint Restoration Sequence
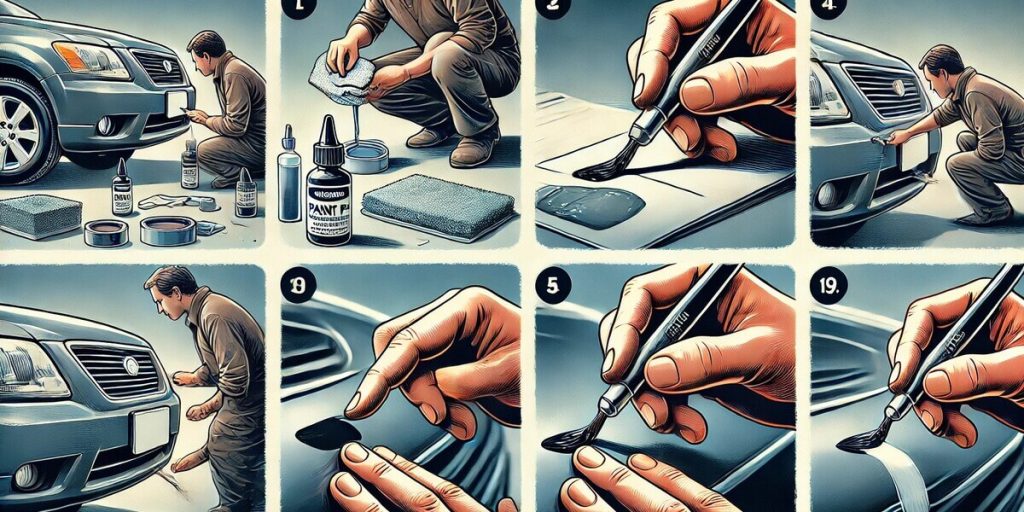
Follow this precise technician protocol to build a flush, invisible paint repair without creating raised surface blobs:
1.Execute Deep Chemical Decontamination:5 min.
Wash the damaged panel thoroughly with a wax-stripping car shampoo. Soak a clean microfiber towel in a 15% to 20% dilution of Isopropyl Alcohol (IPA) or a dedicated wax and grease remover. Wipe the scratch cavity multiple times. This chemically dissolves hidden ceramic coatings, synthetic waxes, and compounding oils inside the chip, ensuring the new paint can mechanically bond to the substrate.
2.Apply the Base Coat Color Matrix via Micro-Dabbing:10 min.
Shake your custom-matched paint bottle vigorously for 60 seconds to fully distribute the metallic flakes. Dip a micro-applicator swab lightly into the color—the brush tip should be damp, not dripping. Touch the swab inside the absolute center of the rock chip, letting capillary action draw the liquid paint out across the raw crater. Build multiple razor-thin layers, letting each dry for 20 minutes, until the color fills roughly 80% of the chip’s total depth.
3.Cap the Cavity with Clear Coat Lock-In:10 min.
Let the base color coat dry fully for two hours. Next, mix your automotive clear coat catalyst. Using a fresh micro-swab, dab a thin layer of clear coat directly on top of the base coat. Crucial Step: You must intentionally overfill the chip slightly until the clear coat forms a tiny, convex, raised dome standing just a fraction of a millimeter higher than the surrounding factory paint. Let this cure flat for 24 to 48 hours.
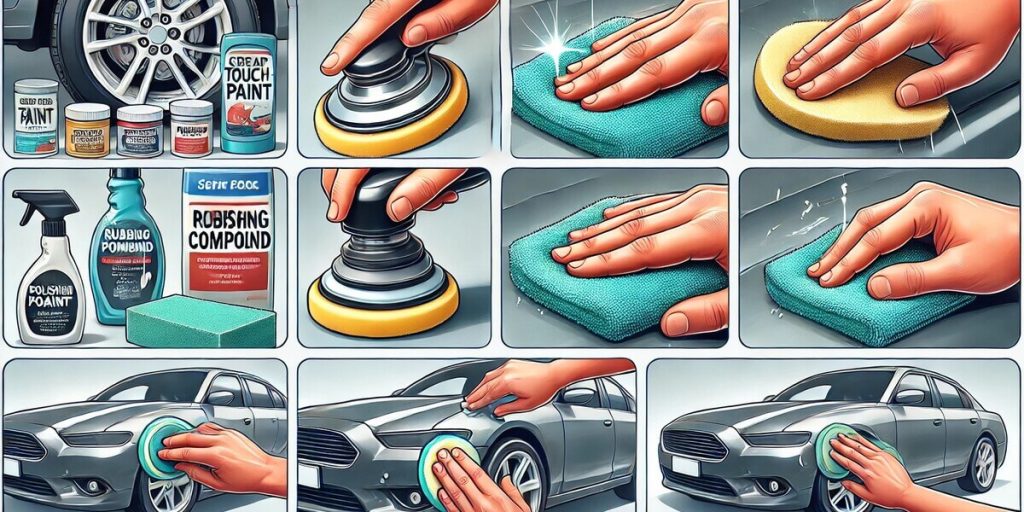
4.Mechanically Level the Raised Paint Dome:15 min.
Once the clear coat dome is fully cured and hardened rock-solid, it must be leveled flat. Wrap a piece of specialized ultra-fine 3,000-grit wet sandpaper around a small, rigid rubber sanding block. Soak the block in water mixed with a drop of car soap for lubrication. Glide the block across the paint dome using incredibly light, straight-line strokes under zero downward pressure. Periodically wipe the surface dry to inspect your progress until the raised dome sits perfectly flush with the factory clear coat.
5.Execute Machine Paint Correction and Jeweling:10 min.
Wet sanding will leave behind a dull, hazy square patch of micro-scratches. Mount a firm foam polishing pad onto a dual-action orbital polisher and apply a fine finishing compound (e.g., Meguiar’s Ultimate Compound or 3M Scratch Remover). Buff the hazy zone in tight, overlapping cross-hatch passes. The abrasives will easily erase the 3,000-grit sand marks, restoring a deep, liquid mirror reflection that renders the repair completely invisible.
Automotive Paint Repair Product Comparison Matrix
| Detailing Product Category | Primary Target Application | Chemical Base Foundation | Expected Visual Blend Level |
| Factory OEM Paint Pen | Microscopic rock chips under 2mm | Acrylic urethane match | Medium (Often leaves raised edge blobs) |
| Custom-Mixed Fluid Kit | Complex multi-stage metallic scratches | Pearl-infused resins | High (Includes direct factory color-matching) |
| Premium Rubbing Compound | Fine clear coat surface scratches | Aluminum oxide micro-abrasives | Maximum clarity (Removes haze permanently) |
| Silicon Paint Sealant | Temporary surface filling | Polymer cross-linking resins | Low (Washes off completely after 4 weeks) |
Professional Spot Repair vs. DIY Parameters
While driveway micro-painting is highly effective for localized stone chips flying off highway gravel trucks, specific panel failure modes dictate advanced mechanical remediation:
When to Delegate to an Airbrush Professional: If an airborne rock has punched a deep crater larger than a standard pencil eraser or has created a continuous multi-inch scratch straight through the center line of a highly reflective hood panel. Professional spot technicians utilize low-pressure airbrushes to masterfully taper and spray base coat pigment over an expanded blend zone before encapsulating the entire section in clean polyurethane clear coat.
Paint Restoration Cost Breakdown (US Estimates)
| Isolated Repair Vector | Average DIY Product Cost | Professional Shop Labor Cost | Total Estimated Service Bill |
| Premium Bottle Color Match Kit | $15 – $30 | $0 (Driveway Task) | $15 – $30 |
| Felt-Tip Retail Touch-Up Pen | $10 – $15 | N/A (Not Recommended) | $10 – $15 |
| Professional Airbrush Spot Blend | N/A | $150 – $300 | $150 – $300 |
| Full Multi-Layer Panel Re-Spray | $80 – $150 (Equipment) | $450 – $1,300 | $500 – $1,500+ (Severe degradation) |
FAQs About How to Touch Up Car Paint Safely
Do touch up paint pens work?
No. Touch-up pens use a hard felt-tip marker to apply paint. The tip is too large for anything except massive scuffs, and it floods the chip with paint, leaving a raised, fuzzy edge that is nearly impossible to level flat with sandpaper. Buy touch-up paint in a bottle with a brush, throw the brush away, and use a micro-brush instead.
Can I use nail polish to touch up car paint?
Only as an absolute last-resort emergency fix to cover bare metal and prevent rust for a few days. Nail polish is not formulated to adhere to automotive paint, withstand UV rays, or survive car wash chemicals. It will peel off in weeks, usually taking whatever factory clear coat it touched with it. Use actual automotive touch-up paint.
How do I find my car’s paint code?
Open your driver’s side door and look at the sticker on the door jamb (the area hidden when the door is closed). Look for a line that says “C/TR” or “COLOR” or “EXT PAINT” followed by a 3-character code (like “1F7” or “NH-883P”). Type that exact code into Google with your car’s make and model, and you’ll find the correct paint name and where to buy it.
How long does touch up paint take to dry?
Touch-up paint feels dry to the touch in 30–60 minutes, but it is not cured. Solvent is still evaporating from inside the paint layers. You must wait at least 48 hours before wet-sanding the base coat, and another 48 hours after applying clear coat before wet-sanding that. Rushing the curing time is the #1 cause of touch-up repairs failing and peeling off.
Will touch up paint stop rust?
If applied correctly over bare metal, yes. The paint seals the metal from oxygen and moisture, which stops the rusting process. However, if the metal already has surface rust, touch-up paint will not remove it. The rust will continue to spread under the paint, eventually bubbling the new touch-up paint off. If you see rust in the chip, you must mechanically remove it (by gently scraping or using a rust remover) before priming and painting.
The Verdict: Optical Depth is Created Through Leveling
Mastering a flawless, invisible car paint repair comes down to recognizing that paint application is only 30% of the detailing loop—the remaining 70% relies entirely on meticulous mechanical leveling and machine polishing. Skip the cheap universal paint pens and the dangerous hardware store acetone tricks that destroy factory top coats. Take your time to clean the chip cavity with safe isopropyl alcohol, build the paint layers up incrementally via fine micro-swabs, and use a lubricated 3,000-grit wet block to polish the edges flush for a professional, showroom-level mirror reflection.
(Want to ensure the rest of your vehicle’s mechanical components, charging loops, and engine computer diagnostics are functioning with absolute factory precision? Read our master workshop guide on How to Read Check Engine Light Codes Without a Scanner or check out The Car Buzz Official Testing and Editorial Integrity Guidelines Page).