
This article was updated in July 11, 2026 with new products and information by Mark S. Taylor
Cold air blowing out of your cabin vents even with the temperature dial cranked to maximum usually means one thing: your heater core is internally clogged. The good news is that backflushing it yourself is one of the most forgiving DIY jobs under the hood—it is highly affordable, straightforward, and does not require pulling the physical dashboard out on the vast majority of vehicle platforms.
However, executing this fix at the wrong pressure or using the wrong chemical balance can instantly transform a simple $20 maintenance loop into a catastrophic $950 replacement bill. Before you grab a standard garden hose, let’s look at the mechanical science behind this failure, map out an accurate diagnostic verification test, and walk through the secure shop-level flushing pipeline.
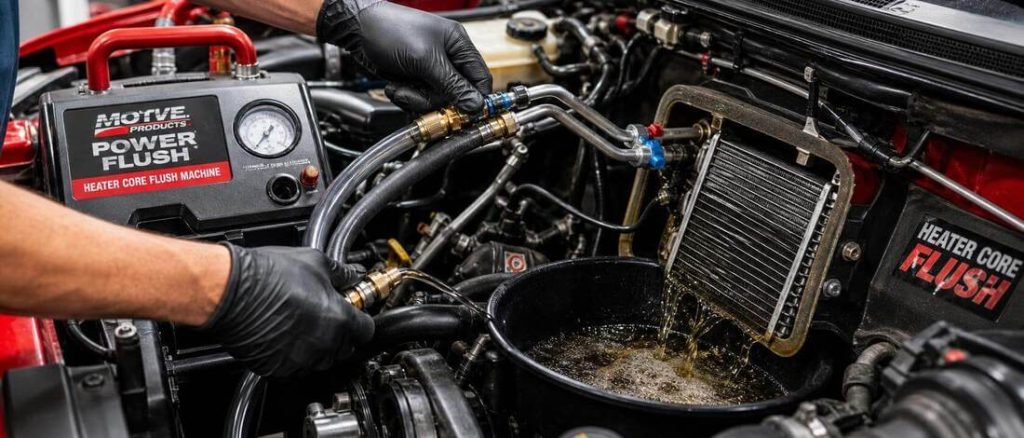
In this guidelines i will show how to flush a heater core fixing step by step diy guideline
Contents
- 1 What Is a Heater Core and Why Does It Clog?
- 2 Clogged Heater Core vs. Internal Core Leak
- 3 The 5-Minute Hot/Cold Hose Test
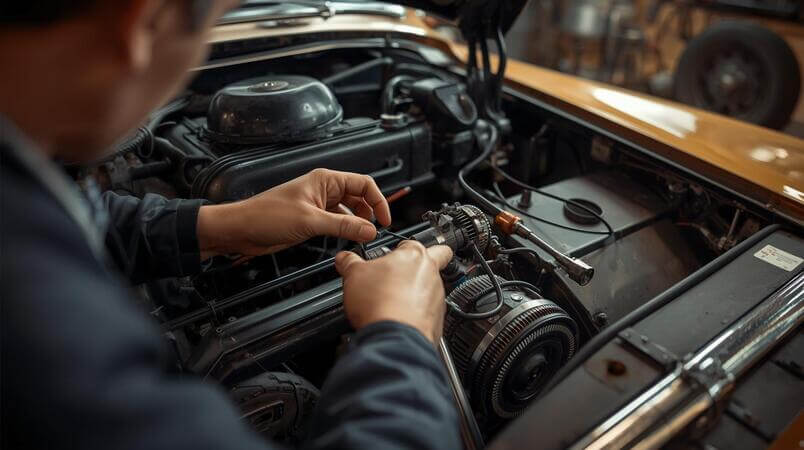
- 4 How to Backflush a Heater Core Safely: Step-by-Step
- 5 Cooling System Service & Repair Cost Metrics
- 6 DIY vs. Mechanic Decision Guide
- 7 Prevention Tips
- 8 FAQs About How to Flush a Heater Core
- 8.1 How do I know if my heater core needs flushing vs. replacing?
- 8.2 Can I flush a heater core without removing the dashboard?
- 8.3 What’s the best solution to flush a heater core — water, vinegar, or a chemical flush?
- 8.4 How much water pressure is safe for a heater core?
- 8.5 How long does a heater core flush last before it clogs again?
- 9 The Bottom Line
What Is a Heater Core and Why Does It Clog?
Think of your heater core as a miniaturized secondary radiator hiding deep inside your dashboard’s HVAC plenum box.
Hot engine coolant flows continuously through its micro-tubes. When you activate the cabin heat, a blower motor forces outside air across these thin aluminum fins, absorbing thermal energy and venting warm air into your cabin.
Because the heater core passages are the narrowest restrictions in the entire automotive cooling network, it acts as a default filter trap for internal debris. The core primarily fails due to two main vectors:
- Chemical Coolant Degradation: As factory engine coolant crosses its service lifespan, its corrosion inhibitors break down. This allows oxidized rust particles and mineral scale to precipitate out of the liquid, forming a thick sludge along the internal core channels.
- The Incompatible Gel Reaction: Mixing different factory coolant families—such as dropping green inorganic acid technology (IAT) fluid into an orange organic acid technology (OAT) matrix—creates an aggressive chemical reaction that turns the engine coolant into an inactive, gelatinous mud that seals the heater core shut instantly.
Clogged Heater Core vs. Internal Core Leak
Before attempting a flush, you must inspect the cabin floorboards to ensure the core is structurally intact.
- The Flush-Approved Clog: You get cold or barely lukewarm air on max heat, the engine temp gauge reads normal, and there is zero coolant loss or drop in the overflow reservoir level.
- The Dead-Core Replacement Signs: If you smell a distinct, sugary-sweet odor inside the cabin, experience persistent oil-like fogging on the lower windshield glass, or find wet, greasy coolant spots pooling on the passenger-side carpet, your heater core is structurally cracked. A flush will not fix this—the core must be physically replaced.
The 5-Minute Hot/Cold Hose Test
Execute this diagnostic step before disconnecting any cooling lines to ensure you aren’t chasing a failed blend door actuator or a stuck engine thermostat.
- Start the engine completely cold and let it reach normal operating temperature on the dash gauge.
- Set the dashboard climate controls to maximum heat and place the fan speed on high.
- Pop the hood, locate the two flexible heater hoses routed into the rear firewall sheet metal, and carefully test their temperatures using the back of your hand.
- Hot Inlet / Cold Outlet: This temperature delta confirms an internal heater core restriction. Coolant is carrying heat to the entrance of the dashboard but is entirely blocked from circulating through the internal micro-tubes.
- Equal Warmth / Both Sides: The heater core is flowing properly. If your vents are still blowing cold air, your issue is a failed cabin blend door motor or an air-locked cooling block.
How to Backflush a Heater Core Safely: Step-by-Step
Necessary Tools & Supplies:
- Standard garden hose with a variable flow nozzle
- Two short lengths of clear 5/8-inch or 3/4-inch vinyl hose (matching your vehicle’s barb diameters)
- A large fluid drain pan
- Pliers or a flathead screwdriver for factory hose clamps
- Fresh, pre-diluted 50/50 vehicle-specific OEM coolant
- Chemical Flush Variant: A bottle of commercial cooling system cleaner, or 1 quart of distilled white vinegar plus 2 tablespoons of baking soda for neutralization.
1. Execute Thermal Cool-Down Verification: Under 5 min.
Ensure the engine has sat idle for at least two hours and feels cool to the touch. Engine cooling networks operate under severe pressure when hot; opening a line prematurely will spray scalding fluid.
2. Isolate and Disconnect the Firewall Lines: 5 min.
Position your fluid drain pan directly underneath the firewall hose connections. Loosen the spring clamps using your pliers, carefully twist and slide the rubber hoses off the heater core metal barbs, and let the residual fluid drain out completely.
3. Set Up the Reverse Backflush Loop: 10 min.
Slide your clear vinyl DIY hoses onto the heater core barbs. The Secret: Attach your pressurized water source to the outlet (return) barb and let the drainage hose run off the inlet barb into the pan. Flushing backward against the default direction of engine flow is four times more effective at dislodging trapped mineral chunks.
4. Regulate Safe Water Pressure Flow: 5 min.
Slowly turn on your garden hose spigot by just a quarter to half turn. Standard automotive heater cores are only engineered to withstand operating loop pressures of 15 to 20 PSI. A fully opened home garden hose spigot can blast out over 50 PSI, which will instantly rupture the internal core seams, turning a simple maintenance cleaning into a massive dashboard tear-down replacement job. Flush until the water transitions from muddy brown to crystal clear.
1. Execute Acid Scale Breakup & Critical Neutralization: 15 min.
If the water flow remains weak due to hardened mineral scale, blow out the excess water, fill the core with distilled white vinegar or a chemical solvent, and let it sit undisturbed for 30 minutes.
Critical Safety Step: After flushing out the vinegar, mix 2 tablespoons of baking soda into a gallon of fresh water and flush it through the core. This alkali wash instantly neutralizes the residual acid, stopping long-term internal engine block corrosion.
2. Reassemble and Purge Trapped System Air: 10 min.
Reinstall your factory rubber heater hoses and secure the spring clamps tightly. Open the radiator cap, top off the cooling system with the correct 50/50 OEM-spec coolant, and start the engine with the cap off. Let the engine idle up to operational temperature to purge all trapped air pockets from the upper dashboard loops, topping off the reservoir level as the bubbles escape.

Cooling System Service & Repair Cost Metrics
| Service Pathway | Average DIY Parts Cost | Professional Shop Bill (Labor Included) | Operational Skill Level |
| Standard Low-Pressure Backflush | $15 (Cleaner & Hoses) | $100 – $180 | Beginner Driveway Task |
| Advanced Chemical Scale De-Clog | $25 – $45 | $150 – $250 | Intermediate |
| Complete Engine Coolant Flush | $30 – $60 (OEM Fluid) | $120 – $220 | Beginner Driveway Task |
| Heater Core Core Replacement | $60 – $150 (Part Only) | 💰 $750 – $1,250+ | Extreme Dashboard Tear-Down |
DIY vs. Mechanic Decision Guide
The flush itself is genuinely DIY-friendly — no specialty tools required beyond basic pliers and a garden hose. Where it gets harder is access: on some vehicles, the heater core hoses are easy to reach under the hood, but on others they’re tucked behind other components, and full replacement often means partially disassembling the dashboard.
If the hot/cold hose test confirms a clog and you can reach both hoses without major disassembly, do the flush yourself. If you’ve already flushed and flow still isn’t restored, that’s your signal to get a shop estimate rather than keep troubleshooting — you’re likely looking at replacement, not another flush attempt.
Prevention Tips
- Flush your entire cooling system on the manufacturer’s recommended interval, not just when the heater acts up — this keeps sediment from ever reaching the core
- Stick to one coolant type and color for the life of the vehicle; if you’re not sure what’s already in there, have it drained and replaced rather than topped off with something different
- Address coolant leaks immediately rather than just topping off — low coolant circulating repeatedly concentrates whatever contaminants are already in the system
FAQs About How to Flush a Heater Core
How do I know if my heater core needs flushing vs. replacing?
Run the hot/cold hose test. If you get flow (even weak) during a flush and the water eventually runs clear, flushing was the right call. If there’s no flow at all even at low pressure, the core is likely blocked internally and needs replacing.
Can I flush a heater core without removing the dashboard?
On most vehicles, yes — the hoses you need are accessible at the firewall in the engine bay. Dashboard removal is typically only necessary for full core replacement, not for a flush.
What’s the best solution to flush a heater core — water, vinegar, or a chemical flush?
Plain water handles most cases. If scale is stubborn, an overnight white vinegar soak or a dedicated chemical flush product both work well as a next step before assuming the core needs replacement.
How much water pressure is safe for a heater core?
Keep it low — around a quarter to half turn on the spigot. Heater cores are typically rated for about 10 psi, well under a garden hose’s roughly 40 psi at full blast.
How long does a heater core flush last before it clogs again?
With regular cooling system flushes on schedule and consistent coolant type, most drivers won’t need to flush the heater core specifically again for years. Skipping cooling system maintenance is what brings the clog back.
The Bottom Line
A clogged heater core is a progressive maintenance failure. Ignoring the initial drop in vent temperatures or running mixed, degraded fluids will quickly harden into a solid calcium block that no low-pressure driveway flush can clear. Spend an hour executing a proper reverse water flush, always neutralize your acidic cleaning variants with an alkali wash, and maintain your primary fluid changes on schedule to protect your vehicle’s interior comfort and cooling system health.
Cooling Diagnostics & Calibration: If your heating issues have caused your engine computer to flag unexpected engine temperature warnings or diagnostic trouble codes on your dashboard, check our master workshop guide on How to Read Check Engine Light Codes Without a Scannerto clear historical powertrain codes. For tracking alternative cooling faults or diagnosing complex electrical system drops, read our comprehensive tutorial on Why an Engine Runs Rich.