
This article was updated in September 19, 2026 with new products and information by Mark S. Taylor
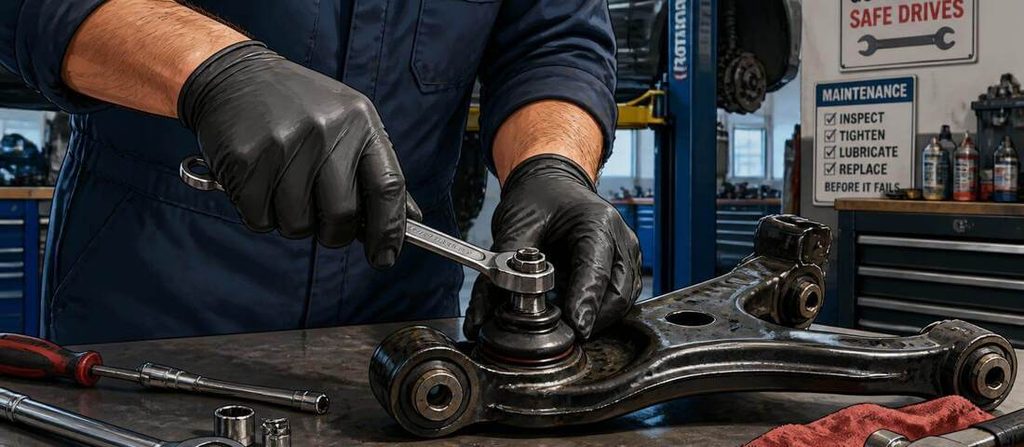
Changing a control arm bushing can restore steering feel, reduce suspension noise and help keep the wheel properly positioned. But replacing the bushing isn’t simply a matter of removing the old rubber and pressing in a new one.
The bushing has to be installed in the correct orientation and depth, and rubber-bushed control arms generally need to be final-torqued at the vehicle’s normal ride height.
If the bushing is installed incorrectly or tightened while the suspension is hanging, the new part can be preloaded and fail prematurely.
This guide explains when you can replace only the bushing, when replacing the complete control arm makes more sense, the basic replacement procedure, and the installation mistakes that commonly shorten bushing life.
Contents
- 1 How Do You Change a Control Arm Bushing?
- 2 What Is a Control Arm Bushing?
- 3 Symptoms of a Bad Control Arm Bushing
- 4 Can You Replace Just the Control Arm Bushing?
- 5 Tools Needed for Changing a Control Arm Bushing
- 6 Changing Control Arm Bushing Step by Step
- 7 Step 7: Mark the Old Bushing’s Position
- 8 Step 11: Press the New Bushing Into Position
- 9 Step 12: Reinstall the Control Arm
- 10 Step 13: Torque the Bushing at Ride Height
- 11 Step 14: Use the Correct Torque Specification
- 12 Step 15: Reconnect Everything
- 13 Step 16: Reinstall the Wheel
- 14 Step 17: Get a Wheel Alignment
- 15 What Happens If You Torque the Bushing With the Suspension Hanging?
- 16 Can You Change Control Arm Bushings Without Removing the Control Arm?
- 17 Should You Replace the Whole Control Arm Instead?
- 18 How Long Does a Control Arm Bushing Last?
- 19 Rubber vs. Polyurethane Control Arm Bushings
- 20 Control Arm Bushing Replacement Cost
- 21 Common Control Arm Bushing Replacement Mistakes
- 21.1 1. Installing the bushing backward
- 21.2 2. Ignoring installation depth
- 21.3 3. Guessing the orientation
- 21.4 4. Torquing the bushing at full suspension droop
- 21.5 5. Using an undersized or poorly positioned press adapter
- 21.6 6. Reusing one-time-use hardware
- 21.7 7. Ignoring the ball joint
- 21.8 8. Skipping alignment
- 21.9 9. Using a generic torque value
- 21.10 10. Working underneath an unsupported vehicle
- 22 FAQs About Changing Control Arm Bushing
- 22.1 Can you replace just a control arm bushing?
- 22.2 Is it better to replace the whole control arm or just the bushing?
- 22.3 Do control arm bushings need to be pressed in?
- 22.4 Can I change a control arm bushing at home?
- 22.5 Do you torque control arm bushings at ride height?
- 22.6 Do you need an alignment after changing a control arm bushing?
- 23 Final Verdict
How Do You Change a Control Arm Bushing?
The general process is:
- Confirm the bushing is actually worn.
- Inspect the control arm, ball joint and surrounding suspension.
- Raise and safely support the vehicle.
- Remove the wheel and disconnect components that prevent control-arm removal.
- Remove the control arm.
- Mark the original bushing’s orientation and depth.
- Press the old bushing out using appropriate tools.
- Clean and inspect the control-arm bore.
- Press the new bushing in at the correct orientation and depth.
- Reinstall the control arm.
- Initially tighten the mounting hardware according to the manufacturer’s procedure.
- Put the suspension at the specified ride-height position.
- Apply the final torque specification.
- Check the suspension and steering.
- Perform a wheel alignment when required.
The exact procedure and torque specifications are vehicle-specific. Never use a generic torque value for a control-arm bushing.
What Is a Control Arm Bushing?
A control arm bushing is a flexible connection between the control arm and the vehicle’s frame, subframe or body.
The bushing allows controlled suspension movement while helping isolate road vibration and noise.
Depending on the suspension design, a control arm may use one or more bushings.
The control arm itself connects the suspension to the vehicle structure and helps control the wheel’s movement as the suspension travels. MOOG describes control arms as important steering and suspension components that connect to the vehicle frame through bushings and to the wheel assembly through the ball joint.
When the bushing deteriorates, the control arm can move more than intended.
That can affect:
- Steering feel
- Wheel alignment
- Ride quality
- Tire wear
- Braking stability
- Suspension noise
Symptoms of a Bad Control Arm Bushing
Before changing a control arm bushing, make sure the bushing is actually the problem.
Common symptoms include:
- Clunking or knocking over bumps
- Excessive vibration
- Loose or vague steering
- Vehicle wandering
- Uneven tire wear
- Changes in alignment
- Steering movement under braking or acceleration
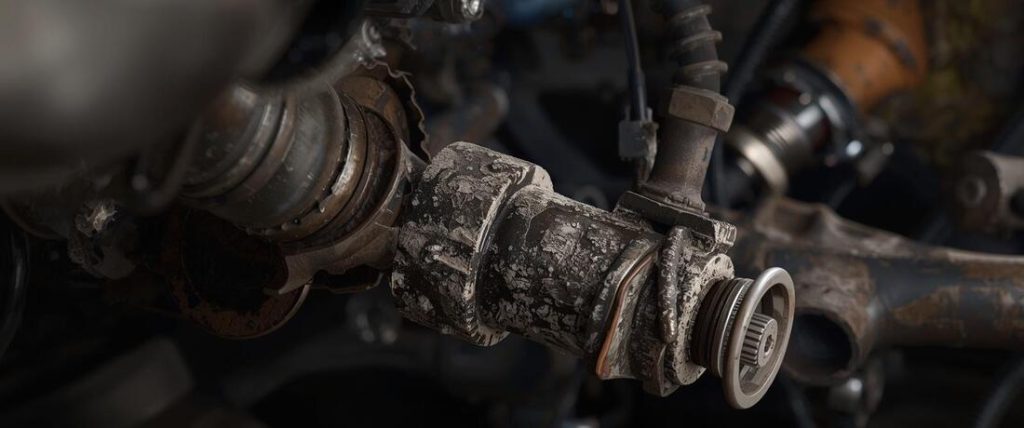
- Visible cracking or separation of the bushing
Firestone lists excess vibration, creaking or banging noises, rattling over impacts and overly loose steering among symptoms that can indicate worn suspension bushings.
MOOG also notes that worn control-arm components can cause front-end clunking, particularly when the bushing allows unwanted movement between the control arm and its mounting point.
Don’t Diagnose the Bushing by Noise Alone
A clunking front suspension doesn’t automatically mean a control-arm bushing is bad.
Similar symptoms can come from:
- Ball joints
- Tie rod ends
- Sway-bar links
- Strut mounts
- Wheel bearings
- Control-arm ball joints
- Other bushings
The component needs to be inspected for actual wear or excessive movement.
Can You Replace Just the Control Arm Bushing?
Sometimes, yes.
Whether you should replace only the bushing depends on the vehicle and the condition of the complete control arm.
Replace only the bushing when:
- The control arm isn’t bent
- The mounting holes are sound
- The ball joint is still good
- The replacement bushing is available
- You have the correct pressing equipment
- The repair procedure permits separate bushing replacement
Replace the complete control arm when:
- The ball joint is also worn
- The arm is damaged or bent
- The bushing cannot be replaced separately
- Pressing the bushing isn’t practical
- The complete assembly is more economical
- The manufacturer specifies assembly replacement
Don’t spend hours pressing out one bushing if the ball joint is already worn and the complete arm is readily available.
At the same time, don’t automatically replace an entire control arm if the arm and ball joint are perfectly serviceable and a proper bushing replacement is available.
Inspect the whole assembly first.
Tools Needed for Changing a Control Arm Bushing
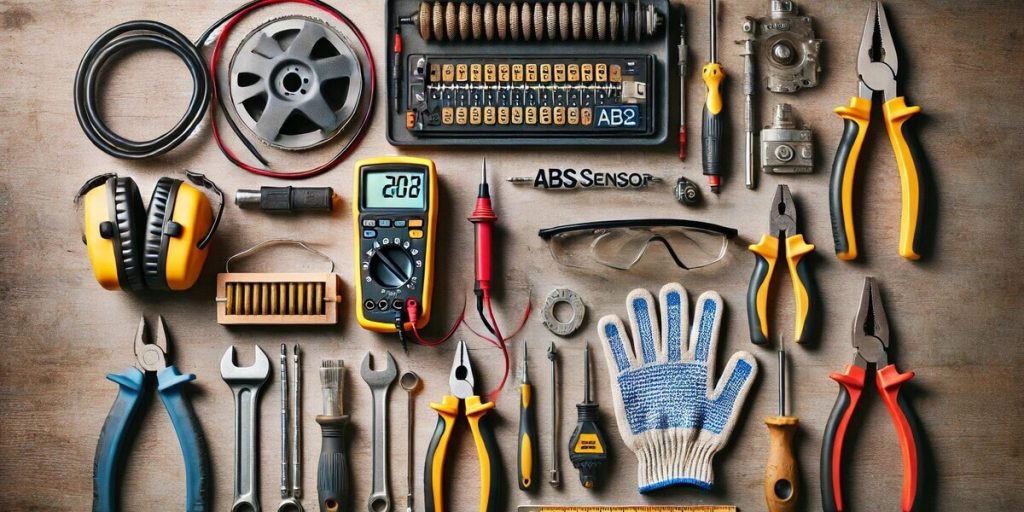
The exact tool list depends on the vehicle.
Common equipment includes:
- Floor jack
- Jack stands
- Wheel chocks
- Socket set
- Breaker bar
- Torque wrench
- Ball-joint separator if required
- Pry bar
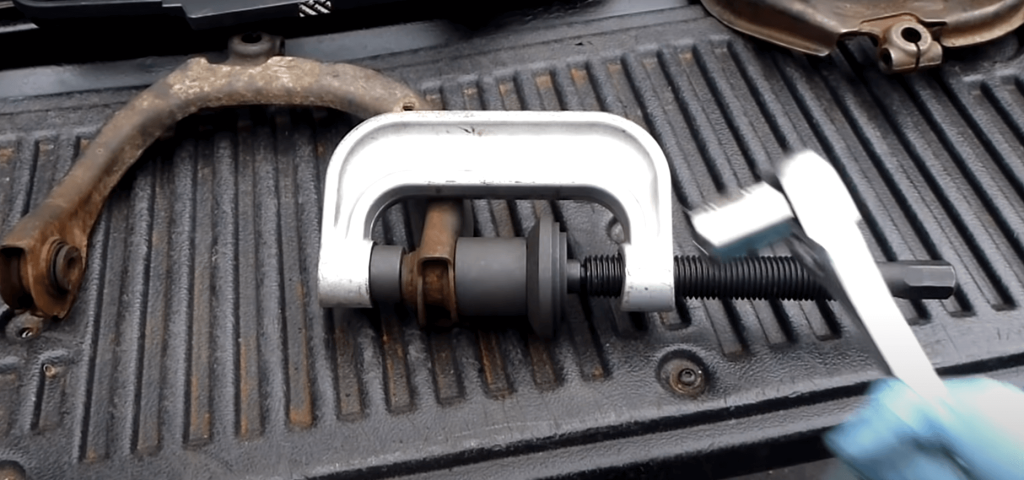
- Bushing press kit
- Hydraulic press
- Suitable press adapters
- Wire brush
- Penetrating lubricant
- Measuring tools
- Paint marker
For a press-in bushing, a proper press and correctly sized adapters are strongly preferred.
Don’t try to improvise a high-force bushing installation with random sockets or tools that can slip.
Changing Control Arm Bushing Step by Step
Step 1: Confirm the Fault
Before taking the suspension apart, inspect the bushing.
Look for:
- Cracks
- Tears
- Separation
- Deformation
- Missing rubber
- Excessive movement
- Contact between components that shouldn’t touch
If the bushing looks questionable, inspect it together with the ball joint and other suspension components.
A damaged bushing can coexist with other worn parts.
Step 2: Check the Replacement Bushing
Before removing the old bushing, compare the replacement with the original.
Check:
- Overall diameter
- Inner sleeve
- Outer sleeve
- Width
- Shape
- Mounting features
- Orientation marks
Some bushings look symmetrical but aren’t.
MOOG notes that certain control-arm bushings require specific radial and/or axial positioning, especially slotted or hydro-elastic designs.
Step 3: Raise and Support the Vehicle Safely
Park on a solid, level surface.
Use wheel chocks and appropriate lifting points.
Support the vehicle with properly rated jack stands.
Never rely on a hydraulic jack alone while working underneath the vehicle.
Step 4: Remove the Wheel
Remove the wheel and tire assembly.
Keep the wheel fasteners in a safe place.
Step 5: Disconnect Components as Required
Depending on the vehicle, you may need to disconnect:
- Stabilizer-bar link
- Ball joint
- Shock/strut connection
- Steering knuckle connection
- Brake hose brackets
- Wiring brackets
- Other suspension hardware
Follow the vehicle-specific service procedure.
Don’t allow a brake hose or electrical wiring to hang under tension.
Step 6: Remove the Control Arm
Remove the control-arm mounting bolts.
Some bolts may be extremely tight because of corrosion or factory torque.
Support the control arm while removing the final fastener.
Don’t let the arm drop and damage nearby components.
Step 7: Mark the Old Bushing’s Position
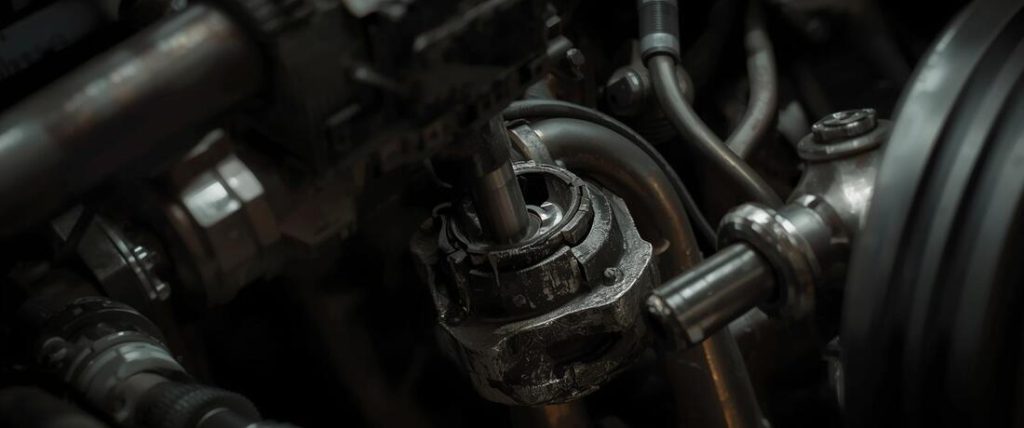
Do this before pressing out the old bushing.
Mark:
- Radial orientation
- Axial depth
- Position relative to the control arm
Take photographs from several angles.
This is especially important for bushings with voids, slots, offset sleeves or directional markings.
MOOG specifically recommends documenting the original position because some bushings require precise orientation and pressing depth.
If the old bushing is already badly destroyed and its orientation isn’t obvious, use the manufacturer’s installation instructions rather than guessing.
Step 8: Press Out the Old Bushing
Secure the control arm properly in a hydraulic press or use the manufacturer’s approved removal tool.
Use the correct adapters.
The adapter should apply force to the appropriate part of the bushing.
Avoid pushing against thin or unsupported sections of the control arm.
A bushing that is rusted into place may require significant force.
Keep your hands and body out of the potential path of a slipping component.
Step 9: Clean the Bushing Bore
After removal:
- Remove rust
- Clean debris
- Inspect the bore
- Check for cracks
- Check for distortion
- Confirm the control arm hasn’t been damaged
Don’t install a new bushing into a damaged or severely corroded mounting bore.
Step 10: Compare the New Bushing
Before pressing it in, compare the new bushing with the old one.
Check:
- Diameter
- Sleeve position
- Orientation marks
- Voids
- Offset
- Overall width
If something doesn’t match, stop and verify the part number.
Step 11: Press the New Bushing Into Position
Use the correct press adapters.
Apply force evenly and keep the bushing aligned with the control arm.
Do not hammer the bushing into place unless the manufacturer’s procedure specifically allows it.
Some bushings require a precise installation depth.
MOOG’s technical guidance emphasizes that correct pressing depth and radial orientation are critical for certain control-arm bushings.
Why Orientation Matters
A directional bushing may contain:
- Voids
- Slots
- Reinforced sections
- Offset sleeves
- Different rubber stiffness zones
These features control how the bushing moves under braking, acceleration and suspension travel.
Install it incorrectly and the vehicle may handle differently or the bushing may experience abnormal loads.
Step 12: Reinstall the Control Arm
Install the control arm and start all mounting hardware by hand.
Don’t fully tighten the rubber-bushing mounting bolts yet unless the manufacturer specifically instructs you to do so.
The control arm needs to reach its specified neutral/ride-height position before the final torque is applied on many rubber-bushed designs.
Step 13: Torque the Bushing at Ride Height
This is one of the most important steps in the entire job.
Do not blindly final-torque rubber control-arm bushings with the suspension hanging.
MOOG explains that fully tightening the bushing while the wheels are hanging can pre-stress the rubber when the vehicle is lowered to normal ride height. That can lead to premature wear or failure.
Depending on the vehicle, the manufacturer may specify:
- Final torque at ride height
- A specified suspension-loading procedure
- A specific hub-to-fender measurement
- A special support position
- A particular tightening sequence
Follow that procedure.
Important:
Ride height does not necessarily mean “just put the car on the ground and crawl underneath.”
If access to the fastener is blocked when the vehicle is on the ground, the service procedure may specify a safe method for loading the suspension while the vehicle remains supported.
Follow the exact vehicle procedure.
Step 14: Use the Correct Torque Specification
Never use a generic internet torque number.
Control-arm bolts differ substantially between vehicles.
The required torque can depend on:
- Bolt diameter
- Fastener grade
- Bushing design
- Control-arm material
- Vehicle model
- Suspension geometry
- Whether the fastener is torque-to-yield
Some manufacturers also specify replacing certain fasteners rather than reusing them.
Use the factory service specification for your exact vehicle.
Step 15: Reconnect Everything
Reconnect any components removed during the job.
Check:
- Ball-joint fasteners
- Stabilizer link
- Strut connection
- Brake hose brackets
- ABS wiring
- Wheel-speed sensor wiring
- Cotter pins where specified
Make sure nothing is rubbing against the tire, brake rotor or suspension.
Step 16: Reinstall the Wheel
Install the wheel and tighten the lug nuts using the manufacturer’s specification.
Lower the vehicle safely.
Step 17: Get a Wheel Alignment
A wheel alignment should generally be checked after control-arm or bushing replacement.
The control arm is part of the suspension geometry, and worn suspension components can affect alignment.
Firestone notes that alignment cannot be properly maintained when worn or damaged suspension components are still affecting the vehicle’s geometry.
Even when the bushing itself isn’t an adjustable alignment component, replacing a severely worn bushing can change the position of the suspension.
Don’t skip the alignment check.

What Happens If You Torque the Bushing With the Suspension Hanging?
This is one of the most common control-arm bushing installation mistakes.
Imagine the suspension hanging at full droop.
The control arm is sitting at a different angle than it normally does on the road.
If you fully tighten a bonded rubber bushing in that position, the rubber is effectively locked into that twisted position.
When the car is lowered, the suspension moves to ride height.
The rubber has to twist again.
That creates unwanted preload.
MOOG states that this can cause excessive bushing stress and premature wear or failure.
This is why correct torque position matters just as much as the torque number.
Can You Change Control Arm Bushings Without Removing the Control Arm?
Sometimes, but it depends on the vehicle and bushing design.
A few applications may provide enough access for a specialized on-car press tool.
However, removing the control arm often provides better access and makes it easier to control bushing orientation and pressing depth.
Don’t assume an on-car method is safe or appropriate simply because a universal press kit claims that it can do the job.
Use the vehicle-specific procedure.
Should You Replace the Whole Control Arm Instead?
Sometimes the complete arm is the better repair.
Consider the complete assembly if:
- The ball joint has play
- The control arm is bent
- The mounting bore is damaged
- Multiple components are worn
- The complete arm is competitively priced
- The manufacturer specifies assembly replacement
A complete control arm can also save labor because the new assembly may already include the bushings and ball joint.
But if the arm is structurally sound and only the bushing is worn, replacing the bushing can be perfectly reasonable when the vehicle allows it.
How Long Does a Control Arm Bushing Last?
There is no universal mileage interval.
Bushing life depends on:
- Vehicle design
- Road quality
- Potholes and impacts
- Climate
- Chemicals and oil exposure
- Driving style
- Bushing material
- Vehicle load
Firestone notes that rubber and polyurethane bushings naturally deteriorate over time, while driving conditions and exposure affect service life.
Some specific OE-style bushings have documented failure patterns much earlier than drivers might expect. MOOG, for example, documents certain applications where repeated rubber stress can cause separation in as few as 30,000 miles. That is application-specific, not a universal life expectancy.
Rubber vs. Polyurethane Control Arm Bushings
If you’re replacing only the bushing, you may encounter different materials.
Rubber
Advantages:
- OE-style ride characteristics
- Good vibration isolation
- Generally quieter
- Designed around the original suspension behavior
Polyurethane
Potential advantages:
- Different stiffness characteristics
- Often marketed for improved response
- Can change suspension feel
But polyurethane isn’t automatically better for every street-driven vehicle.
The correct choice depends on the vehicle, intended use and desired ride/handling characteristics.
For a daily driver, matching the manufacturer’s intended bushing characteristics is often the most predictable approach.
Control Arm Bushing Replacement Cost
Cost varies significantly because labor can be the biggest part of the job.
A repair can involve:
- Bushing only
- Complete control arm
- Pressing labor
- Control-arm removal
- Corroded fastener removal
- Alignment
Generally:
| Repair | Relative cost |
|---|---|
| Single bushing | Low parts cost, potentially high labor |
| Multiple bushings | Moderate |
| Complete control arm | Moderate |
| Control arm + ball joint | Moderate to high |
| Severe corrosion | Can increase labor significantly |
| Alignment | Additional service cost |
A bushing itself may be inexpensive, but pressing it out and installing the replacement can make labor substantial.
That’s why comparing bushing-only labor + alignment with the price of a complete control arm is worthwhile.
Common Control Arm Bushing Replacement Mistakes
1. Installing the bushing backward
Some bushings are directional.
2. Ignoring installation depth
A bushing pressed too far in or not far enough can change its intended operation.
3. Guessing the orientation
Use the manufacturer’s instructions.
4. Torquing the bushing at full suspension droop
This can preload the rubber and shorten its life.
5. Using an undersized or poorly positioned press adapter
This can damage the control arm or bushing.
6. Reusing one-time-use hardware
Check the service manual.
7. Ignoring the ball joint
If the ball joint is worn too, bushing replacement alone may not solve the handling problem.
8. Skipping alignment
Replacing a worn suspension component can change wheel geometry.
9. Using a generic torque value
Torque specifications are vehicle-specific.
10. Working underneath an unsupported vehicle
Never rely on a jack alone.
FAQs About Changing Control Arm Bushing
Can you replace just a control arm bushing?
Yes, on many vehicles, provided the control arm itself and other components are serviceable and the bushing is available separately.
Is it better to replace the whole control arm or just the bushing?
It depends on the vehicle and condition of the control arm. If the ball joint or arm is also worn, a complete control arm can make more sense. If only the bushing is damaged, a bushing-only repair may be appropriate.
Do control arm bushings need to be pressed in?
Many press-in bushings do. Some control arms use bonded or integrated bushings that require replacing the complete arm.
Can I change a control arm bushing at home?
A mechanically experienced DIYer can do it on some vehicles, but press-in bushings can require substantial force and specialized equipment. Safe vehicle support and correct pressing technique are essential.
Do you torque control arm bushings at ride height?
For many rubber-bushed control arms, the final torque should be applied with the suspension at its specified normal ride-height position. Follow the exact manufacturer procedure. MOOG specifically warns against fully tightening rubber bushings with the suspension hanging.
Do you need an alignment after changing a control arm bushing?
An alignment check is generally a good idea after suspension work, particularly if the bushing was significantly worn or the control arm was removed. Worn suspension components can affect wheel geometry.
Final Verdict
Changing a control arm bushing is more than pressing out old rubber and pressing in new rubber.
The critical steps are:
Confirm the fault → inspect the complete control arm → document bushing orientation/depth → remove the arm → press the old bushing out correctly → install the new bushing in the correct position → reinstall the arm → torque the rubber bushing at the specified suspension position → check alignment.
The biggest installation mistake is fully tightening a bonded rubber bushing while the suspension is hanging, because that can preload the rubber and shorten its life.
The torque number matters, but the torque position matters too.
If the control arm, ball joint and mounting points are still good, a bushing-only replacement can be a sensible repair. If several components are worn, replacing the complete control arm may save labor and provide a more predictable repair.