
This article was updated in August 23, 2026 with new products and information by Mark S. Taylor
A compression test shows how well each cylinder builds pressure while the engine cranks. Use it to compare cylinders and check the factory specification for your engine. Do not diagnose worn rings, burned valves, or a head-gasket failure from one low number alone.

Contents
- 1 Can You Still Drive With a Possible Compression Problem?
- 2 What an Engine Compression Test Actually Tells You
- 3 Tools and Safety Checks Before You Start
- 4 How to Perform a Basic Cranking Compression Test
- 4.1 1. Confirm the factory test specification
- 4.2 2. Warm the engine, then secure the vehicle
- 4.3 3. Disable fuel and ignition using the correct vehicle procedure
- 4.4 4. Remove all spark plugs and inspect what you find
- 4.5 5. Install the correct gauge adapter in cylinder No. 1
- 4.6 6. Hold the throttle open and crank consistently
- 4.7 7. Repeat for every cylinder and compare the pattern
- 5 How to Read Compression Results
- 6 When to Stop and Book a Shop
- 7 FAQs About How to Check Engine Compression
- 8 Final Technician-Style Verdict
Can You Still Drive With a Possible Compression Problem?
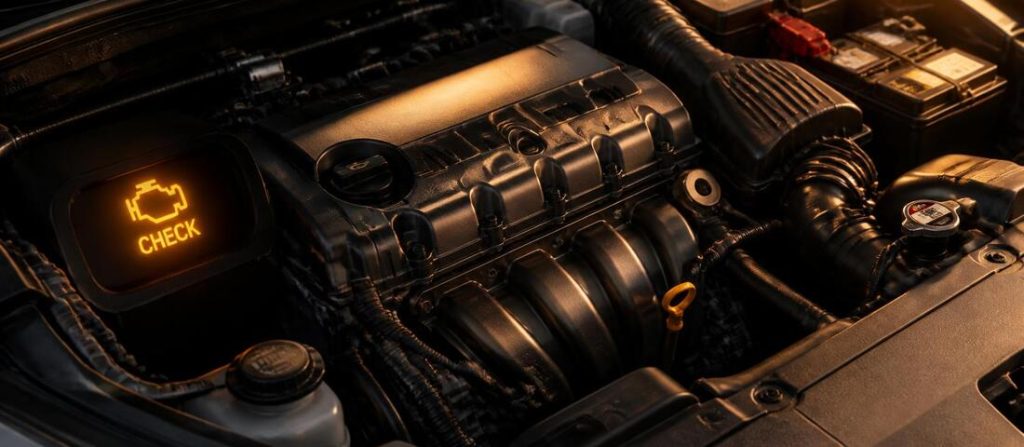
Status: Drive to service only—or stop driving—depending on the symptoms. Do not keep driving if the engine is shaking badly, losing power where traffic makes that unsafe, overheating, knocking, or displaying a flashing check-engine light. A persistent misfire can also overheat the catalytic converter.
If the engine runs smoothly and you are only investigating a stored code or poor performance, schedule the test before replacing ignition or fuel-system parts. A compression test is a diagnosis step, not a repair by itself.
What an Engine Compression Test Actually Tells You
A cranking compression test checks whether each cylinder can build pressure while the starter turns the engine. That pressure depends on the cylinder’s ability to seal and on the test conditions, including throttle opening, cranking speed, temperature, gauge setup, and the engine’s design.
The most useful question is not “Is 160 PSI good?” It is “Are the cylinders meeting this engine’s factory specification when tested the same way?” A single generic PSI number from the internet cannot answer that question for every engine.
A low reading can be associated with ring wear, valve sealing trouble, a damaged piston, valve-timing problems, or a head-gasket issue. It does not prove which one is present. ALLDATA describes static compression testing as a way to assess individual-cylinder sealing; further testing is needed when the result is abnormal.
Tools and Safety Checks Before You Start
You need a compression gauge with the correct threaded hose adapter, basic hand tools for your spark plugs and ignition components, a fully charged battery or suitable maintainer, a notebook or chart, and the factory repair information for the vehicle. The manual matters because it identifies the specified pressure, test conditions, and the correct way to prevent spark and fuel delivery.
Work on level ground with the transmission in Park or Neutral and the parking brake set. Warm the engine first if the vehicle can run safely, then allow it to cool enough that you can work around the plugs without burning yourself. NASA Speed News recommends disabling fuel and ignition before cranking, and notes that repeat cranking can drain the battery.
Mechanic Warning: Do not guess which fuse, relay, connector, or module to unplug. Modern vehicles may use coil-on-plug ignition, direct injection, electronic throttles, anti-theft systems, or hybrid hardware. Use the factory procedure for the specific vehicle.
Do not attempt a universal DIY procedure on a diesel engine, a high-voltage hybrid system, or a vehicle where plug access requires major disassembly and you cannot identify the safe fuel-and-spark disable method. Those jobs need vehicle-specific information and may be better handled by a qualified shop.
How to Perform a Basic Cranking Compression Test
1. Confirm the factory test specification
Before removing parts, find the service information for your engine. Record the specified compression pressure, any stated allowable difference between cylinders, whether the engine must be warmed, how the throttle should be positioned, and how the manufacturer instructs you to disable fuel and ignition.
This step prevents the most common mistake: applying a pressure number from another engine to yours. Valve timing, compression ratio, altitude, gauge design, and cranking speed can change the number on the dial.
2. Warm the engine, then secure the vehicle
If it runs safely, bring the engine close to normal operating temperature. A warm test better reflects normal operating clearances and oil behavior. ALLDATA begins its standard static test on a warm engine.
Park on level ground, set the parking brake, place the transmission in Park or Neutral, and switch off the ignition. Keep tools, hands, loose clothing, and leads away from belts, fans, and the starter circuit.
3. Disable fuel and ignition using the correct vehicle procedure
The engine must crank without starting. Follow the factory procedure rather than copying a fuse location from a different model. On some vehicles, this involves a fuel-pump circuit; on others, it may require a different method.
Ignition must also be disabled. ALLDATA specifically warns that an unplugged plug wire must be grounded to prevent module damage; on a coil-on-plug system, disconnecting the coil harness may be appropriate when the vehicle’s procedure calls for it.
4. Remove all spark plugs and inspect what you find
Label coils, connectors, and plug locations before removal. Remove all spark plugs if the vehicle procedure permits it. NASA Speed News explains that removing all plugs lets the starter spin the engine more freely and helps prevent other cylinders from firing.
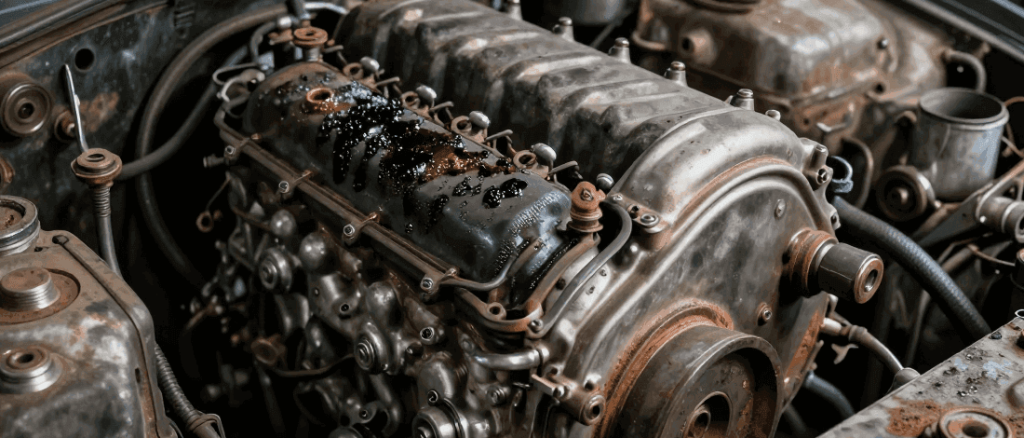
Look for obvious clues while the plugs are out: oil fouling, heavy deposits, coolant contamination, broken porcelain, or a damaged electrode. Those clues do not replace the compression test, but they can guide the next diagnosis.
5. Install the correct gauge adapter in cylinder No. 1
Thread the hose into the spark-plug hole by hand. Do not force it. Cross-threading an aluminum cylinder head turns a diagnostic check into an expensive repair.
Connect the gauge, make sure the hose is clear of moving parts, and use the same gauge and adapter for every cylinder. Record the cylinder number before you crank the engine.
6. Hold the throttle open and crank consistently
The test needs enough airflow. NASA Speed News advises a wide-open throttle during cranking and warns that a closed throttle can produce inaccurate low readings. On electronic-throttle vehicles, verify the throttle actually opens under the manufacturer’s test procedure; do not improvise a bypass.
Crank the engine for the same number of compression strokes or until the gauge stops rising, then use that same method for every cylinder. Record the highest stable reading. A weak battery can slow cranking and skew results, so keep the battery charged.
7. Repeat for every cylinder and compare the pattern
Release the pressure from the gauge, move to the next cylinder, and repeat under the same conditions. Write down every result before reconnecting anything.
The pattern across cylinders is usually more informative than a single number. Compare the readings with the factory specification and the manufacturer’s allowed variation. ALLDATA recommends recording the readings and comparing cylinders rather than treating one code or one cylinder in isolation.
How to Read Compression Results
| Pattern | What it may suggest | Best next step |
| All cylinders are similar and meet the factory specification | No obvious cranking-compression sealing failure | Continue normal diagnosis: scan data, ignition, fuel, air, or timing checks as applicable. |
| One cylinder is clearly low | A cylinder-specific sealing or mechanical problem is possible | Confirm the test conditions, then use vehicle-specific follow-up testing such as leak-down testing or valve-train inspection. |
| Two adjacent cylinders are low | A shared mechanical issue is possible | Do not assume the cause. Compare service data and consider professional leak-down or cooling-system diagnosis. |
| All cylinders are low | Test conditions, throttle opening, battery speed, cam timing, or broad engine wear may be involved | Recheck the setup and compare with factory data before making repair decisions. |
| Pressure rises noticeably after a small, controlled oil-added re-test | Ring sealing may be contributing | Treat this as a clue, not proof; confirm with follow-up diagnosis. |
A wet re-test can be useful only after a proper dry test. NASA Speed News notes that a small amount of oil followed by a higher reading can point toward ring sealing, while little change may point elsewhere. The result is still not a complete diagnosis.
Shop Tip: Do not buy an engine, cylinder head, or ring set from one gauge reading. First confirm battery condition, throttle opening, fuel-and-spark disable method, gauge sealing, the correct cranking routine, and the factory specification.

When to Stop and Book a Shop
Stop the DIY test if you cannot safely disable fuel and ignition, the throttle will not behave as required, the spark plugs feel seized, an adapter will not thread in smoothly, or the vehicle has hybrid/high-voltage equipment. A shop with factory repair information can perform a compression and leak-down evaluation without risking module damage, broken plugs, or damaged threads.
Book professional diagnosis promptly when the test shows a large abnormality, the engine misfires badly, coolant or oil contamination is visible, or the vehicle overheats. The technician should use the compression pattern to choose the next test—not skip directly to expensive parts.
FAQs About How to Check Engine Compression
Should the engine be warm for a compression test?
Usually, yes—provided it can be run safely. A warm engine is commonly used for a standard static compression test because it better represents normal operating conditions. Check the procedure for your specific engine.
Do I remove every spark plug?
For many gasoline engines, removing all plugs lets the starter turn the engine more freely and prevents other cylinders from firing. Follow the procedure for your vehicle and label components so they return to the correct positions.
What PSI should my engine have?
Use the factory specification. Generic PSI ranges are not reliable enough to approve or condemn every engine because engine design and testing conditions change the reading.
Does a low compression reading prove bad piston rings?
No. Ring wear is one possibility, but valve sealing, head-gasket problems, timing faults, damaged pistons, and even poor test conditions can affect the result. A wet re-test and leak-down test can help narrow the diagnosis.
Can I use this procedure on a diesel or hybrid?
Not as written. Diesel compression testing requires different equipment and much higher vehicle-specific specifications, while hybrid and high-voltage systems need model-specific safety procedures.
Final Technician-Style Verdict
A compression gauge is valuable when you use it to compare cylinders under repeatable conditions and against the specification for the exact engine. It is not a universal PSI quiz and it is not a license to order internal-engine parts.
Start by confirming the factory test method, disable fuel and ignition correctly, keep the throttle open as specified, and record every cylinder. If one or more readings are abnormal, verify the test setup first. Then move to the correct follow-up test rather than guessing at the failed part.