
This article was updated in June 15, 2026 with new products and information by Mark S. Taylor
Window tint is an excellent addition to any vehicle or home, offering privacy, glare reduction, and protection against intense US solar heat. However, as tint films age past their 5-to-10-year lifespan, the internal polyester layers begin to degrade. This leads to purple discoloration, bubbling, and a severe loss of optical clarity.
While taking your car to a professional detailer for tint removal is always an option, it typically costs anywhere from $100 to $300. Fortunately, with a little patience and the correct garage tools, you can cleanly strip old window tint at home without leaving behind a sticky, ruined mess.
As an automotive specialist, I have stripped hundreds of purple, bubbling windows. In this guide, I will walk you through the top 3 workshop-proven methods to remove window tint and its stubborn adhesive residue safely.
Contents
- 1 Gathering the Necessary Tools
- 2 Preparing the Work Area
- 3 A Critical Warning for Rear Windows with Defroster Lines
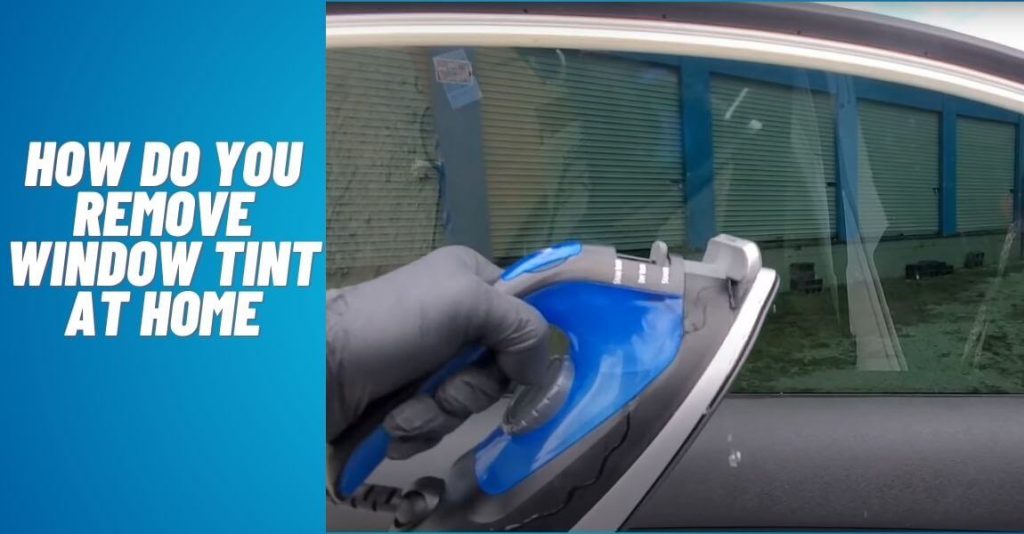
- 4 Method 1: The Steamer Method (The Absolute Best & Safest Way)
- 5 Method 2: The Ammonia and Solar “Black Bag” Method
- 6 Method 3: The Heat Gun / Hairdryer Method
- 7 How to Remove Stubborn Clear Adhesive Residue
- 8 Is It Easy To Remove Tint From House Windows?
- 9 What Removes Tint From Glass?
- 10 What Liquid Removes Window Tint?
- 11 Frequently Asked Questions Of Remove Window Tint At Home
- 12 The Bottom Line from the Garage
Gathering the Necessary Tools
Before you start, make sure you have the following tools on hand:
- Razor blade or utility knife
- Ammonia-based cleaner
- Plastic trash bags
- Paper towels
- A spray bottle
- A steamer or a hairdryer
- Dish soap
- Water
- Scrubbing pad
- Safety goggles and gloves
Preparing the Work Area
Begin by selecting a well-ventilated area to work in, such as a garage or an outdoor space. Lay plastic trash bags on the surface to catch any debris or moisture. This will make cleanup easier and protect your surroundings.
A Critical Warning for Rear Windows with Defroster Lines
Before touching your car’s rear glass, look closely at the surface. You will see thin, horizontal brown grids embedded into the glass—these are your electrical defroster lines.
- The Rule: Never use a razor blade or a sharp metal scraper on a window with defroster grids. Doing so will instantly slice the metallic heating elements, permanently destroying your rear defroster system. For rear windows, you must exclusively use the Steam Method outlined below.
Method 1: The Steamer Method (The Absolute Best & Safest Way)
The combination of high heat and moisture is the gold standard for tint removal. Steam penetrates the porous polyester film, liquefying the underlying adhesive glue so the tint can be peeled away in one complete sheet.
Tools Needed: A portable fabric/garment steamer, a plastic scraper, and soapy water.
The Step-by-Step Process:
- Roll the window down roughly a quarter of an inch to expose the top edge of the tint film.
- Hold the steamer nozzle roughly 1 to 2 inches away from the glass, applying continuous steam to the exterior and interior surfaces of the glass panel. Move slowly from one top corner across the width of the window.
- After about 1 to 2 minutes of direct steaming, use your fingernail or a plastic razor blade to gently pry up the top corner of the film.
- As the adhesive softens, slowly peel the tint diagonally downward. Keep the steamer directed right at the “peel line” where the film meets the glass to ensure the glue detaches smoothly with the plastic.
- Once the film is off, spray the glass with a mixture of dish soap and warm water, and wipe down with a microfiber towel.
Method 2: The Ammonia and Solar “Black Bag” Method
If you are stripping tint on a hot, sunny afternoon in the summer, you can use chemical breakdown and solar heat to liquefy the toughest automotive adhesives.
Tools Needed: Ammonia-based glass cleaner, two black plastic trash bags, a spray bottle, and a soft scrubbing pad.
The Step-by-Step Process:
- Cut two black plastic trash bags into the rough shape and size of the window you are servicing.
- Spray soapy water on the outside of the window and press one black plastic bag against it. The water will hold the plastic in place.
- Move inside the car. Spray your ammonia cleaner generously across the entire tinted surface, then immediately slap the second black trash bag over the wet ammonia layer to trap the chemical fumes.
- Park the car directly in the hot sun for 1 to 2 hours. The black plastic bags will absorb solar heat, raising the temperature inside the glass while the ammonia vapors dissolve the structural bond of the glue.
- Peel the trash bag off, lift an edge of the tint, and watch the entire sheet slide off effortlessly.
Method 3: The Heat Gun / Hairdryer Method
If you don’t own a garment steamer, a standard household hairdryer or an auto-body heat gun can get the job done on flat side windows.
The Step-by-Step Process:
- Set your heat gun to a medium setting (too much localized heat on a cold window can cause the glass to thermally shatter).
- Wave the heat gun in a continuous sweeping motion across the window from a distance of 6 inches. Focus heavily on warming up the outer edges first.
- Use a scraper to release a corner tab.
- Pull the tint film back slowly at a 45-degree angle. If you feel intense resistance or hear the plastic tearing, stop pulling immediately and apply more heat to that specific section for another 30 seconds.
How to Remove Stubborn Clear Adhesive Residue
More often than not, the plastic tint film will come off, but a thick, sticky layer of clear industrial adhesive will remain bonded to your glass. To clean it safely:
- For Side Windows (No Grids): Spray the glass with an automotive adhesive remover (like Goo Gone Automotive or 3M Adhesive Remover). Let it sit for 60 seconds, then scrape the dissolved glue off easily using a new, flat stainless-steel razor blade held at a tight 30-degree angle.
- For Windows with Defroster Grids: Avoid razor blades completely. Spray the sticky residue with the adhesive remover and scrub the surface gently using a non-scratch fine steel wool (#0000 grade) or a nylon scrubbing pad. Wipe clean with paper towels.
Is It Easy To Remove Tint From House Windows?
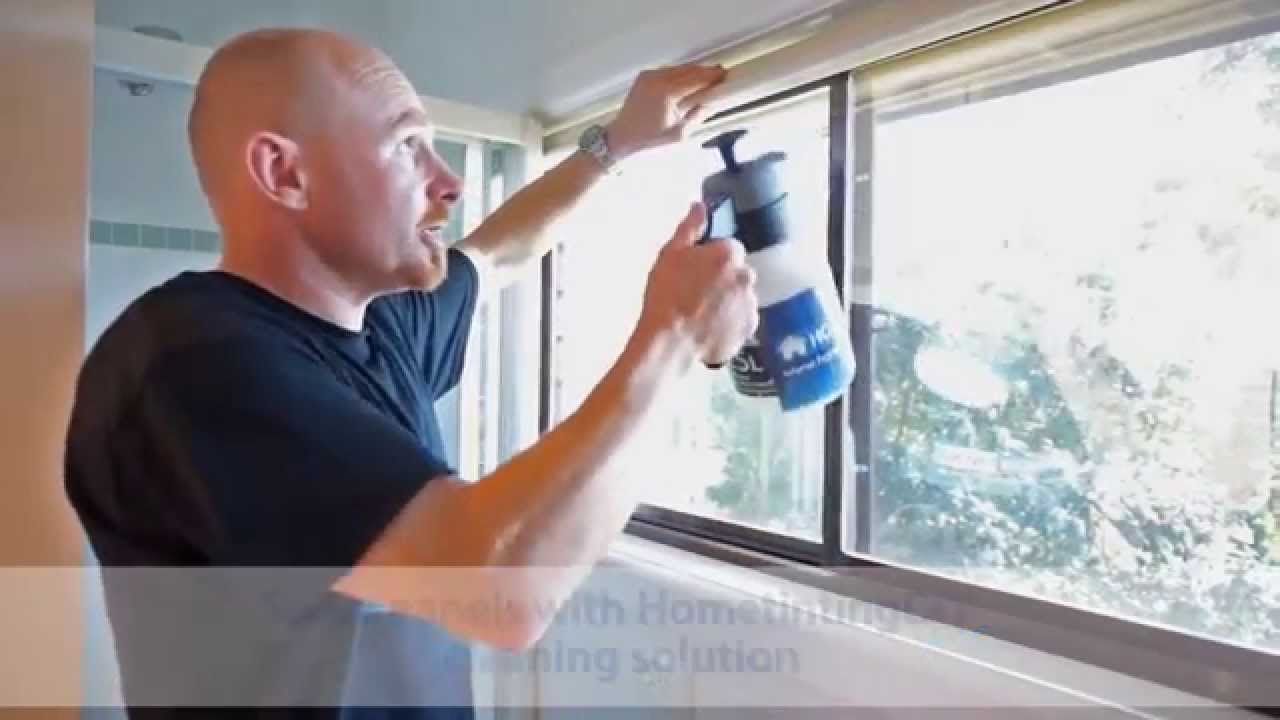
Removing tint from house windows can be a simple DIY task. With a few easy steps, you can remove window tint at home without any hassle or professional help.
Window tint can be a great addition to your home, providing privacy and reducing heat and glare from the sun. However, there may come a time when you need to remove the tint from your house windows. Whether you’re looking to change the look of your windows or the tint has become damaged or worn over time, it’s natural to wonder if removing window tint at home is an easy task.
Let’s explore the process of removing window tint from house windows to determine its ease and feasibility.
Removing Window Tint At Home: A Straightforward Process
Removing window tint from house windows can be a straightforward process if you follow the right steps and use the proper techniques. While it may require some time and patience, it is definitely something you can do yourself. Here are the steps involved in removing window tint from your house windows:
- Gather the necessary supplies: To remove window tint, you’ll need a few basic supplies such as ammonia-based window cleaner, a spray bottle, a plastic scraper, a sponge or cloth, and some soapy water.
- Spray the tint with ammonia-based window cleaner: Start by spraying the tinted side of the window with the ammonia-based window cleaner. This will help to soften the adhesive and make it easier to remove.
- Allow the cleaner to soak in: After spraying the window, give the cleaner some time to soak into the tint. This will further loosen the adhesive and make it easier to peel off.
- Peeling off the tint: Once the cleaner has had some time to work, you can start peeling off the tint. Begin at one corner and use a plastic scraper to gently lift the tint away from the glass. Take your time and be careful not to damage the glass or leave any residue behind.
- Remove any adhesive residue: After peeling off the tint, you may have some adhesive residue left on the glass. To remove it, simply apply the ammonia-based cleaner to the residue and wipe it away with a sponge or cloth. You may need to repeat this step a few times to completely remove all the residue.
- Clean the window: Finally, clean the window with some soapy water to remove any remaining residue or cleaner. Wipe it dry with a clean cloth to finish the process.
What Removes Tint From Glass?
Remove window tint from glass easily at home with these effective methods. Use a steamer, vinegar, ammonia, or soapy water to remove the tint film without any hassle.
If you’re looking to remove window tint at home, it’s essential to know the methods and tools that can effectively remove tint from glass. Here are the options you can consider:
- Window Tint Removal Spray: There are specialized sprays available in the market that are designed to dissolve the adhesive used to install window tint. Spray the solution on the tinted area and let it sit for a few minutes before peeling off the film. Remember to follow the manufacturer’s instructions for optimal results.
- Steamer or Heat Gun: Applying heat to the window tint can make it easier to remove. Using a steamer or heat gun, heat the tinted area to loosen the adhesive. Once the adhesive is heated, carefully peel off the tint from the glass. Be cautious and work slowly to prevent any damage to the glass.
- Ammonia Solution: Ammonia is known for its ability to remove window tint. Mix equal parts of water and ammonia to create a solution. Apply the solution to the window tint and cover it with plastic wrap to trap the moisture. Leave it for several hours. Afterward, carefully scrape off the tint using a razor blade or a window scraper.
- Dish Soap and Vinegar Mixture: Create a mixture of dish soap and vinegar in warm water. Apply the solution generously to the tinted area and let it sit for some time. Then, use a razor blade or window scraper to remove the tint. This method may require multiple applications to completely remove the tint.
- Razor Blade or Window Scraper: If the adhesive holding the tint is stubborn, you can use a razor blade or window scraper to carefully scrape off the tint from the glass surface. Take care not to damage the glass while doing so.
Remember to take necessary precautions while removing window tint, such as wearing gloves to protect your hands and using proper ventilation if using ammonia-based solutions. The effectiveness of each method may vary depending on the type and age of the tint.
Be patient and persistent throughout the process for the best results.
What Liquid Removes Window Tint?
Looking for a way to remove window tint at home? One effective liquid that can help is ammonia. Apply it to the tinted area, let it sit for a while, and then peel off the tint easily.
Are you tired of the old, peeling window tint in your car or home? Removing window tint may seem like a daunting task, but with the right tools and techniques, you can do it at home. One important aspect of the removal process is choosing the right liquid to dissolve the adhesive and make the tint easy to peel off.
In this section, we will explore the different liquids that can effectively remove window tint.
Liquid Options To Remove Window Tint:
- Ammonia Solution: Ammonia-based cleaners, such as a mixture of ammonia and water, can be an effective option for removing window tint. The ammonia helps break down the adhesive, making it easier to remove the tint. However, remember to take precautions when using ammonia as it can emit strong fumes.
- Dish Soap Solution: Another alternative is using a dish soap solution. Mix warm water with a few drops of dish soap and apply it generously to the window tint. Let it sit for a while to soften the adhesive before peeling off the tint.
- Vinegar Solution: Vinegar is a versatile household liquid that can also aid in removing window tint. Create a solution by mixing equal parts vinegar and water, then spray it on the tint. The acidic nature of vinegar helps to dissolve the adhesive, making the process easier.
- Citrus Cleaner: If you prefer natural solutions, a citrus cleaner can be used to remove window tint. These cleaners often contain high levels of citric acid, which effectively breaks down the tint adhesive. Apply the cleaner to the tinted area, let it sit, and then carefully peel off the tint.
- Window Tint Removal Solution: There are also commercial window tint removal solutions available in the market. These products are specifically designed to remove tint by dissolving the adhesive. Follow the instructions provided by the manufacturer for best results.
By choosing the right liquid for removing window tint, you can make the process easier and more efficient. Experiment with different options to find the solution that works best for you. Remember to take safety precautions, such as wearing gloves and working in a well-ventilated area, while removing the old tint.
Frequently Asked Questions Of Remove Window Tint At Home
What is the easiest way to remove window tint film?
The easiest way to remove window tint film is by using the steam method. Boil water, add a few drops of dish soap, spray the soapy water onto the tint, and then gently peel off the tint while keeping it wet. This method is relatively straightforward and requires minimal tools.
What is the best way to remove tint from a house window?
The best way to remove tint from a house window depends on your preferences and the tools you have available. The steam method and the ammonia method are both effective for house windows. Using a steamer or ammonia solution, you can soften the adhesive and peel off the tint with ease.
Is it easy to remove tint from house windows?
Removing tint from house windows can be relatively easy when you use the right method and tools. The process involves softening the adhesive and carefully peeling off the tint. While it may take some time and patience, it’s a manageable DIY project for most homeowners.
Can I use household white vinegar to dissolve window tint adhesive?
While vinegar’s mild acetic acid can help clean up minor sticky residue left behind after the film is gone, vinegar cannot penetrate or melt the tough polyester tint film itself. For the initial removal process, stick to proven thermal options like steam or heat guns for optimal results.
Why did my window tint turn purple and start bubbling?
Purple discoloration occurs when cheap, non-ceramic dyes inside the film break down from continuous exposure to ultraviolet (UV) radiation. The bubbles are caused by a failure of the mounting adhesive, which gasses out and separates from the glass under high cabin heat.
The Bottom Line from the Garage
Removing window tint at home doesn’t require expensive specialized skills—it simply requires constant heat and a slow, steady pulling hand. Never rush the process or yank the film quickly, as tearing the plastic into hundreds of tiny shreds will triple your total cleanup labor time.
(Looking for more workshop-tested guides to fix common glass, door, or interior component failures? Read our comprehensive tutorial on Reasons Why Window Motors and Regulators Fail or review our official The Car Buzz Editorial Integrity Standards to see how we verify automotive repair steps).