
This article was updated in June 24, 2026 with new products and information by Mark S. Taylor
A relentless, high-pitched squealing echoing from your engine bay at startup, an annoying rhythmic chirping sound at hot idle, or a drive belt that visibly flutters and wobbles while the engine runs—these classic tracking symptoms point straight to a failing serpentine belt tensioner far more often than the rubber belt itself.
The serpentine belt tensioner is a heavy-duty, spring-loaded arm engineered to apply continuous, calculated mechanical force against the flat side of the drive belt. This constant pressure ensures the belt maintains absolute friction synchronization across all critical accessory pulleys—including the engine alternator, power steering pump, air conditioning compressor, and the primary engine water pump.
As an ASE-Certified Master Technician, I know that ignoring a weak or seized tensioner for even a single highway trip can cause the belt to cleanly jump its tracks, instantly disabling your steering assist, boiling your engine coolant, and leaving you completely stranded. In this master workshop guide, we will break down the structural physics of tensioner failure modes, detail a safe zero-injury replacement sequence, and outline verified 2026 parts and tool matrices.
Contents
- 1 The Engineering Physics of Automatic Belt Tensioners
- 2 5 Definitive Symptoms of a Failing Belt Tensioner
- 3 Failure Mode Diagnostics: The Driveway Resistance Test
- 4 Tools and Parts Specification Matrix
- 5 Step-by-Step Zero-Injury Belt Tensioner Replacement Sequence
- 6 Component Replacement Cost Matrix
- 7 DIY vs. Professional Shop Boundary Guide
- 8 FAQ: Drive Belt System Troubleshooting
- 9 The Verdict: Never Mix Spent Springs with Fresh Rubber
The Engineering Physics of Automatic Belt Tensioners
Modern internal combustion engines utilize a single, continuous multi-groove serpentine belt to drive every secondary engine accessory. Because rubber drive belts naturally stretch and expand over thousands of thermal duty cycles, the system requires an automated component to instantly take up the slack.
Inside the cast-aluminum tensioner housing sits a heavy, coiled torsion spring wrapped around a central pivot dampening sleeve. The arm terminates at a free-spinning idler pulley containing an internal sealed ball-bearing matrix.
A failure mode can manifest within any of these three distinct structural zones:
- Torsion Spring Fatigue: Over time, the internal steel spring experiences mechanical creep, losing its elastic structural rate. The arm still pivots freely, but it cannot apply enough linear force to prevent the belt from slipping under heavy alternator or A/C compressor loads.
- Pivot Bearing Seizure: Road salt, moisture, and engine grime penetrate the central pivot bushing, causing galvanic corrosion. The arm freezes solid, locking the belt at a static tension. As the belt stretches, it starves for traction; conversely, if it shrinks, it over-tightens, wiping out the bearings inside your expensive alternator.
- Pulley Bearing Degradation: The internal rubber grease seals on the tensioner pulley dry out, allowing the synthetic lubricant to escape. The raw steel ball bearings begin grinding against the internal races, generating intense frictional heat and loud roaring noises before completely seizing and melting the pulley wheel.

5 Definitive Symptoms of a Failing Belt Tensioner
Before unbolting engine components, verify your accessory loop exhibits these clear mechanical signatures:
- Persistent Squealing or Chirping From the Accessory Loop: A loud screeching sound that spikes during initial cold morning starts or when you switch on the A/C compressor confirms that the belt is actively slipping over a loose pulley track due to insufficient tensioner force.
- Visible Belt Flutter or Rib Rippling: With the engine running at an idle, shine a flashlight safely down the belt path. The belt should run perfectly flat and true. If the belt length flutters, oscillates, or leaps erratically between idlers, the tensioner’s internal dampener is fully destroyed.
- Severe Off-Center Belt Tracking and Edge Fraying: If the internal pivot bushing wears down unevenly, the tensioner arm will cock at a slight horizontal angle. This misalignment forces the belt to track off-center, rubbing its edges against the pulley lips until the rubber shreds into long strings.
- The Tensioner Arm Rest At Its Limit Stops: Automatic tensioners feature cast indexing lines or small notches stamped into the housing base block. If the alignment pointer has migrated completely past the maximum factory travel stop, the internal spring is fully spent or the belt is severely over-stretched.
- A Loud Metallic Rattling or Grinding Noise: A failed internal pulley bearing emits a continuous low-pitched growl, gravelly rattle, or roar that climbs in pitch as engine RPM scales upward.
Failure Mode Diagnostics: The Driveway Resistance Test
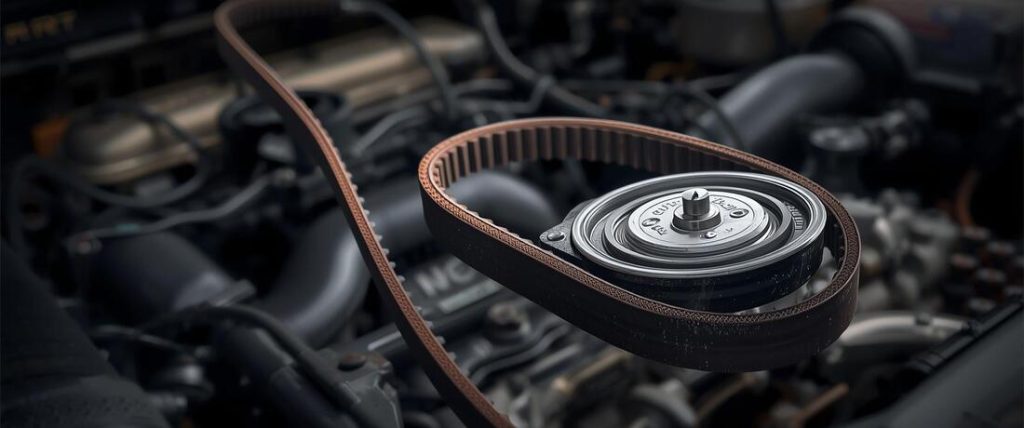
With the engine completely turned off and the keys removed from the ignition switch, locate the square drive hole (typically 3/8-inch or 1/2-inch) or the raised hex nut cast directly into the structural arm of the tensioner.
Fit a long-handled breaker bar into the indexing slot and rotate the arm manually:
- The Weak Spring Profile: If you can compress the tensioner arm easily using a single finger with minimal physical resistance, the internal torsion spring has lost its tempering. Replace the unit.
- The Seized Pivot Profile: If the arm refuses to budge entirely, or binds, catches, and emits a loud crunching noise as you apply leverage, the central pivot assembly is frozen solid.
Tools and Parts Specification Matrix
- Serpentine Belt Tool: A specialized ultra-thin breaker bar set equipped with low-profile sockets, crucial for squeezing into the narrow clearances between the engine block and the vehicle inner fender well bulkhead.
- Digital Camera/Smartphone: Absolutely mandatory for documenting the belt routing before executing disassembly.
- Replacement Tensioner Unit: Always buy premium OEM-equivalent assemblies (such as Gates, Continental, or Dayco). Bargain-bin aftermarket tensioners utilize sub-standard spring steel that sags within 6 months of thermal exposure.
Step-by-Step Zero-Injury Belt Tensioner Replacement Sequence
Follow this rigorous technician protocol to replace the assembly safely without creating high-pressure spring releases or stripping aluminum engine threads:
1. Establish a Safe Zone and Document the Belt Routing Path: 5 min.
Park the vehicle on flat concrete, set the parking brake, and disconnect the negative battery cable. Allow the engine bay to cool fully. Take multiple clear, macro photos of the serpentine belt’s routing architecture across every single pulley—paying close attention to whether the ribbed side or the flat smooth side of the belt contacts each tracking wheel.
2. Relieve Belt Tension Safely and Isolate the Loop: 10 min.
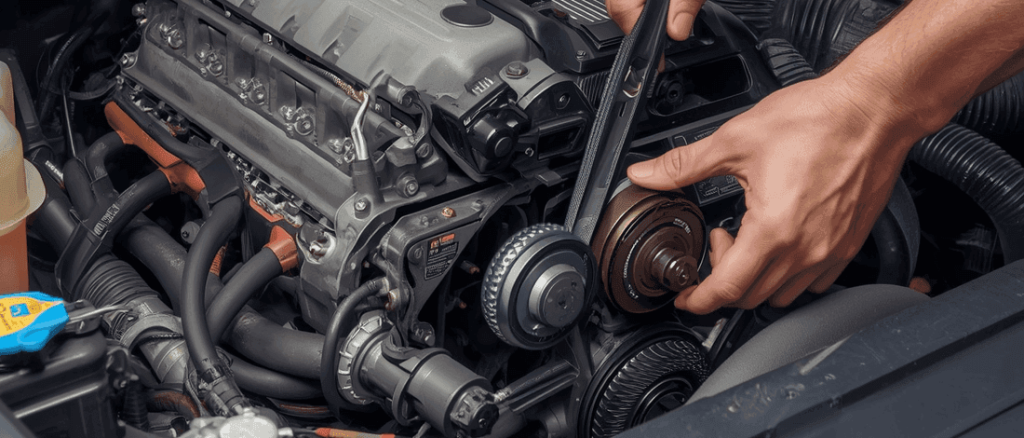
Insert your serpentine breaker bar into the tensioner arm’s drive indexing port. Rotate the handle firmly in the factory-specified direction (typically clockwise) to compress the internal spring fully. While holding the bar steady against the spring force, slip the slackened belt off the highly accessible top alternator pulley. Slowly slide the breaker bar back to its relaxed state.
3. The Seized Arm Emergency Protocol (If Applicable): 5 min.
CRITICAL TECHNICAL SAFETY SAFEGUARD: If the tensioner arm is frozen solid and refuses to pivot to release tension, never attempt to loosen or unbolt the main housing bolt. Unbolting a loaded tensioner will strip the engine block threads out and cause the assembly to explode forward. Instead, verify the system is cool, and safely slice through the old rubber serpentine belt using a long-handled utility razor knife. This cleanly and instantly neutralizes the locked tension forces.
4. Extract the Spent Tensioner Housing Base: 10 min.
With the belt completely removed from the workspace, locate the single main structural mounting bolt securing the tensioner body to the engine block or accessory bracket (typically a 13mm or 15mm bolt head). Unthread the fastener completely and lift the heavy cast assembly straight out. Inspect the old unit’s backside to locate the indexing alignment locating pin.
5. Seat and Torque the New Tensioner Unit: 10 min.
Wipe the engine mounting boss completely clean of oil film. Align the locating pin on the rear face of the brand-new tensioner directly into its corresponding recess pocket in the engine engine block—the assembly must sit perfectly flat against the mounting pad. Thread the mounting bolt in strictly by hand for the first 4 turns to prevent cross-threading aluminum threads. Using a torque wrench, lock the bolt flat to exactly 35 to 45 ft-lbs of torque.
6. Route the New Belt and Pre-Flight Match: 10 min.
Always install a brand-new serpentine belt alongside a new tensioner. Using your reference photographs, route the new belt over all the grooved and smooth pulleys, leaving the smooth idler pulley or alternator wheel for last. Compress the new tensioner arm with your breaker bar, slip the belt onto the remaining track, and gently let the arm trap the belt down. Verify every single rib matches the pulley grooves flat before starting.
Component Replacement Cost Matrix
| Isolated Automotive Component | Average DIY Parts Cost | Professional Shop Bill (Labor Included) | Operational Skill Level |
| Premium All-EPDM Serpentine Belt | $25 – $50 | $90 – $140 | Beginner Driveway Task |
| OEM-Equivalent Belt Tensioner Unit | $35 – $90 | $160 – $280 | Intermediate; requires torque wrench |
| Full Belt + Tensioner Bundle Kit | $60 – $130 | $220 – $450 | Standard 1-Hour Garage Operation |
| Idler Pulley Wheel Only | $15 – $35 | $85 – $135 | Reuses original structural arm |
Labor estimates reflect the current 2026 independent US mechanical shop average of $115 to $170 per hour. Swapping your belt proactively alongside the tensioner requires zero extra teardown labor, saving you from a secondary workshop visit.
DIY vs. Professional Shop Boundary Guide
- DIY Approved Scope: If the belt tensioner is mounted clearly on the upper frontal face of the engine block with wide-open access near the radiator shroud (standard on most inline-4 and truck V8 engines), this is a highly rewarding DIY repair that saves up to $250 in labor fees.
- Professional Shop Scope: If your vehicle features a transverse-mounted V6 engine or a tight European packaging layout where the tensioner is tucked completely beneath motor mounts, fluid reservoirs, or requires lifting the engine off its frame block to slide the main mounting bolt out, hand the vehicle to a certified shop. Chasing tight clearances without a vehicle hoist can easily lead to stripped aluminum blocks.
FAQ: Drive Belt System Troubleshooting
How do I know if my belt tensioner is bad?
The most reliable test is the indicator mark check — locate the two marks on the tensioner arm and body, run the engine briefly to load the belt, and confirm the arm is within the marked range. Other signs are squealing belts that don’t respond to belt replacement, a tensioner arm that feels weak when you push it, grinding from the tensioner pulley bearing, or visible belt flutter while the engine runs.
Should I replace the belt when I replace the tensioner?
Almost always yes. You’re already removing the belt to replace the tensioner — the incremental labor is zero. A belt worn enough to cause tensioner symptoms is a belt that needs replacement soon anyway. Fit a new belt simultaneously and the job is done for 50,000–100,000 miles.
How long does it take to replace a belt tensioner?
Most belt tensioner replacements take 30–75 minutes for someone with basic mechanical experience. The first time takes longer than subsequent ones. Engines with tight or complex engine bays take longer.
Can I replace a belt tensioner myself?
Yes — this is one of the more beginner-friendly engine repairs. The tools are basic, the part is a straightforward single-bolt replacement on most vehicles, and the main skill required is routing the belt correctly afterward. Taking photos of the routing before removal makes this the simplest part of the job.
What torque should I use on the belt tensioner bolt?
Most serpentine belt tensioner mounting bolts require 30–50 ft-lbs of torque. The exact specification varies by vehicle and manufacturer. Check your vehicle’s service manual or the installation sheet included with the new tensioner. Over-torquing risks stripping aluminum mounting threads — always use a torque wrench for this fastener.
The Verdict: Never Mix Spent Springs with Fresh Rubber
Never attempt to solve a severe belt slip issue by simply slipping a new rubber serpentine belt over a tired, high-mileage automatic tensioner. A serpentine drive belt is only as reliable as the dynamic spring pressure driving its friction tract. Spending $30 on fresh rubber without replacing a sagging torsion spring or a dry pivot bushing guarantees the belt will rapidly glaze, wear unevenly, and jump its tracks during high-speed highway tracking. Take your time, check your casting indicator marks accurately, and utilize a calibrated torque wrench during re-installation to keep your engine accessories running quietly and safely.
(Want to ensure the rest of your vehicle’s engine modules, charging loops, and computer diagnostics are operating with absolute factory precision? Read our master workshop guide on How to Read Check Engine Light Codes Without a Scanner or check out The Car Buzz Official Testing and Editorial Integrity Guidelines Page).