
This article was updated in June 21, 2026 with new products and information by Mark S. Taylor
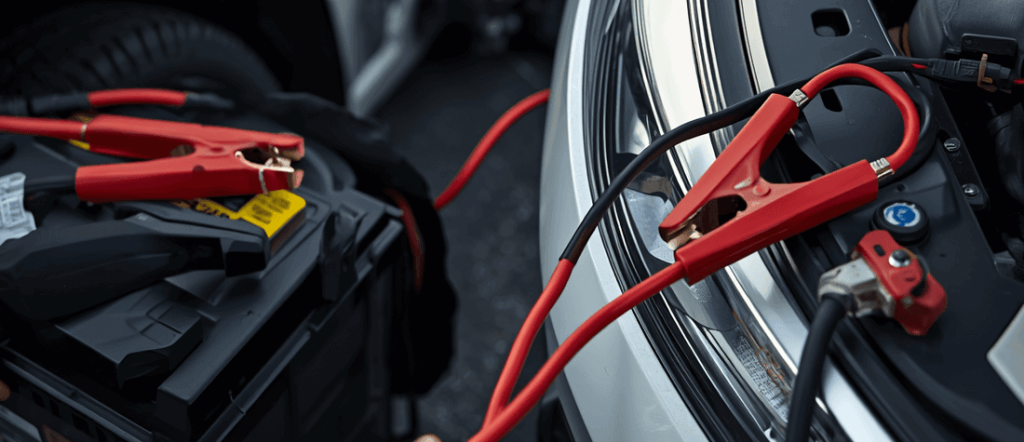
The absolute most important thing to know before you even touch a copper jumper cable is this: The negative black clamp on the dead vehicle does not connect to the dead battery’s negative terminal. Instead, it must clip onto a clean, unpainted structural metal ground point on the engine block or chassis frame. That single technical detail is what the majority of drivers get wrong—and it is the step most likely to ignite trapped hydrogen gas, causing a catastrophic battery explosion directly in your face.
Everything else about jumpstarting a car is a straightforward, logical loop. Provided you execute the wire connection sequence in the correct electrical order, wait a few minutes for voltage stabilization, and drive the vehicle long enough for the charging system to recover, you can resolve a dead battery in under 10 minutes.
As an ASE-Certified Master Technician, I have rescued hundreds of stranded motorists. In this comprehensive emergency workshop guide, we will break down the structural checklist of what not to jumpstart, step-by-step sequences for both traditional cables and lithium jump packs, and the critical post-start charging metrics.
Contents
- 1 Before You Start: What to Check and What NOT to Jumpstart
- 2 Before You Start: What to Check and What NOT to Jumpstart
- 3 Jumper Cable Wire Thickness (Gauge Specs)
- 4 Method 1: How to Jumpstart Utilizing Traditional Jumper Cables
- 5 Method 2: Sourcing Power via a Portable Lithium Jump Starter
- 6 What to Do Immediately After the Engine Fires Up
- 7 Troubleshooting: What If the Car Still Won’t Start?
- 8 Does Your Battery Require Complete Replacement?
- 9 FAQs About How to Jumpstart a Car Safely
- 10 The Bottom Line from the Shop Garage
Before You Start: What to Check and What NOT to Jumpstart
Before you connect anything, take thirty seconds to look at the dead battery. You are looking for three things that mean stop and call a tow truck instead.
Do not attempt to jumpstart if:
- The battery case is swollen or bulging — internal pressure has built up and the battery can rupture during charging
- The battery is cracked or leaking — acid contact is a burn and contamination risk; jumpstarting will worsen the damage
- The battery appears frozen — ice inside a battery can cause it to crack or explode under charging current
- The terminals are heavily corroded with thick white or blue-green buildup — clean them first or get the car towed; corroded terminals prevent proper current flow and can cause dangerous arcing
Also check the donor vehicle. Do not use a hybrid or electric vehicle as the donor car unless the owner’s manual explicitly permits it. Most hybrid 12V systems are not designed to source current for external jumpstarts and you can damage the hybrid’s battery management system in the process. Use a conventional gas-powered car or a portable jump starter.
If the battery looks normal — no damage, no heavy corrosion, no swelling — you are clear to proceed.
Before You Start: What to Check and What NOT to Jumpstart
Before connecting a live power source, take 30 seconds to physically inspect the dead battery casing. If you observe any of the following three danger signs, stop immediately and call a tow truck:
- The Battery Case is Swollen or Bulging: Intense internal chemical gas pressure has built up due to an alternator overcharging fault. Attempting to jumpstart a swollen battery can cause the plastic outer shell to violently rupture.
- The Casing is Cracked or Leaking Acid: Wet, sweating moisture or crusty liquid pooling around the base indicates escaping sulfuric acid. This is a severe chemical burn hazard, and introducing high amperage will worsen the internal plate short-circuit.
- The Battery Appears Frozen: If the vehicle has sat in sub-zero temperatures and the sides are rigid, ice has formed inside the cells. Charging a frozen battery will cause it to instantly explode.
- The Donor Car is a Hybrid or Electric Vehicle (EV): Never use a hybrid or EV as the donor car to jumpstart a dead conventional vehicle unless explicitly permitted by the factory owner’s manual. Hybrid 12V auxiliary systems are powered by delicate DC-DC Converters, not robust mechanical alternators. Sourcing massive cranking amps for a dead engine can instantly fry the hybrid car’s high-voltage battery management infrastructure.
Jumper Cable Wire Thickness (Gauge Specs)
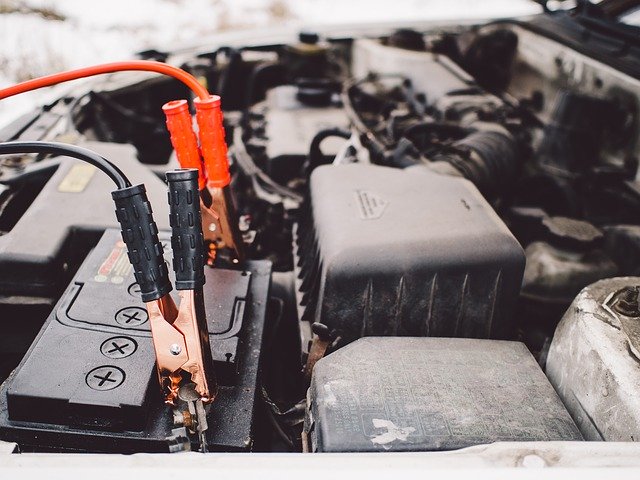
Automotive wire thickness operates on an inverse scale: The lower the gauge number, the thicker the copper core, and the more current it can safely conduct.
| Jumper Cable Gauge | Wire Thickness | Max Current Capacity | Best Suited For |
| 10-Gauge (Ultra-Thin) | Very Thin | ~60 Amps | Motorcycles and lawn tractors only (Will melt on cars) |
| 8-Gauge | Thin | ~100 Amps | Sub-compact 4-cylinder economy hatchbacks |
| 6-Gauge (Standard) | Moderate | ~150 Amps | Standard mid-size sedans and small crossovers |
| 4-Gauge (Heavy-Duty) | Thick | ~200 Amps | Full-size SUVs, minivans, and large V8 gas trucks |
| 2-Gauge (Commercial) | Extreme Thickness | 300+ Amps | Large commercial diesel engines and cold-weather starts |
Tech Tip: Cheap $15 emergency cables sold at gas stations are typically thin 10-gauge wire wrapped in deceptively thick plastic insulation. Sourcing 200 অ্যাম্পিয়ার through them to crank a cold engine will instantly melt the PVC wrapping. Spend $35 on a quality set of all-copper 4-gauge or 6-gauge cables spanning at least 16 to 20 feet in length.
Method 1: How to Jumpstart Utilizing Traditional Jumper Cables
Follow this exact technician-approved connection sequence to complete the circuit path without triggering high-voltage electronic spikes:
1. Position the Vehicles Symmetrically: 2 min.
Park the donor vehicle nose-to-nose or side-by-side with the disabled vehicle without letting the metal bodies touch. Turn both ignitions completely off, remove the keys, and engage both parking brakes tightly.
2. Connect Red Clamp to Dead Battery Positive Terminal: 1 min.
Clamp one end of the Red (Positive +) cable directly to the positive terminal of the dead battery. Ensure the copper teeth bite firmly into the lead post to minimize resistance.
3. Connect Red Clamp to Donor Battery Positive Terminal: 1 min.
Route the cable across and clamp the opposite end of the Red (Positive +) cable to the positive terminal of the healthy donor battery.
4. Connect Black Clamp to Donor Battery Negative Terminal: 1 min.
Take the Black (Negative -) cable and clamp one end securely onto the negative terminal of the healthy donor battery post.
5. Connect Black Clamp to a Chassis Ground: 2 min.
Take the final Black (Negative -) clamp and anchor it to a solid, unpainted metal bolt head on the dead car’s engine block, alternator bracket, or strut tower frame. Never clip it to the dead battery’s negative terminal. Batteries naturally vent volatile hydrogen gas during failure; placing this final connection (which naturally creates a small, expected spark) away from the battery eliminates all explosion risks.
6. Equalize and Start the Vehicles: 3 min.
Let the connected vehicles sit idle for 60 to 90 seconds to allow the surface voltage to equalize passively. Start the donor vehicle and let it run at a smooth idle for 3 minutes. Finally, attempt to crank and start the dead vehicle. Once it fires up, let both engines run connected for 2 minutes.
7. Disconnect in Exact Reverse Order: 2 min.
Carefully unclip the clamps in the exact reverse sequence of installation, ensuring the metal teeth never touch each other: Remove the dead car’s chassis ground clamp first, the donor battery negative second, the donor battery positive third, and the dead battery positive final.
Method 2: Sourcing Power via a Portable Lithium Jump Starter
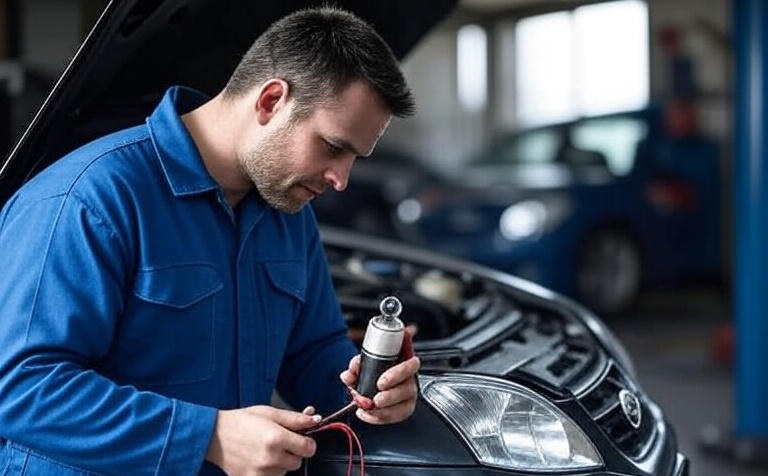
Modern lithium-ion jump packs contain micro-circuit boards with integrated reverse-polarity safety protection. Follow this standalone protocol:
- Verify the jump pack holds at least a 50% or 3-bar charge indicator. Lithium cells lose significant cranking amperage density when depleted or exposed to cold winter climates.
- Ensure the jump starter unit’s power switch is turned completely OFF before handling the leads.
- Clip the Red Clamp to the positive (+) battery post first, then secure the Black Clamp to an unpainted chassis ground bolt away from the battery cells.
- Switch the jump starter unit to the “ON” or “Ready” override status. Wait for a solid green LED light on the relay housing box.
- Crank the vehicle engine. The moment the motor fires up, turn the jump pack power switch back to OFF immediately, then disconnect the black clamp first and the red clamp second.
What to Do Immediately After the Engine Fires Up
The engine is running, but your job is not finished. The battery currently holds less than 5% of its total storage capacity.
Drive the car—do not let it idle in the driveway. This is the single biggest post-jump mistake motorists make. At a low RPM idle, a mechanical alternator only operates at 30% to 50% of its rated charging output capacity. To move meaningful current back into the lead-acid plates, the alternator must spin faster.
Drive the vehicle continuously for 20 to 30 minutes at normal road speeds (above 35 mph). Turn off all heavy electrical drains—such as seat heaters, the rear window defroster, and heavy stereo amplifiers—for the first 15 minutes of the drive so the voltage regulator can prioritize dumping full amperage back into the battery cells.
Troubleshooting: What If the Car Still Won’t Start?
| Engine Cranking Observation | Potential Electrical Root Cause | Recommended Solution Path |
| Engine cranks very slowly but won’t fire | Extreme low voltage or dead surface charge | Wait 5 extra minutes with donor car revved to 2,000 RPM |
| A single loud, heavy metallic click | Bad clamp connection or stuck starter solenoid | Wiggle all 4 clamps to break rust scale; try again |
| Rapid machine-gun clicking sounds | Insufficient current passing through thin cables | Replace cheap thin cables with heavy-duty 4-gauge wire |
| Engine starts but dies when cables are removed | Failed vehicle alternator assembly | The charging system is dead; tow the vehicle immediately |

Does Your Battery Require Complete Replacement?
A single isolated battery drain event (like leaving an interior dome light turned on for 12 hours) does not mean you need a new battery. However, if the battery is old, the lead plates may be permanently sulfated. Follow this service life framework:
- Battery is Under 3 Years Old: If the battery passes a shop load test, it was likely a one-off parasitic drain event. Recharge it fully and continue driving.
- Battery is 3 to 5 Years Old: The lead-acid chemistry is approaching its natural breakdown threshold. Request an annual conductance load test at a local parts store.
- Battery is Over 5 Years Old: The component is living on borrowed time. Replace it immediately to prevent being stranded again during a sudden cold snap.
FAQs About How to Jumpstart a Car Safely
Q: How long should I drive after jumpstarting a car?
Drive for at least 20 to 30 minutes at normal road speeds — not idling. Highway driving or sustained speeds above 35 mph let the alternator spin fast enough to deliver close to its full charge output. Idling works but takes significantly longer to move meaningful charge into the battery. End your drive somewhere you can leave the car safely, in case the battery isn’t yet fully recovered and won’t restart immediately.
Q: Can I jumpstart a hybrid or electric vehicle?
You can jumpstart the 12V auxiliary battery in most hybrids and EVs the same way you would a conventional car — it’s a standard 12V system. What you generally should not do is use a hybrid or EV as the donor vehicle to jumpstart another car. Most manufacturers prohibit this because the hybrid’s 12V system isn’t designed to source external starting current. Check the owner’s manual of the hybrid or EV before using it as a donor. When in doubt, use a portable jump starter instead.
Q: Is it safe to jumpstart a car in the rain?
Yes, with normal precautions. Rain doesn’t create a meaningful safety risk during jumpstarting — the voltages involved (12V) are too low to cause electrocution through wet skin. The actual risks during jumpstarting — hydrogen gas ignition and incorrect cable connections — aren’t affected by rain. Just keep the cables and clamps from sitting in standing water, and make sure you have solid metal-to-metal contact at each connection point.
Q: What gauge jumper cables do I need?
Use 10-gauge cables at minimum for any passenger car, SUV, or light truck. Thinner cables (16-gauge or higher number) overheat on larger engines and can melt insulation during the current transfer. Twelve to twenty feet of cable length lets you position the vehicles in whatever orientation works at the scene. Cables with thick insulated handles and solid copper clamps last significantly longer than bargain-bin options.
Q: Can jumpstarting damage my car’s electronics?
It can, but the risk is low when the procedure is done correctly. The main risk is a voltage spike from improperly connected cables or from starting the donor vehicle with an arc across misaligned clamps. Connecting all four cables before starting the donor car — allowing voltage to equalize first — reduces this risk on modern vehicles with sensitive electronics. If your vehicle has a known sensitivity to voltage spikes (some BMWs and Mercedes models), a portable jump starter with built-in surge protection is a safer choice than traditional cables.
The Bottom Line from the Shop Garage
Mastering a safe vehicle jumpstart comes down to memorizing a strict connection sequence: Positive to positive, donor negative to donor negative, and final negative to a solid structural chassis ground. Skip the cheap, thin gas-station cables that overheat under load and invest in a quality set of heavy-duty 4-gauge wires. Get a dedicated load test completed at an auto parts store immediately following your recovery drive to accurately separate a simple drained battery from a dead alternator.
(Want to ensure your vehicle’s alternative electrical components, engine sensors, and charging networks are operating with absolute factory precision? Read our master workshop guide on How to Read Check Engine Light Codes Without a Scanner or check out The Car Buzz Official Testing and Editorial Integrity Guidelines Page).