
This article was updated in July 16, 2026 with new products and information by Mark S. Taylor
Your brake pedal feels dangerously soft, and you don’t have a helper available to pump the pedal while you manually crack open the bleeder screws. The good news is that you do not need a second person. You simply need the correct mechanical method for your vehicle’s specific setup and a clear understanding of hydraulic principles to ensure the system is completely air-free.
Most generic “How to bleed brakes alone” guides describe a single surface-level technique and call it a day. That doesn’t cover the full physical picture. In this technician-level guide, we will rank the three most effective solo bleeding methods, address the critical boundaries where DIY solo bleeding fails, and walk through a step-by-step pipeline that guarantees a rock-firm brake pedal.
Contents
- 1 What Brake Bleeding Actually Does
- 2 3 Solo Brake Bleeding Methods
- 3 The Boundaries: When Solo Bleeding Fails Completely
- 4 Step-by-Step: Solo Bleeding via One-Way Valve Hose
- 5 US Professional Shop Automotive Cost Matrix
- 6 FAQs About How to Bleed Brakes Alone
- 6.1 How do I know when the brake fluid is fully bled and air-free?
- 6.2 What’s the correct bleeding order — which wheel first?
- 6.3 Can gravity bleeding alone get all the air out, or do I still need to pump?
- 6.4 How often should brake fluid be flushed, not just bled?
- 6.5 What happens if I let the master cylinder run dry mid-bleed?
- 7 The Bottom Line
What Brake Bleeding Actually Does
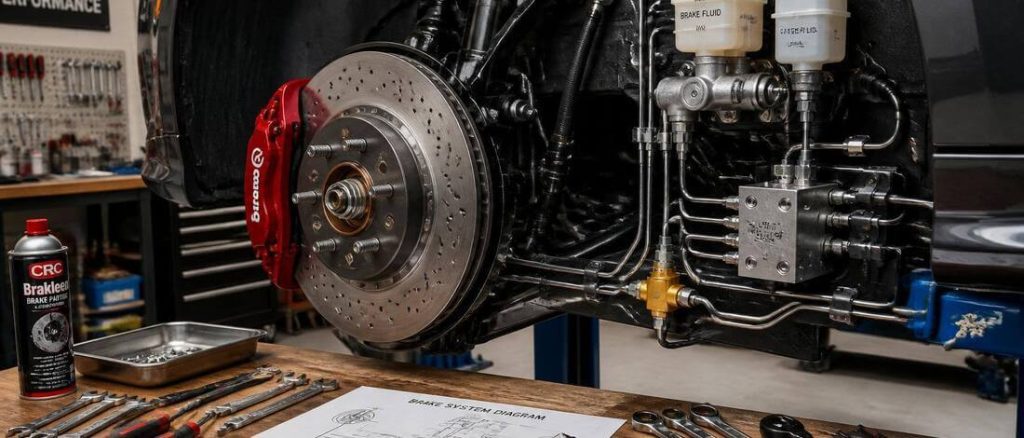
Brake fluid operates within a closed, non-compressible hydraulic loop. When you depress the brake pedal, the master cylinder forces columns of fluid through rigid steel and flexible rubber lines to expand the caliper pistons. The pistons then squeeze the brake pads against the spinning rotors. This mechanical force transfer only works because liquids are structurally non-compressible.
Air, however, is highly compressible. If atmospheric air enters the lines—whether from a component change, a micro-leak at a seal, or old brake fluid that has chemically absorbed moisture and boiled under thermal loads—the pedal will compress that trapped air pocket before the calipers can engage. This compression lag creates the spongy, mushy pedal feel that compromises your stopping distance.
3 Solo Brake Bleeding Methods
1. The Vacuum Pump Extraction Method (Highest Reliability)
This setup utilizes a hand-operated mechanical vacuum pump attached directly to the caliper bleeder nipple via clear vinyl tubing. By drawing a constant vacuum inside the external reservoir cup, you pull fluid and air bubbles down through the line without touching the brake pedal. It provides absolute visual control in real-time.
2. The One-Way Check Valve Hose Method (Best Cost-to-Utility Ratio)
This approach utilizes a specialized flush hose equipped with an inline mechanical one-way check valve. The spring-loaded valve opens under pedal pressure to eject old fluid and air, but snaps shut the microsecond you release the pedal. This stops the caliper from drawing outside air back into the system, making it the default method for solo driveway mechanics.
3. The Gravity Bleeding Method (Lowest Reliability)
Gravity bleeding costs zero dollars. You simply open the reservoir cap, crack the bleeder screw, and let fluid drip slowly into a catch container under its own static weight. It works because the master cylinder sits higher than the wheel calipers. However, it is exceptionally slow and fails to clear stubborn air traps locked behind awkward rear caliper internal castings.
The Boundaries: When Solo Bleeding Fails Completely
Before unbolting your wheels, understand that solo bleeding methods are engineered for routine fluid refreshes or clearing minor air bubbles introduced during a basic pad or caliper swap.
The ABS Scanner Mandate: If your brake system has ever run completely dry—such as after replacing a primary master cylinder assembly or opening a main hydraulic line block—solo driveway methods will not work. A fully drained network traps deep air pockets inside the complex internal valves of the Anti-lock Braking System (ABS) module. Clearing this requires a professional bi-directional scan tool to cycle the internal electronic ABS solenoids open and shut while under external pressure. If your system ran dry, do not attempt to drive the vehicle; have it towed to a professional shop.
Step-by-Step: Solo Bleeding via One-Way Valve Hose
Necessary Tools & Supplies:
- A dedicated one-way check valve brake bleeder hose kit
- Fresh, sealed bottle of vehicle-specific brake fluid (DOT 3 or DOT 4 as dictated by your reservoir cap). Never mix silicone-based DOT 5 with glycol-based DOT 3/4.
- A clear plastic fluid catch bottle
- Line wrenches or box wrenches sized to your bleeder nipples
- A clean microfiber rag and aerosol brake cleaner
1. Flood the Master Cylinder Reservoir: 2 min.
Pop the hood and scrub the area around the master cylinder reservoir cap clean to prevent road grime from falling into the tank. Remove the cap and fill the reservoir entirely up to the “MAX” indicator line with fresh fluid.
2. Elevate the Vehicle and Attach the Check Tool: 10 min.
Jack up the vehicle safely, support the frame securely on heavy-duty jack stands, and remove the wheel assembly. Always follow your manufacturer’s explicit bleeding sequence. Rule of Thumb: Most rear-wheel-drive platforms begin at the passenger-side rear wheel (the point physically farthest from the master cylinder) before working toward the closest corner. Slide your box wrench onto the bleeder nipple, then push the one-way valve hose firmly onto the barb.
3. Execute the Pedal Stroke Pipeline: 5 min.
Submerge the open exit end of the clear vinyl hose into your catch container. Use your wrench to rotate the caliper bleeder screw counterclockwise exactly one-quarter turn. Get inside the vehicle cabin and slowly depress the brake pedal down to the floor boards 5 to 10 consecutive times. The check valve will block air recall on the return stroke.
4. Lock the Bleeder Valve Under Active Pressure: 5 min.
The Critical Hydraulic Rule: Walk back to the wheel and observe the clear hose until the fluid runs bright and air-bubble free. To lock the system down without drawing air past the screw threads, you must tighten the bleeder valve shut while the line is under positive downward pedal pressure or immediately after a stroke before releasing the foot pedal. Locking the screw only after the pedal is fully released will draw air back past the exposed threads via internal suction.
5. Monitor and Repeat Across All Flanges: 5 min.
Wipe the bleeder barb clean and spray with brake cleaner to verify a leak-free seal. Slide the wheel back on and lower the corner. Crucial: Re-check the master cylinder under the hood before moving to the next wheel. If the reservoir level drops below the halfway mark mid-bleed, it will instantly suck raw atmospheric air into the lines, forcing you to restart the entire sequence from scratch.
US Professional Shop Automotive Cost Matrix
| Brake Service / Tool Option | Average DIY Hardware Cost | Professional Shop Labor Hours | Total Real-World Shop Bill |
| DIY One-Way Valve Hose Kit | $15 – $50 | N/A (Driveway Time) | $15 – $50 |
| DIY Hand Vacuum Pump Kit | $30 – $100 | N/A (Driveway Time) | $30 – $100 |
| Premium Synthetic Brake Fluid (Quart) | $6 – $39 | N/A | $6 – $39 |
| Independent Garage Standard Brake Bleed | Included in Labor | 1.0 – 1.5 Hours | $110 – $170 |
| Dealership Electronic ABS Module Bleed | Included in Labor | 1.2 – 2.0 Hours (Scan Recode) | 💰 $150 – $225 |
FAQs About How to Bleed Brakes Alone
How do I know when the brake fluid is fully bled and air-free?
Clear fluid with no visible bubbles at every corner, plus a pedal that stops firm within the first inch or two of travel and holds under steady pressure — both signs together, not just one.
What’s the correct bleeding order — which wheel first?
It varies by manufacturer, but most cars start with the wheel farthest from the master cylinder and work toward the closest. Check your owner’s manual to confirm your specific car’s sequence.
Can gravity bleeding alone get all the air out, or do I still need to pump?
Gravity bleeding works on many cars but can leave trapped pockets at awkward caliper angles. A one-way valve hose or vacuum pump gives more reliable results for the same effort.
How often should brake fluid be flushed, not just bled?
Every two to three years regardless of mileage, since brake fluid absorbs moisture from the air even in a sealed system.
What happens if I let the master cylinder run dry mid-bleed?
Air gets pulled back into the lines and you have to restart the bleed at every corner you already finished. Check the reservoir level before and after every corner to avoid this.
The Bottom Line
Solo brake bleeding is a highly effective driveway project for clearing minor pad-change air bubbles or refreshing spent fluid on an otherwise intact hydraulic system. Invest in a proper one-way check valve hose kit, follow your model’s exact wheel sequence, always lock down your bleeder valves under positive stroke pressure, and verify your reservoir fluid heights between every single corner.
Hydraulic Diagnostics & Electronic Logs: If your brake fluid maintenance has triggered unexpected Anti-lock Braking warning indicators or left your vehicle’s engine management computers displaying fault codes during air pocket purges, check our master workshop guide on How to Read Check Engine Light Codes Without a Scannerto isolate background trouble codes. For tracking alternative fueling imbalances or locating complex mechanical problems under the hood, read our in-depth diagnostic analysis on Why an Engine Runs Rich.