
This article was updated in August 21, 2026 with new products and information by mank909ndjb
The first hard freeze of winter is on the forecast, and you are wondering if that jug of water you poured into the radiator during a summer road trip is going to turn your engine block into a solid block of ice. You pop the hood, look at the translucent overflow tank, and realize you have no idea whether your cooling system is protected down to $-34^\circ\text{F}$ or sitting dangerously close to freezing at $+25^\circ\text{F}$.
In my 20 years in the shop, I have seen dozens of cracked engine blocks and split radiators roll in on flatbed tow trucks after the first sub-zero cold snap. In every case, a simple 5-minute freeze-point test in the driveway would have saved the owner thousands of dollars in engine replacement costs.
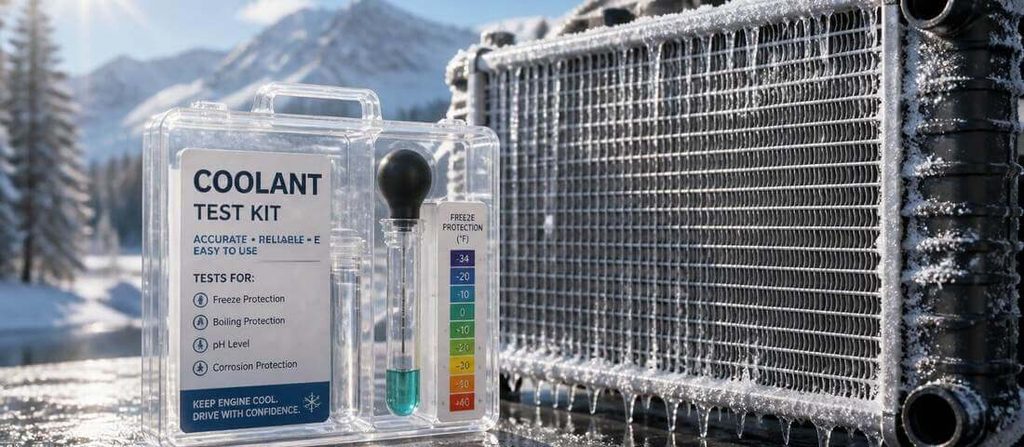
Quick Answer (How to Check Coolant Freeze Point):
To check your coolant freeze point accurately, place 2 to 3 drops of clean fluid from a cold radiator or surge tank onto the prism of a calibrated optical refractometer. Close the daylight plate, aim the device toward a light source, and read the sharp blue shadow boundary on the Ethylene Glycol scale. A standard 50/50 water-to-antifreeze mixture should read $-34^\circ\text{F}$ ($-37^\circ\text{C}$). If using a dial hydrometer, draw fluid until the chamber is full, tap out all air bubbles, and read the pointer at eye level.
COOLANT MIXTURE & FREEZE PROTECTION BENCHMARKS
| Concentration Ratio | Freeze Point | Boiling Point |
| 100% Water / 0% Antifreeze | +32°F (0°C) | 212°F (100°C) |
| 30% Antifreeze / 70% Water | +4°F (-15°C) | 216°F (102°C) |
| 50% Antifreeze / 50% Water | -34°F (-37°C) | 223°F (106°C) |
| 60% Antifreeze / 40% Water | -54°F (-48°C) | 226°F (108°C) |
| 70% Antifreeze / 30% Water | -65°F (-54°C) | 228°F (109°C) |
| 100% Pure Antifreeze (0% H2O) | +10°F (-12°C) | 387°F (197°C) |
*Boiling points measured at atmospheric sea-level pressure without radiator pressure cap.
Contents
- 1 What Happens If Your Coolant Freezes in the Engine?
- 2 The Pure Antifreeze Paradox: Why 100% Concentrate Fails in Winter
- 3 Testing Tools Compared: Refractometer vs. Hydrometer vs. Test Strips
- 4 Safe Fluid Sampling Protocol (Never Open a Hot Radiator Cap)
- 5 Step-by-Step Guide: How to Check Coolant With an Optical Refractometer
- 6 Step-by-Step Guide: How to Check Coolant With a Dial Hydrometer
- 7 The 2 Overlooked Tests: Coolant Acidity (pH) and Electrolysis Voltage
- 8 How to Correct and Adjust a Weak Coolant Mixture
- 9 Real-World Coolant Testing & Service Cost Breakdown
- 10 FAQs About How to Check Coolant Freeze Point
- 10.1 What is the ideal coolant freeze point reading for most cars?
- 10.2 Can I mix different colors of antifreeze if my freeze point is low?
- 10.3 How often should I check my coolant freeze point?
- 10.4 Can I use tap water to dilute concentrate antifreeze?
- 10.5 Why is my coolant refractometer reading a blurry or double shadow line?
- 11 Mark’s Final Verdict
What Happens If Your Coolant Freezes in the Engine?
⚠️ Mechanic Safety & Damage Warning: Extreme Danger
If your coolant mixture contains too much water and freezes inside the cooling system, water expands by approximately 9% in volume upon turning to solid ice. This outward hydraulic expansion exerts thousands of pounds of pressure per square inch against thin metal walls. Ice expansion will push out the engine block’s brass expansion plugs (freeze plugs), burst plastic radiator end tanks, split the delicate aluminum heater core inside your dashboard ($800–$1,400 repair), or crack the cast-iron/aluminum cylinder block water jacket, requiring a complete engine replacement costing $3,500 to $7,000+.
When an engine with frozen coolant is started, the water pump impeller cannot spin against solid ice. The spinning rubber serpentine belt will instantly shred, or the steel impeller vanes will shear off inside the housing.
Worse, because no fluid can circulate through the frozen passages, the cylinder head around the combustion chambers will rapidly overheat within 3 minutes of idling, warping the aluminum head and blowing the head gasket while the radiator remains frozen solid.
If your vehicle has been sitting in sub-zero weather with questionable coolant, never start the engine. Tow the vehicle into a heated garage and allow the entire cooling system to thaw completely before inspecting for leaks and testing the fluid.

The Pure Antifreeze Paradox: Why 100% Concentrate Fails in Winter
One of the most persistent and dangerous myths among car owners is the idea that pouring 100% straight, undiluted antifreeze into an engine gives maximum freeze protection.
Chemically, pure ethylene glycol freezes at approximately $+10^\circ\text{F}$ to $+12^\circ\text{F}$ ($-11^\circ\text{C}$ to $-12^\circ\text{C}$).
FREEZING POINT CURVE OF ETHYLENE GLYCOL & WATER:
Temp (°F)
+32° ── [0% Glycol: Pure Water]
0° ─┐
-20° │
-34° ├── [50% Glycol: Optimal Daily Balance (-34°F)]
-50° │
-65° └── [70% Glycol: MAXIMUM POSSIBLE PROTECTION (-65°F)]
-40° ┌── [80% Glycol: Freeze Point Starts Rising Rapidly!]
0° │
+10° ── [100% Glycol: Pure Antifreeze Freezes at +10°F!]
└────────────────────────────────────────────► Glycol %
The Chemistry of Eutectic Freeze Point Depression
Water molecules form an open crystalline hexagonal lattice when freezing at $32^\circ\text{F}$. Ethylene glycol molecules also form a solid crystalline structure at $10^\circ\text{F}$.
When water and ethylene glycol are mixed together in equal parts, the glycol molecules physically wedge themselves between the water molecules, disrupting the formation of hydrogen bonds and preventing ice crystals from locking together.
This chemical phenomenon creates a eutectic mixture that stays liquid down to $-34^\circ\text{F}$ ($-37^\circ\text{C}$).
If you increase the concentration to 68%–70% glycol, freeze protection reaches its absolute lowest physical limit of $-65^\circ\text{F}$ ($-54^\circ\text{C}$).
However, if you exceed 70% concentration, there are no longer enough water molecules to sustain the eutectic bond. The freeze point climbs steeply back upward toward $+10^\circ\text{F}$, and the fluid’s thermal conductivity drops by 30%, causing your engine to run hotter in the summer.
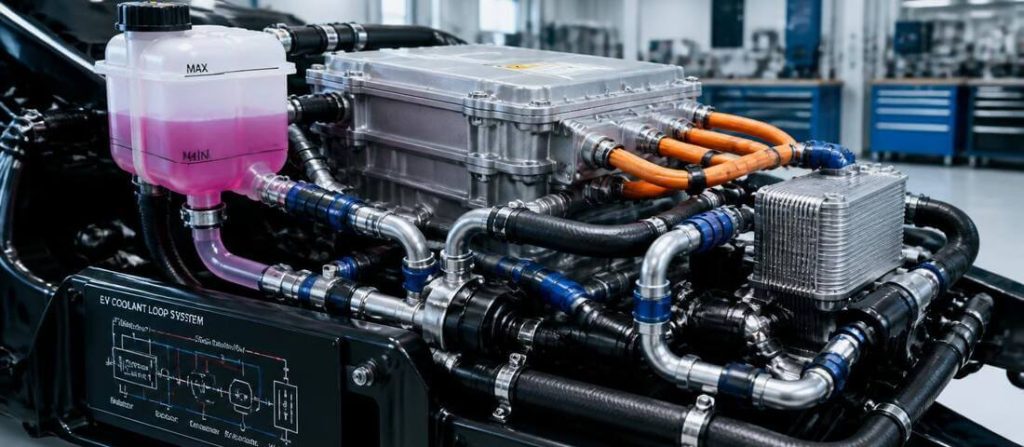
Testing Tools Compared: Refractometer vs. Hydrometer vs. Test Strips
To check your coolant’s freeze point accurately, you need to understand the capabilities and limitations of the three primary testing tools available.
Coolant Tester Comparison
| Tool Type | Measurement Method | Accuracy | Glycol Compatibility | Average Tool Cost | Best Use Case |
| Optical Refractometer | Refractive Index of Light | $\pm 1^\circ\text{F}$ | Ethylene & Propylene Glycol | $18 – $35 | Professional shop accuracy; instant daylight scale reading with Automatic Temperature Compensation (ATC). |
| Dial / Squeeze Hydrometer | Fluid Specific Gravity | $\pm 8^\circ\text{F}$ | Ethylene Glycol Only | $6 – $12 | Inexpensive DIY checks; prone to errors from temperature variation and clinging air bubbles. |
| Multi-Way Test Strips | Colorimetric Chemical Reaction | $\pm 5^\circ\text{F}$ | All Coolant Chemistries | $12 – $22 | Comprehensive fluid health audit; tests freeze point, pH acidity, and anti-corrosion additives. |
1. Optical Coolant Refractometer (The Master Mechanic’s Standard)
An optical refractometer measures how light bends (refracts) as it passes through a liquid sample. Glycol bends light at a direct, predictable angle proportional to its concentration.
Refractometers feature internal Automatic Temperature Compensation (ATC), meaning fluid temperature does not distort your reading. Quality units provide distinct scales for both Ethylene Glycol (EG) and Propylene Glycol (PG), as well as battery electrolyte specific gravity.
2. Plastic Dial / Floating-Disc Hydrometer (The Budget DIY Option)
Hydrometers measure specific gravity (fluid buoyancy). Dense glycol floats a weighted plastic needle or a series of colored discs inside a transparent plastic tube.
While inexpensive, hydrometers have serious shop limitations. They are calibrated for standard ethylene glycol at a specific temperature (usually $68^\circ\text{F}$ or $160^\circ\text{F}$); testing cold coolant will throw your reading off by $8^\circ\text{F}$ to $12^\circ\text{F}$.
Furthermore, tiny static air bubbles clinging to the plastic pointer will float the needle artificially high, giving you a dangerously false sense of security.
3. Chemical Multi-Way Test Strips (The Complete Chemical Audit)
Test strips use chemically treated paper pads that change color when dipped into coolant. In addition to measuring freeze and boiling points, multi-way test strips measure pH acidity and corrosion inhibitor levels (nitrites/molybdates), alerting you when coolant is chemically dead even if freeze protection is still acceptable.

Safe Fluid Sampling Protocol (Never Open a Hot Radiator Cap)
Before taking a single drop of fluid for testing, you must follow strict cooling system safety protocols.
⚠️ Mechanic Burn Hazard Warning: Never turn or remove a radiator cap or pressurized surge tank cap on a hot or warm engine. Automotive cooling systems operate under 14 to 18 pounds per square inch (psi) of pressure, which raises the boiling point of water past $250^\circ\text{F}$. Removing the cap on a hot engine causes instantaneous explosive depressurization, spraying boiling liquid and steam across your hands, face, and chest, resulting in severe third-degree burns.
Follow these rules for safe sampling:
- Cold Engine Check Only: Let the vehicle sit turned off for at least 1 hour until the upper radiator hose is completely cold and soft to the squeeze.
- Identify Your Expansion Tank Type:
- Pressurized Surge Tank (e.g., GM, Ford, European vehicles): Features a heavy threaded pressure cap with a psi rating. Coolant actively circulates through this tank, making it a reliable sampling location.
- Non-Pressurized Overflow Reservoir (e.g., older Toyota, Honda, Nissan): Features a simple snap-on plastic flip cap with a rubber hose running to the radiator neck. If you recently added water to this plastic bottle, the fluid inside may be diluted and will not match the fluid inside the engine block. In this setup, always draw your sample directly from the cold radiator filler neck.
Step-by-Step Guide: How to Check Coolant With an Optical Refractometer
Using an optical refractometer is the fastest, most precise method used in professional dealership bays. Follow this step-by-step procedure:
Step 1: Calibrate the Refractometer to Zero
Lift the plastic daylight cover plate over the blue glass prism. Place 2 drops of clean distilled water on the glass and gently lower the cover plate so the water spreads evenly with zero dry spots or trapped air bubbles.
Point the front of the refractometer toward a bright light source (sunlight or an LED shop light) and look through the rubber eyepiece. Focus the reticle by twisting the eyepiece ring until the internal measurement grid is razor-sharp.
The horizontal boundary line separating the upper blue field from the lower white field should rest precisely on the $32^\circ\text{F}$ ($0^\circ\text{C}$) water baseline. If the line is high or low, use the small included screwdriver to turn the calibration screw on top of the barrel until the line aligns perfectly with zero.
Step 2: Clean the Prism Face
Lift the cover plate and wipe the distilled water completely dry using the clean microfiber cloth supplied in the kit. Never use abrasive paper towels, which will scratch the polished optical prism.
Step 3: Extract and Apply the Coolant Sample
Use a clean plastic pipette (eyedropper) to draw a small sample of fluid from your cold radiator neck or pressurized surge tank.
Place 2 to 3 drops of coolant directly onto the center of the prism glass. Lower the daylight plate gently; the fluid should form a uniform, thin liquid barrier across the entire glass surface with zero air bubbles.
Step 4: Read the Freeze Point Boundary
Look through the eyepiece toward a light source. Locate the sharp, crisp line where the dark blue upper field meets the bright white lower field.
Look specifically at the Ethylene Glycol (E) scale on the left (unless you know your vehicle uses Propylene Glycol). Read the exact temperature corresponding to the horizontal line:
- $-34^\circ\text{F}$ ($-37^\circ\text{C}$): Perfect 50/50 factory mixture. Excellent year-round freeze and boiling protection.
- $-50^\circ\text{F}$ to $-65^\circ\text{F}$: Heavy 60/40 or 70/30 concentration. Ideal for extreme northern climates (Alaska, Northern Canada, Upper Midwest).
- $-10^\circ\text{F}$ to $+15^\circ\text{F}$: Weak, over-diluted coolant. High risk of slush formation and block damage in sub-zero winter temperatures. Immediate correction required.
- Fuzzy or Blurry Line: The sample is contaminated with oil (indicating a leaking head gasket or oil cooler) or aerated with micro-bubbles. Clean the prism and pull a fresh, clean sample.
Step 5: Clean and Store the Instrument
Wipe the prism and cover plate clean with a damp cloth, followed by a dry microfiber cloth. Place the refractometer back into its padded protective case.
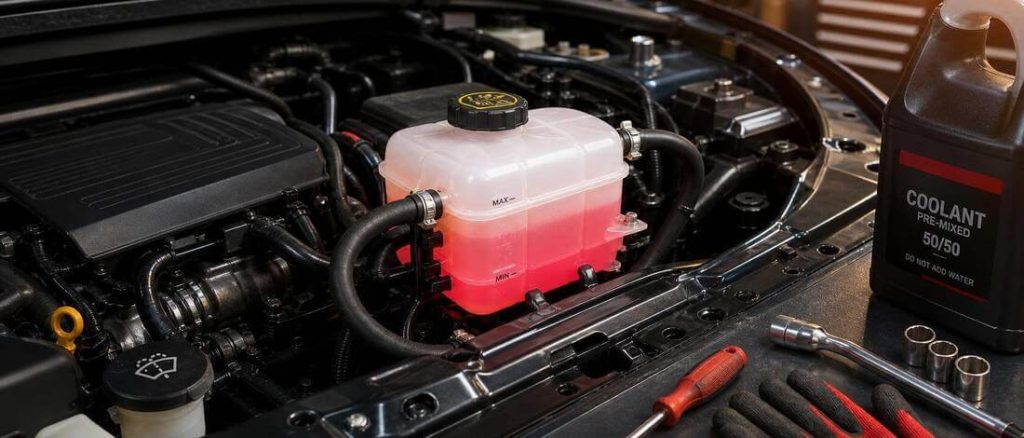
Step-by-Step Guide: How to Check Coolant With a Dial Hydrometer
If you are using a standard $8 plastic squeeze-bulb hydrometer, follow these steps to minimize testing errors:
HYDROMETER TESTING TIPS
- Squeeze bulb fully BEFORE inserting tube into fluid.
- Release bulb slowly to draw fluid without air foam.
- Tap clear plastic housing to dislodge air bubbles!
- Hold tester dead-level at eye height to read pointer.
- Flush chamber with clean water immediately after use.
- Draw the Fluid Sample: With the engine cold, squeeze the rubber bulb completely flat. Insert the intake hose into the radiator filler neck, then slowly release the bulb to draw coolant into the clear chamber until the fluid reaches the “Fluid Level” fill line.
- Dislodge Clinging Air Bubbles: This is where most DIYers get false readings. Small air bubbles will stick to the plastic pointer, acting like life jackets that float the needle artificially high. Rap the side of the plastic housing firmly with your knuckles or a screwdriver handle until every visible bubble floats to the surface.
- Hold Level and Read at Eye Height: Hold the hydrometer completely vertical and level at eye height. Read the temperature mark indicated by the pointer on the freeze protection scale.
- Flush With Clean Water: Squeeze the bulb to return the coolant to the radiator. Immediately draw clean tap water through the hydrometer several times to prevent dried glycol sugars from gumming up the internal needle pivot.
The 2 Overlooked Tests: Coolant Acidity (pH) and Electrolysis Voltage
Checking freeze point only tells you if your coolant will turn to ice. It tells you nothing about whether your fluid has turned chemically corrosive or electrically charged.
Perform these two 60-second diagnostic tests to ensure your cooling system is not destroying itself from within:
Coolant Chemical & Voltage Health Audit
| Diagnostic Test | Healthy Range | Warning Threshold | Critical Action Required |
| Freeze Point | $-34^\circ\text{F}$ or colder | $-10^\circ\text{F}$ to $+15^\circ\text{F}$ | Correct ratio with concentrate antifreeze if above $-20^\circ\text{F}$. |
| pH Acidity Level | 8.5 – 10.5 (Alkaline) | 7.5 – 8.0 (Depleting) | Flush immediately if pH drops below 7.5 to prevent aluminum gasket erosion. |
| Stray DC Voltage | 0.00V – 0.10V (Safe) | 0.11V – 0.29V (Degrading) | Flush fluid and clean engine ground straps if voltage reaches $\ge 0.30\text{V}$ (electrolysis hazard). |
Test 1: The pH Acidity Test (Preventing Gasket Erosion)
Fresh engine coolant is formulated to be alkaline, with a pH between 8.5 and 10.5, to neutralize acidic combustion gases that seep past head gaskets.
Over time, corrosion inhibitors deplete, and the coolant turns acidic (pH drops below 7.0). Acidic coolant rapidly dissolves aluminum cylinder heads, eats copper heater cores, and degrades composite head gasket fire rings.
- How to Test: Dip a chemical test strip into cold coolant for 1 second. Shake off excess fluid, wait 30 seconds, and compare the color pad to the included chart. If the pH reads below 7.5, your anti-corrosion additives are dead; flush and replace the coolant regardless of freeze point.
Test 2: The Digital Multimeter Electrolysis Test
When cooling system ground straps corrode, or when coolant breaks down into an acidic electrolyte, stray electrical current from the alternator, starter, and ignition system uses the coolant as a return path to the battery.
This process, known as electrolysis, turns your engine into a giant battery, eroding aluminum heater cores and radiator tube seams from the inside out within months.
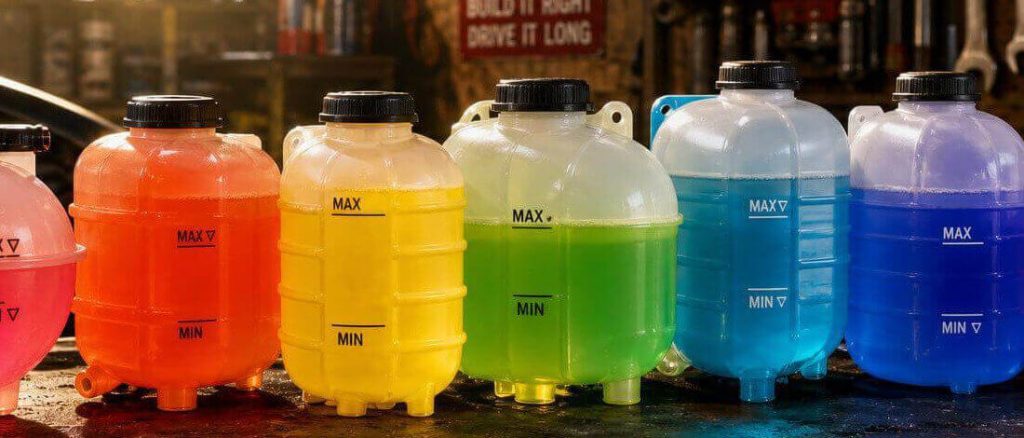
How to Correct and Adjust a Weak Coolant Mixture
If your freeze point test reveals an over-diluted mixture (for example, freeze protection only down to $+10^\circ\text{F}$), you do not necessarily need a full, expensive shop flush. You can correct the ratio by draining a calculated amount of weak fluid and adding full-strength concentrate antifreeze.
COOLANT CONCENTRATE CORRECTION
- Check Total System Capacity (e.g., 10 Quarts / 2.5 Gal)
- Drain 2 to 3 Quarts of weak fluid from petcock valve.
- Pour 2 to 3 Quarts of 100% CONCENTRATE antifreeze in.
- Run engine with heater ON to fully mix the fluid.
- Retest freeze point after 20 minutes of driving.
💡 Shop Math Rule: To lower the freeze point of a typical 10-quart (2.5-gallon) passenger car cooling system from $+10^\circ\text{F}$ down to $-34^\circ\text{F}$, drain approximately 2.5 to 3.0 quarts of weak fluid from the radiator drain petcock and replace it with 100% full-strength concentrate antifreeze (not 50/50 premix). Drive the car for 20 minutes with the cabin heater running to circulate the fluid through the block, allow the engine to cool, and retest with your refractometer.
Real-World Coolant Testing & Service Cost Breakdown
Testing your coolant at home costs very little and provides lifelong tool ownership. Here is how DIY testing costs compare to professional garage services:
| Service / Tool Option | DIY Cost | Professional Shop Cost | Notes & Recommendations |
| Optical Refractometer Kit (with ATC) | $18 – $35 | N/A | One-time tool investment. Lifetime precision for all vehicles. |
| Dial / Disc Squeeze Hydrometer | $6 – $12 | N/A | Budget option. Good for quick estimates on ethylene glycol. |
| Multi-Way Chemical Test Strips (50-pk) | $12 – $22 | N/A | Essential for testing pH acidity and nitrite corrosion inhibitors. |
| DIY Coolant Adjustment (1 Gal Concentrate) | $16 – $26 | N/A | OEM-approved full-strength concentrate antifreeze. |
| Professional Coolant Health Inspection | N/A | $25 – $50 | Includes refractometer check, pH test, and visual hose inspection. |
| Complete Professional Cooling System Flush | N/A | $120 – $220 | Full machine exchange of 100% fluid, block flush, and disposal. |
FAQs About How to Check Coolant Freeze Point
What is the ideal coolant freeze point reading for most cars?
The standard factory specification for virtually all passenger cars, SUVs, and light trucks in North America is $-34^\circ\text{F}$ ($-37^\circ\text{C}$). This reading reflects a balanced 50/50 ratio of clean distilled water and ethylene glycol, which delivers optimal winter freeze protection, excellent heat transfer efficiency, and a boiling point of $265^\circ\text{F}$ ($129^\circ\text{C}$) under a standard 15-psi radiator cap.
Can I mix different colors of antifreeze if my freeze point is low?
No. Coolant color is simply a chemical dye added by manufacturers and does not guarantee chemical compatibility. Mixing traditional green Inorganic Acid Technology (IAT) with modern orange/pink Organic Acid Technology (OAT) or Hybrid OAT (HOAT) can cause the additive packages to react, forming a thick brown gel or silica precipitate that clogs heater cores and radiator tubes. Always top off with the exact coolant chemistry specified in your vehicle owner’s manual.
How often should I check my coolant freeze point?
You should test your coolant freeze point once a year in the autumn before freezing winter temperatures arrive. In addition, always test the fluid immediately after any cooling system repair, after topping off with water during a summer overheating event, or whenever purchasing a used vehicle with an unknown maintenance history.
Can I use tap water to dilute concentrate antifreeze?
No. Never use municipal tap water or well water in your cooling system. Tap water contains dissolved minerals such as calcium, magnesium, iron, and chlorides. Under engine operating heat, these minerals precipitate out of solution, creating hard limescale deposits that coat internal heat transfer tubes, insulate the metal, and trigger localized cylinder head hot spots. Always use pure distilled or deionized water ($1.50 per gallon at any grocery store).
Why is my coolant refractometer reading a blurry or double shadow line?
A blurry, fuzzy, or double boundary line on a refractometer prism indicates fluid contamination or improper sample prep. The most common causes are microscopic engine oil droplets floating in the coolant (pointing to a failing head gasket or transmission oil cooler leak) or trapped air bubbles under the daylight plate. Clean the prism thoroughly with a damp microfiber cloth, ensure the fluid sample is clean and bubble-free, and retest.
Mark’s Final Verdict
Testing your engine’s coolant freeze point is one of the easiest, highest-return preventive maintenance tasks in automotive care. It requires zero mechanical disassembly, takes less than five minutes in your driveway, and protects you against catastrophic winter engine failure.
Invest $25 in a quality optical refractometer, calibrate it with distilled water, and verify that your cooling system is sitting at a healthy $-34^\circ\text{F}$ (50/50 mix) with a pH above 8.0 before winter arrives.
Taking five minutes to audit your cooling chemistry today will keep your heater blowing hot, protect your aluminum engine block, and save you thousands of dollars in avoidable repair bills when the temperature drops below zero.