
This article was updated in June 26, 2026 with new products and information by Mark S. Taylor
The transmission of hydraulic force within an automotive braking system demands an absolute, uncompromised closed-loop liquid boundary. Modern braking layouts operate on the foundational principles of Pascal’s Law, which dictates that any pressure applied to a confined, incompressible fluid is transmitted equally and undiminished throughout the entire multi-wheel network.
The operational problem begins because automotive brake fluid is glycol-based and completely incompressible, whereas atmospheric air is highly compressible. The moment a pocket of air penetrates the steel brake lines, pressing the brake pedal no longer forces the caliper pistons to instantly clamp the brake pads against the heavy iron rotors. Instead, the input mechanical force is wasted compressing the elastic air bubble inside the line.
As an ASE-Certified Master Technician, I know that ignoring a soft or spongy brake pedal is a severe safety liability that dramatically increases vehicle stopping distances. In this comprehensive workshop guide, we will break down the precise symptoms of air contamination, detail the classic “Pumping Diagnostic Test,” explain the hidden ABS modulator trap, and outline professional 2026 workshop service parameters.
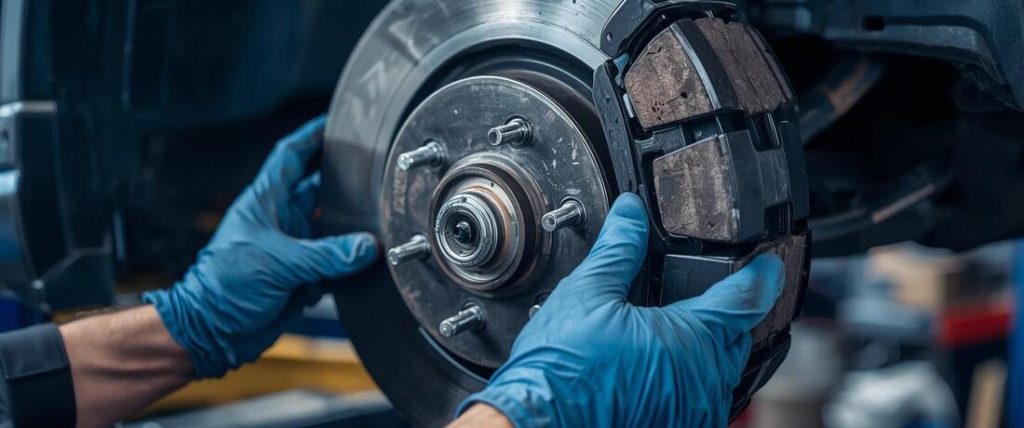
Contents
- 1 How Air Liquid Boundaries Are Compromised
- 2 6 Critical Symptoms of Air Trapped in Brake Lines
- 3 Technical Isolation Matrix: Trapped Air vs. Master Cylinder Failure
- 4 The Master Technician Diagnostic Pumping Test
- 5 The ABS Modulator Trap: Why Your Brakes Stay Spongy After Bleeding
- 6 Complete Hydraulic System Service Cost Matrix (US Estimates)
- 7 Step-by-Step Professional Brake Bleeding Sequence
- 8 FAQs About Symptoms of Air in Brake Lines
- 9 The Verdict: Flush the Lines Fully Before Replacing Cylinders
How Air Liquid Boundaries Are Compromised
Air does not simply wander into a healthy, hermetically sealed hydraulic braking system on its own. Circuit aeration is typically driven by four distinct mechanical failure modes:
- Incomplete Post-Repair Bleeding Operations: Every single time an automotive technician or DIYer unbolts a brake caliper, swaps a dry rubber flexible hose, or splices a rusted steel line, massive volumes of open-air enter that specific corner of the circuit. If the technician fails to execute a full, multi-stage flush afterward, trapped pockets remain stagnant inside the lines.
- Master Cylinder Reservoir Depletion: The plastic fluid reservoir mounted to the brake booster features a distinct “MIN” line. If the fluid drops below this baseline—triggered by a slow, hidden wheel cylinder leak or extreme brake pad friction wear pulling fluid down into extended caliper bores—the master cylinder will suck raw air into the primary intake stroke.
- Internal Rubber Brake Hose Delamination: Over years of intense thermal cycling and high-pressure flexes, the internal plies of rubber brake hoses degrade. A brake hose can look completely smooth and perfect on the outside while experiencing structural wall collapse internally, drawing micro-bubbles of air past the fitting crimps during pedal release vacuum cycles.
- Severe Thermal Fluid Vapor Lock: Brake fluid is naturally hygroscopic, meaning it continuously absorbs ambient moisture from the atmosphere. Once water contamination inside the lines climbs above 3%, the fluid’s boiling point drops off a cliff. Under heavy load conditions—such as driving down mountain grades or heavy towing—the fluid bakes and boils inside the caliper bore, transforming into active steam bubbles that induce immediate pedal fade.
6 Critical Symptoms of Air Trapped in Brake Lines
Before servicing your calipers, monitor your brake pedal’s resistance profile for these explicit mechanical warnings:
- A Spongy, Mushy, or Soft Brake Pedal: The defining signature of system aeration. The brake pedal loses its crisp, solid hydraulic stop feel, mimicking the sensation of stepping into a soft wet sponge. The pedal frequently travels past its normal halfway engagement plane before generating any stopping torque.
- The Brake Pedal Height Firms Up Temporarily When Pumped: This is the definitive diagnostic signature that isolates air contamination from a mechanical master cylinder failure. Pressing the pedal three or four times in rapid succession causes the pedal to ride noticeably higher and feel rock-solid. Pumping forces the elastic air bubble to compress tightly and migrate toward the master cylinder, allowing hydraulic pressure to build efficiently for a few seconds before the bubble expands back out into the line run.
- Substantial Extension of Vehicle Stopping Distances: Because a portion of your foot’s energy is wasted flattening out compressible air bubbles rather than moving caliper pistons, pad clamping force drops significantly, extending emergency stopping zones by critical car lengths.
- The Pedal Progressively Sinks Close to the Floorboard: In advanced stages of system aeration, the volume of trapped air is so immense that standard pedal stroke displacement cannot overcome the cushion. The pedal travels almost fully down to the floor carpets before any friction braking initiates.
- Inconsistent Pedal Feedback and Lateral Vehicle Pulling: Trapped air bubbles do not stay fixed; they drift fluidly across the split diagonal brake lines. One stop may feel relatively firm, while the very next application feels dangerously soft. If air settles in only one front brake line run, braking force becomes uneven, causing the vehicle to pull sharply toward the side with uncompromised hydraulic pressure.
- Illumination of the Dashboard Brake Warning or ABS Lamps: While pure air bubbles won’t trigger a sensor directly, if the air entered via a slow fluid leak that dropped the master cylinder reservoir below the sensor float switch line, the red red dashboard brake alert will illuminate solid.
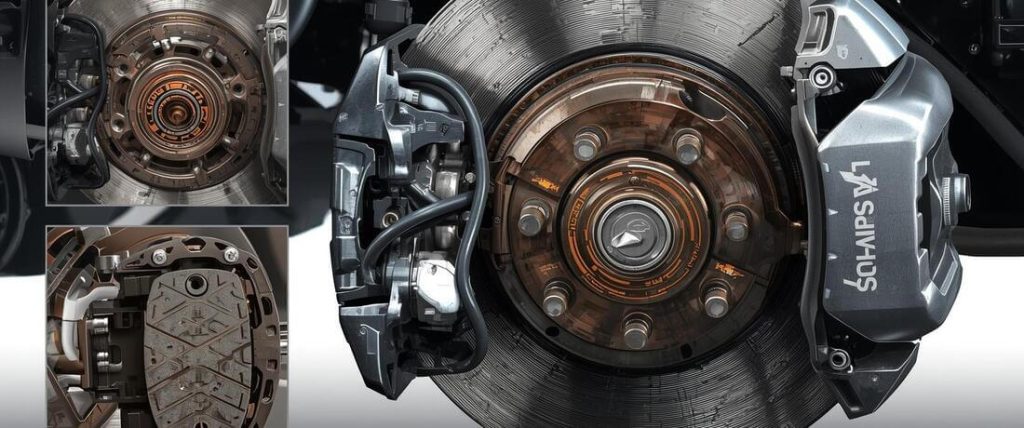
Technical Isolation Matrix: Trapped Air vs. Master Cylinder Failure
Because a failing master cylinder and trapped air bubbles produce nearly identical soft pedal sensations, you must execute this definitive technician checklist to isolate the component failure safely:
| Diagnostic Metric Evaluation | Trapped Air in Lines | Failed Master Cylinder Unit | Severely Low Brake Fluid |
| Does Pumping Firm the Pedal? | ✅ Yes (Temporarily higher) | ❌ No (Sinks continuously) | ❌ No (Stays low and soft) |
| Sinks Under Steady Foot Pressure? | ❌ No (Holds firm once compressed) | ✅ Yes (Internal seals bypassing) | ❌ No |
| Dashboard Warning Lamp Active? | ❌ No (Unless fluid is depleted) | ❌ No (Usually stays off) | ✅ Yes (Fluid float switch tripped) |
| Primary Remediation Protocol | Execute multi-corner flush loop | Replace hydraulic cylinder body | Locate structural leak point |
The Master Technician Diagnostic Pumping Test
To confirm system aeration in under 60 seconds without tools, execute this precise driveway diagnostic tracking loop:
1. Neutralize the Power Booster Vacuum Reserve: 1 min.
With the vehicle engine completely turned off, press the brake pedal firmly five times to fully discharge any residual vacuum stored inside the power brake booster shell. This isolates the raw hydraulic lines.
2. Measure the Initial Baseline Pedal Resistance: 1 min.
Press and hold steady downward foot pressure against the brake pedal. Document the exact height where the pedal stops—note if it feels soft, squishy, or travels excessively close to the metal floorboard welds.
3. Execute the Rapid Compression Pumping Sweep: 1 min.
Pump the brake pedal five times in rapid, successive strokes, and lock your foot flat down on the final stroke. If the pedal now rests significantly higher from the floorboard and feels rock-solid, you have confirmed air bubbles are present inside the line runs.
4. Track the Air Bubble Migration Drift: 1 min.
Keep your foot completely still on the firm pedal for 30 seconds. Release the pedal fully, wait exactly 30 seconds to let the compressed air bubble re-expand and drift back down the steel lines, and press the pedal again. If the initial mushy, low-travel sponginess instantly returns, your system aeration diagnosis is 100% verified.

The ABS Modulator Trap: Why Your Brakes Stay Spongy After Bleeding
A common frustration among DIYers and independent shops is a brake pedal that remains stubbornly spongy even after performing a traditional, bubble-free fluid bleed at all four wheels. This roadblock is caused by the ABS Hydraulic Control Unit (HCU) Modulator.
Tucked midway between the master cylinder and the wheel calipers, the ABS HCU contains a complex labyrinth of microscopic internal pathways, accumulator chambers, and electric solenoid valves. During a standard gravity or manual two-person pedal bleed, these internal ABS solenoid valves remain tightly closed. If air bubbles find their way inside the ABS modulator block during recent component swaps, a standard bleed will simply pass fluid right around them, leaving the air bubbles completely trapped inside the HCU valves.
To clear this trap, a Automated ABS Scan-Tool Bleed is required. A professional-grade bi-directional diagnostic scan tool must be connected to the vehicle’s OBD2 port. The technician initiates the automated software routine, which commands the internal ABS pump motor to cycle and flashes the internal solenoids open in a specific sequence. This forces fresh fluid straight through the HCU accumulator chambers, driving the trapped micro-bubbles down the brake lines to the wheel bleeder screws where they can be successfully evacuated.
Complete Hydraulic System Service Cost Matrix (US Estimates)
| Isolated Diagnostic & Service Vector | Average DIY Parts Cost | Professional Shop Bill (Labor Included) | Operational Repair Profile |
| Standard 4-Wheel Fluid Bleed | $8 – $20 (Fluid only) | $70 – $150 | Requires two-person coordination |
| Complete System Fluid Flush | $15 – $35 (Fluid only) | $80 – $160 | Mandatory for moisture removal |
| Bi-Directional ABS Modulator Bleed | N/A (Scan tool required) | $50 – $100 (Added to standard bleed) | Electronic solenoid cycling check |
| Flexible Brake Hose Replacement | $20 – $50 (Per corner) | $100 – $250 (Per corner installed) | Crucial for aged lines over 7 years |
| Replacement Caliper Assembly | $40 – $120 | $150 – $400 (Per wheel track) | Always requires a post-install bleed |
| New Master Cylinder Assembly | $60 – $150 | $200 – $450 | Requires bench-priming before install |

Step-by-Step Professional Brake Bleeding Sequence
To flush air bubbles outward completely rather than forcing them deeper into opposing diagonal circuits, you must adhere strictly to the Longest-Line-First Protocol. On standard front-engine, left-hand drive vehicles, execute this exact wheel sequence:
- Rear Passenger Side (Furthest distance path from the master cylinder)
- Rear Driver Side
- Front Passenger Side
- Front Driver Side (Closest proximity path to the master cylinder)
1. Decontaminate and Top Off the Master Cylinder Reservoir: 5 min.
Wipe the master cylinder cap perfectly clean to prevent road grime from falling into the fluid reservoir. Uncap the chamber and fill it completely to the “MAX” line using fresh, unsealed fluid matching your vehicle’s factory specification—typically DOT 3 or DOT 4 glycol fluid. Never use DOT 5 silicone fluid in a system engineered for glycol, as they will not mix and will cause immediate seal failure.
2. Establish the Bleeder Sight Tube Line: 10 min.
Move to the rear passenger wheel track. Clean the metal bleeder screw and slip a tight-fitting clear vinyl plastic tube over the bleeder nipple barb. Submerge the opposite end of the clear tube fully into a clean plastic bottle partially filled with fresh brake fluid. This liquid barrier prevents the caliper from sucking air backward into the bore when the screw is opened.
3. Execute the Two-Person Pressure Bleed Loop: 10 min.
Have an assistant sit in the driver’s seat. Command them to “Pump the pedal three times and hold continuous downward pressure flat.” While they hold the pedal down, use a box wrench to crack the bleeder screw open a quarter-turn. Fluid and air bubbles will rush out into the clear tube. Crucial Rule: The assistant must hold their foot pinned flat to the floorboard and must not release the pedal until you tighten the bleeder screw completely shut. Lock the screw, then command: “Pump and hold again.”
4. Monitor Reservoir Levels Continuously: 5 min.
Repeat the pressure pump loop at the wheel until the fluid exiting the clear vinyl tube runs perfectly clear, bright amber, and completely devoid of micro-bubbles. Move to the next wheel in the sequence. Check the master cylinder reservoir after every 4 pedal bleeds—never allow the chamber to drop empty, or you will draw fresh air down the lines and be forced to restart the entire four-wheel sequence.
FAQs About Symptoms of Air in Brake Lines
Q: Can you drive with air in your brake lines?
It depends on severity. A slightly spongy pedal with normal stopping distance — drive directly to a shop, no highway driving. A pedal that requires pumping to stop the car, or one that reaches the floor — do not drive. Tow the vehicle. Air in the brake lines reduces braking force in direct proportion to how much air is present. In an emergency stop with significant air in the system, stopping distance increases enough to cause accidents at normal road speeds.
Q: Will pumping the brakes fix air in the lines?
Temporarily, yes. Pumping builds pressure by moving the air bubble toward the reservoir, allowing hydraulic pressure to build more efficiently for a few strokes. But the air is still in the system. Once you release the pedal and reapply, the air bubble migrates back and the spongy feel returns. Pumping is a diagnostic tool and an emergency measure — not a fix.
Q: Why is my brake pedal still spongy after bleeding?
The most common cause is air trapped in the ABS modulator. Standard bleeding pushes fluid through the primary circuit but doesn’t open the ABS solenoid valves. Air trapped in those valves stays put and recontaminates the system. An ABS modulator bleed requires a professional scan tool to cycle the solenoids open during the bleed procedure. Ask your shop specifically whether they performed this step.
Q: How much does it cost to bleed brakes at a shop?
A standard four-wheel brake bleed runs $70 to $150 at most independent shops. A full brake fluid flush — replacing all fluid in the system — runs $80 to $160. If an ABS modulator bleed is needed, add $50 to $100. Dealerships typically charge more; independent shops with the right equipment offer the same quality at lower rates.
Q: What causes air in brake lines after a brake job?
Any time the hydraulic circuit is opened — caliper replacement, brake hose swap, brake line repair — air enters that section of the system. If the technician doesn’t bleed every affected corner completely, that air stays. A spongy pedal that appeared immediately after brake work is almost always traced to an incomplete post-repair bleed. Go back to the shop and ask them to complete the bleed — any reputable shop will do this at no additional charge.
The Verdict: Flush the Lines Fully Before Replacing Cylinders
Never authorize an expensive mechanical master cylinder replacement based solely on a soft, spongy pedal symptom. Automotive braking is a sensitive pressure balance—if your lines contain trapped air bubbles from recent caliper swaps or a low fluid drop, a $400 new master cylinder will completely fail to restore a firm pedal feel. Take 15 minutes to run a proper driveway pumping test, check your line runs for greasy fluid residues early, and execute a systematic four-wheel bleed including an automated ABS solenoid cycle to preserve your vehicle’s stopping power and safety parameters.
(Want to ensure your vehicle’s alternative mechanical loops, cooling networks, and engine computer diagnostics are functioning with absolute factory precision? Read our master workshop guide on How to Read Check Engine Light Codes Without a Scanner or check out The Car Buzz Official Testing and Editorial Integrity Guidelines Page).